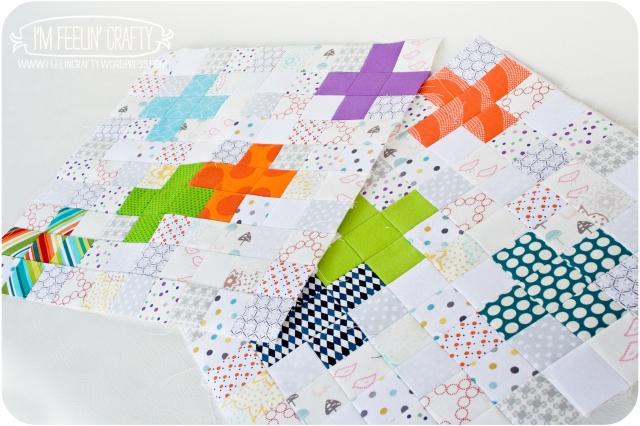
Yep, more quilting! I’ve been debating and debating over what quilt design I wanted to do for my next do Good Stitches quilt. Then I figured it out! I love postage stamp quilts. This low volume thing is kinda cool. I’ve seen a lot of little cross quilts lately that I am loving. So why not combine all these?
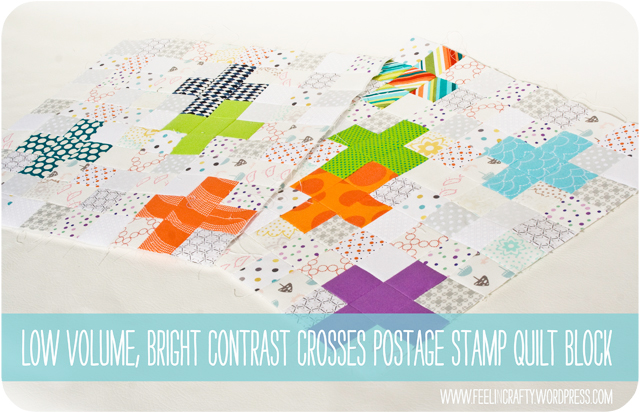
Ta-da! This month’s block is going to be a ‘Low Volume with Bright Contrast Crosses Postage Stamp Quilt block’. How do ya like that title!?! Sounds complicated, doesn’t it? But it’s not! Seriously! Trust me!
First off the fabrics! And you’ll need a 20×20 inch piece of the thinnest fusible interfacing you can find, like featherweight or sheerweight.
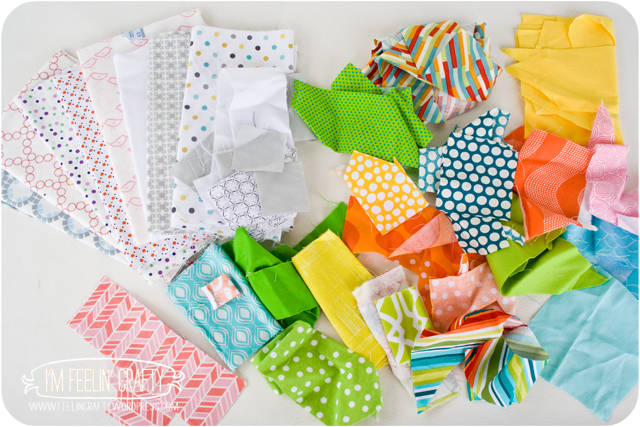
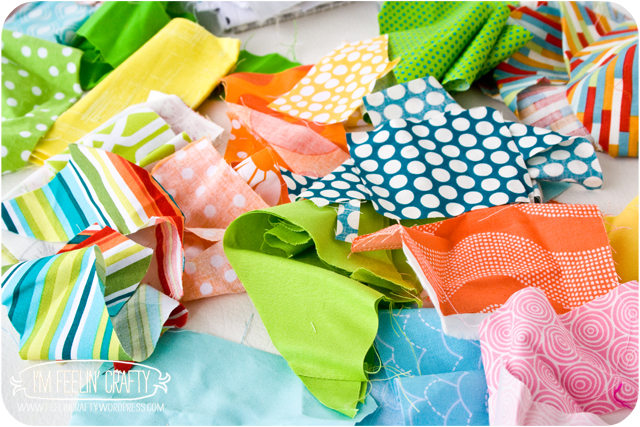
For the bright crosses, I poured out my scrap bag and found the colors that I had enough to make 5 2×2 squares out of. It can be patterns, but please include an all solid cross (or two). (yellows are not good… You’ll see as you read along!)
The background is the low volume part. Use whites, light greys, small colored patterns with white backgrounds.
The amount of fabric you’ll need really depends on the amount of crosses you want to make. In total you’ll need 100 2×2 squares, the majority being low volume fabrics. Since each cross is made of 5 2×2 blocks, if you are doing 5 crosses you’d have 5 colors and then an assortment of 75 2×2 blocks. And etc, etc….
And then how to put it together? You can do it however you’d like, but this process makes it super easy! I can’t take credit for the process, by any means. I found the process tips from Oh, Fransson. I’m going to show you here because I also want to talk a little more about the low volume part! (bear with me, there’s a lot of pics!)
First, cut out all your pieces!
Ok, so I have to apologize for the pictures. I have a can light right over my work space and it doesn’t lend itself to very good photography!
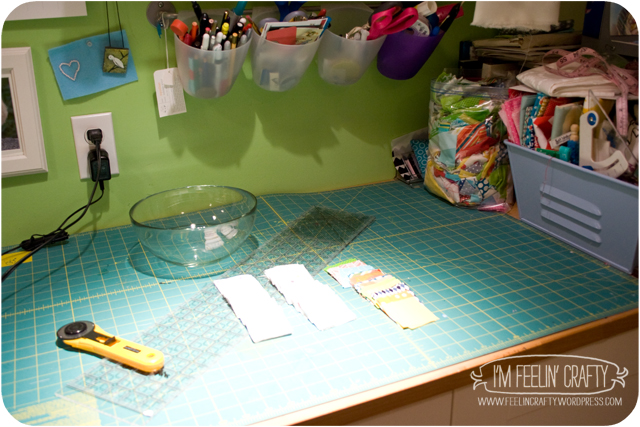
OK, so back to your pieces. See how I lined up my low volume pieces. Don’t!
The low volume pieces are going to be as random as can be. And for me it’s easier to be random when I’m not picking them out of their special stacks. Hence the reason for the bowl. I mixed and mixed the squares in the bowl!
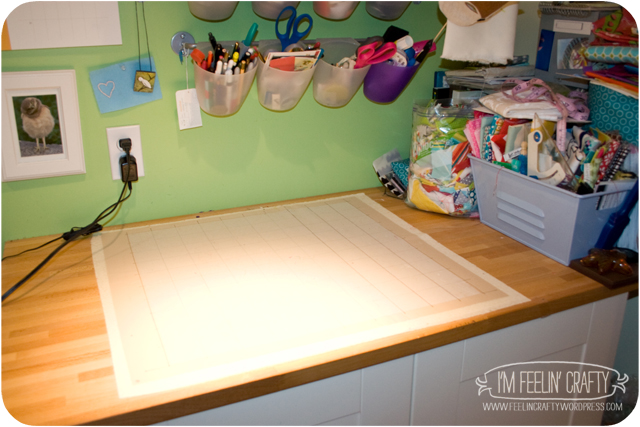
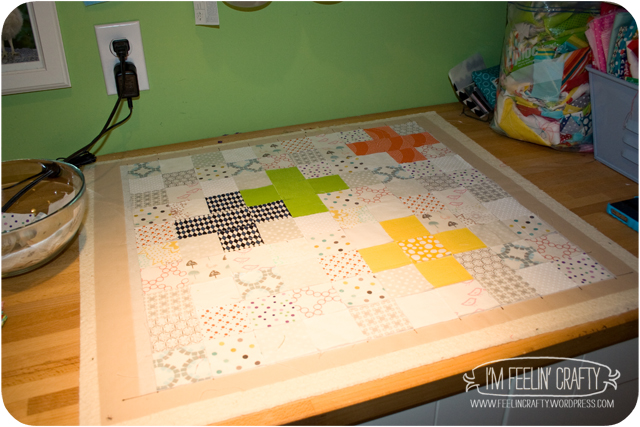
Then I remove my cutting mat to reveal my secret postage stamp quilt block work area!
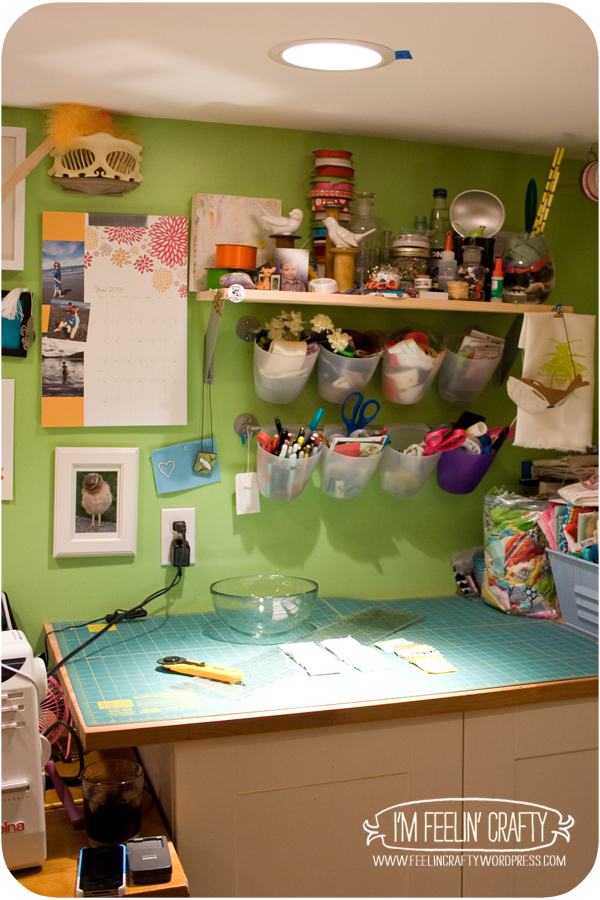
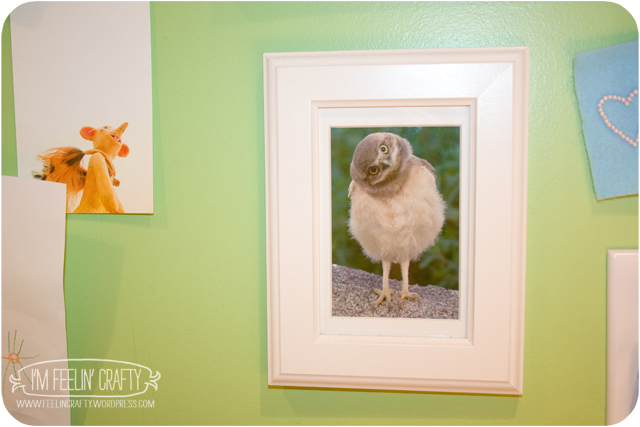
Did you notice my owl picture? I love how this owl stares at me as I make things, like, ‘Um, what are you doing now?’
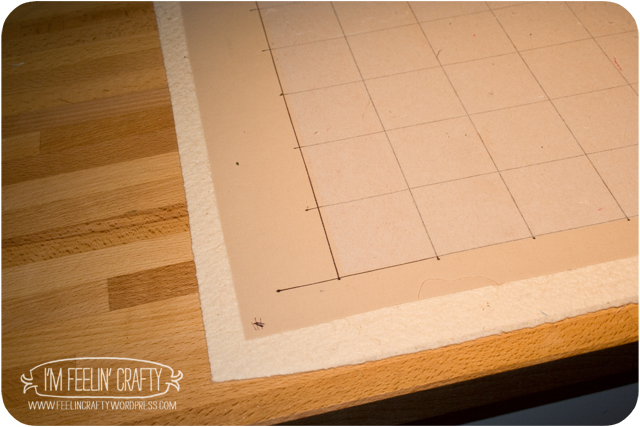
Ok, once the cutting mat is removed, you can see my set up. A bit of batting over the countertop for ironing. Then my grid. And notice the white over my grid? That’s where I accidently had my fusible interfacing facing the wrong way one time.
So be sure the fusible side of the interfacing is facing UP!
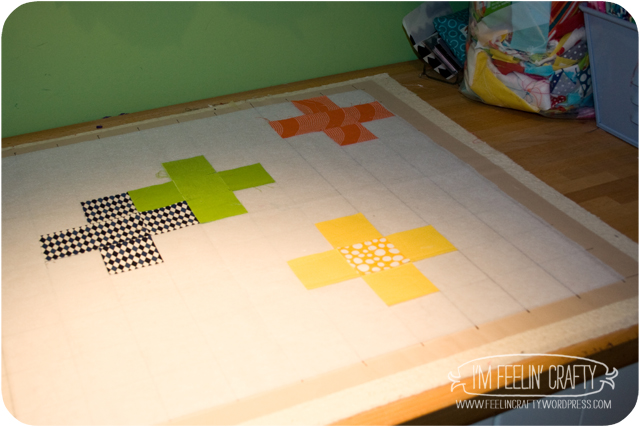
Lay out the crosses. Right sides UP!
Then infill with the low volume.
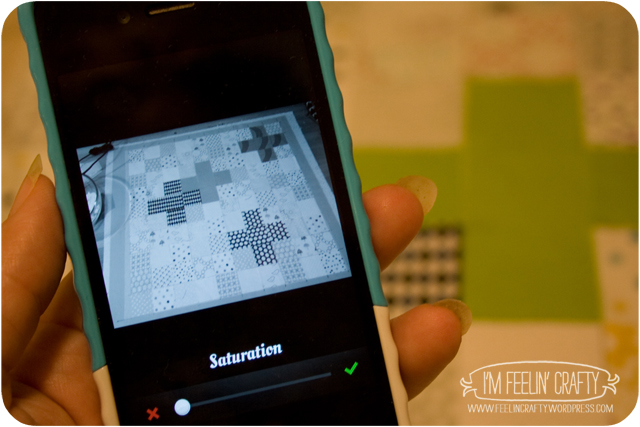
Then I take a quick pic, turn pic to black and white and see how it looks.
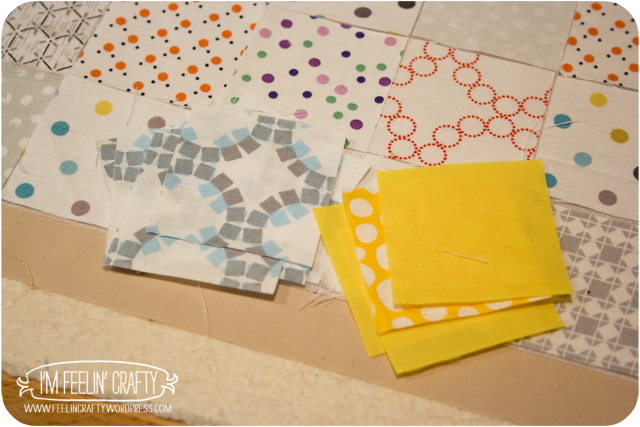
I felt like the yellow ended up being to low volume and these grey and blue squares were too high contrast. So I took them out.
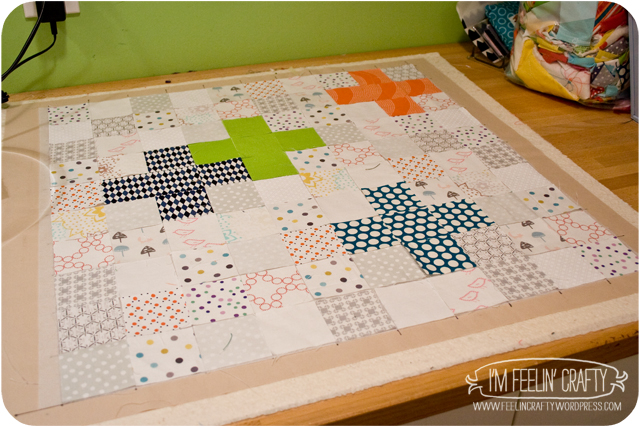
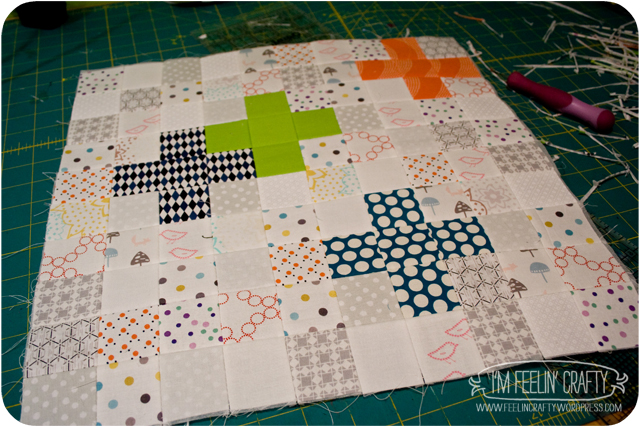
And filled in with a different high contrast color and more low contrast background pieces.
Take another picture, turn it black and white and what do you think? I think it works much better!
Once you are happy with the lay out, iron. I lay a piece of thin fabric over it. Don’t pull the iron around. It works best if you iron a spot, pick it up, move it, iron a spot, over and over and over until it’s all ironed!
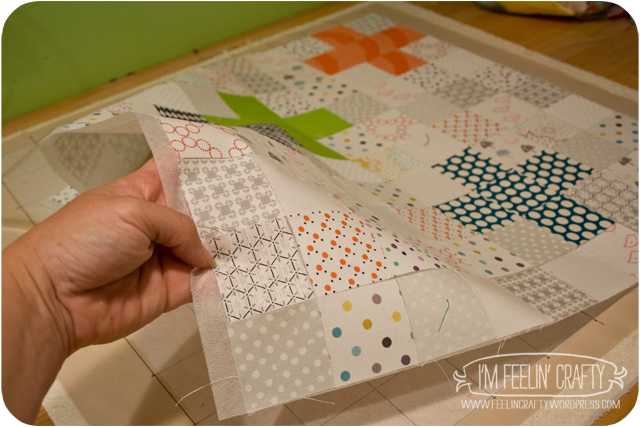
After it’s ironed together, it’s kinda like you have a new piece of fabric!
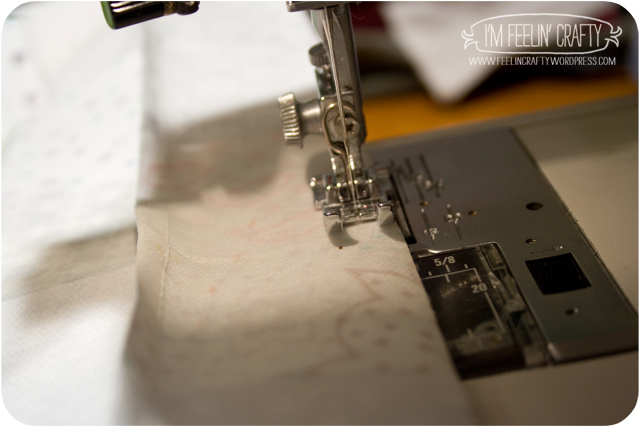
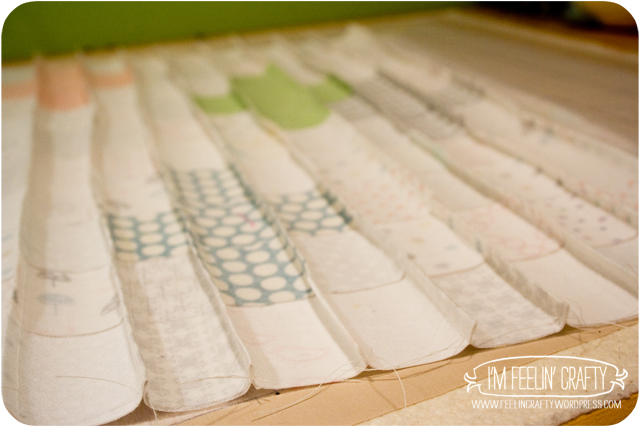
Next, fold between each row of pieces and sew with a 1/4″ seam.
Repeat for each row.
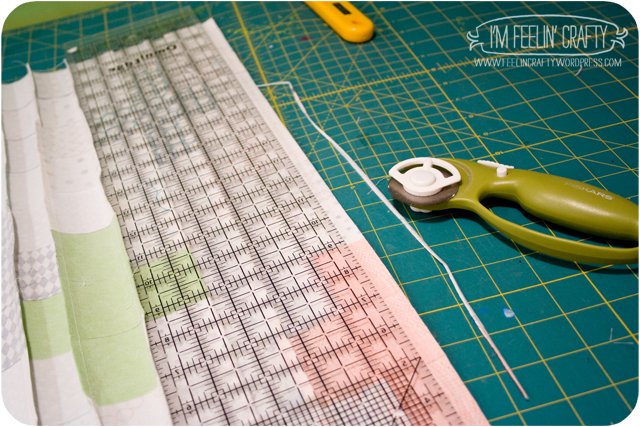
Trim the rows. You can snip the seam with scissors, but I find it easier to just trim off about 1/16th of an inch. barely anything!
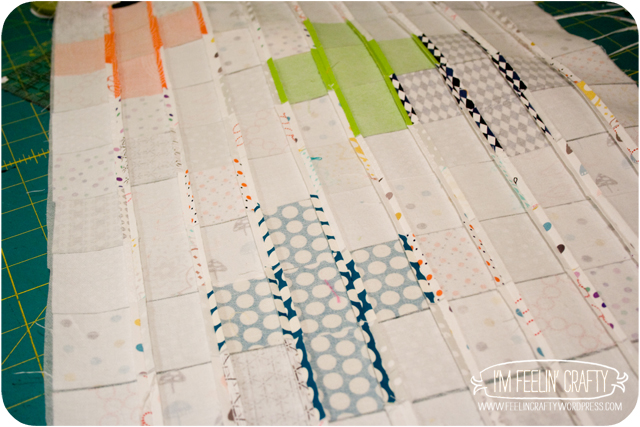
Then iron each seam open.
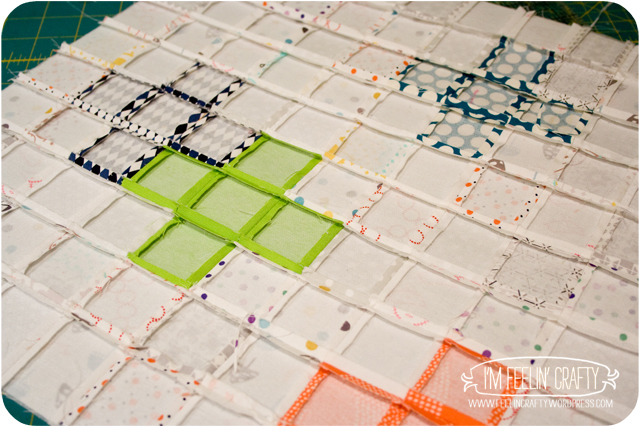
And repeat the sewing, trimming and ironing in the opposite direction.
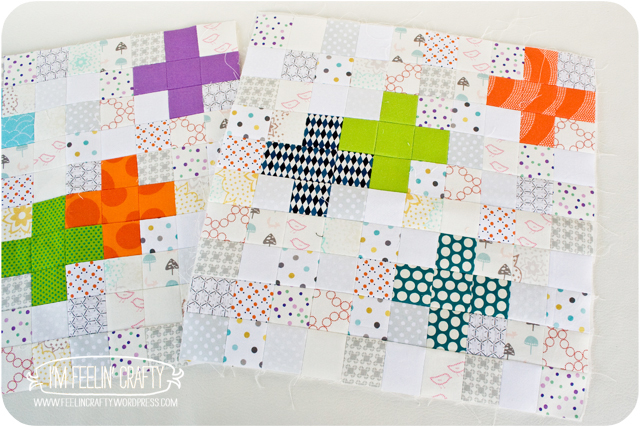
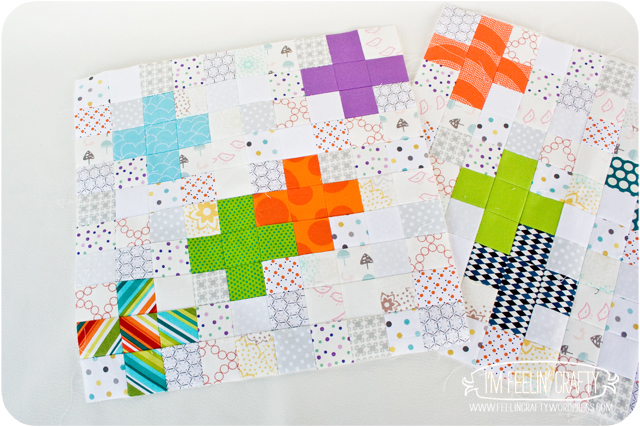
And viola, you’re block is done!
So for the do. Good Stitches group, please send me one block. I need 12 blocks for a 45×60 quilt. There are 10 of us and I made one extra, so I’d need one extra. If anyone wants to do more than one, I’ll gladly take more. The more I get the bigger the quilt! But it’s totally up to you guys! One each is perfectly fine!
Thanks to all the do. Good Stitches Nurture Group! And to everyone else, enjoy the tutorial!
Shared with these Link Parties.






Wow…my whole life is a lie! This is soooo much easier than the traditional way of piecing each block one at a time. I love learning a new quilty tip each day. Thank you for this tutorial!
It is easy! I love it!!!
Your fabrics are beautiful!!! I am totally loving the bright contrast to the low volume… and who doesn’t love postage stamp blocks?! 🙂 -Jamie
I know!!! I love the postage stamp blocks!! Thank you!!
Wonderful block and wonderful tutorial! Thanks so much’ Louise.
Thanks!!
Looks like fun! I just happen to have a whole bunch of 2×2 pieces leftover from a Tokyo subway quilt.
Awesome! Glad you like it!
Wow, that looks amazing! And I LOVE the idea of taking a picture with your phone and changing it to black and white to see how the values look. Very clever!
Someone told me to do it and it makes everything so super clear!!
The fusible backing, ironing the squares on directly, then fold & sew is doing it smarter not harder! That is a quilt that I might really try, not so much the low contrast part but all the little 2 inchers being able to use them up. I have fabric remains from a number of decades & was trying to figure out how to use them in a quilt with a minimum of cutting. Layout grid is marvie. My very patient husband will be happy to see the material get made into something as he has learned that I WON’T just toss it out.
Ha! It’s very true, I rarely throw out fabric!! 🙂
What a great block and tute! I think the low-volume + coloured crosses looks fabulous. Looking forward to seeing this as a quilt. It’s gonna be a beaut!
Thanks! I’m excited to see it too!!!
What a great tutorial I will have to try this sometime..cute fabrics too 🙂
oh I need to try this! What lovely blocks! What fusible interfacing do you use?
Thank you! I used the lightest weight I could find. It’s Pellon, I believe. And I looked at the featherweight and I think the sheerweight versions. One was 2.99 a yard, the other .99 a yard, so I went with the 99 cents one! It’s super thin!
I featured you today here: http://www.settingforfour.com/2013/07/10-make-create-and-decorate-summer.html Thanks for sharing your creativity at Project Inspired! Pinned!
Awesome! Thank you!
Awesome post!
I would love for you to share and link up at my weekly TGIF Link Party if you haven’t already this week. Your favorite posts, most popular, recent or new! The party is open every Thursday night and closes Wednesday’s at midnight. Followed by (Not SO) Wordless Wednesday! http://apeekintomyparadise.blogspot.com/.
I would be honored if you join us and follow to stay connected Have a wonderful week!
Hugs, Cathy
Thanks for this! I linked back here via https://www.facebook.com/627handworks
Thanks!
So nice idea! I really love it. Now, I have to find low volume fabric in my stash 🙂
Jolana
Thanks! Good Luck!
I actually made something using this method last month, love yours! Can I ask, where you got your cutting mat from, it is HUGE, love it and love your blocks.
Thanks! The mat isn’t as large as they can be! Mine is 24×36 and we got it at Joann’s. But if you go, be sure to get your coupon first!
Thinking of making a postage stamp quilt with your method. Do you use pellon interfacing? If so, can you tell me the number?? ie. ‘lightweight’…
I believe it is Pellon. I also think it’s called featherweight. I just get the thinnest fusible interfacing I can find! Can’t wait to see what you do!!
Just found this via A Quikters Table. What a great way to control and efficiently sew all those little blocks! Thanks!
Awesome! Thanks for visiting!!
I love this block and was wondering if you mind if I use your tutorial this month for the do.Good Stitches Trust circle? I had an idea similar to yours and when I was looking around for ideas came across your blog. No need to reinvent the wheel! Thanks in advance and I love how your quilt turned out!
Liz
Awesome! Go for it! It’s what we used for the Nurture group of do. Good Sttiches!! Can’t wait to see yours!