Hello friends! Long time, no blogging! Today I want to share something that was very fun for the kiddo!

We were in the process of updating the kiddo’s room when Style and Apply contacted me to see if I was interested in checking out their product and writing a review. Of course I said yes, thinking this could be really fun. Then as soon as I saw the sorting hat, I knew it was perfect timing!
 I guess you can tell from the name what it is. Right? They sell wall decals that are stylish and all you have to do is apply! They also have window decals! I went straight to the sorting hat of course, since the kiddo is totally into Harry Potter right now. But then I started thinking, what about something for me? They have some cute Christmas ones. (I love the Reindeer II) We love Bansky’s art and they have a bunch of his art. Kids, kids galore! I almost got a funky pattern for the play room. But we went back to getting something for the kiddo! Of course….

The people at Style and Apply were very accommodating! You see how dark blue the walls are and I couldn’t tell which grey was the right one to go with . The sent me some samples and helped by narrow down the choice. We are transitioning from a green, blue and tan room, to a silver, blue and white room!
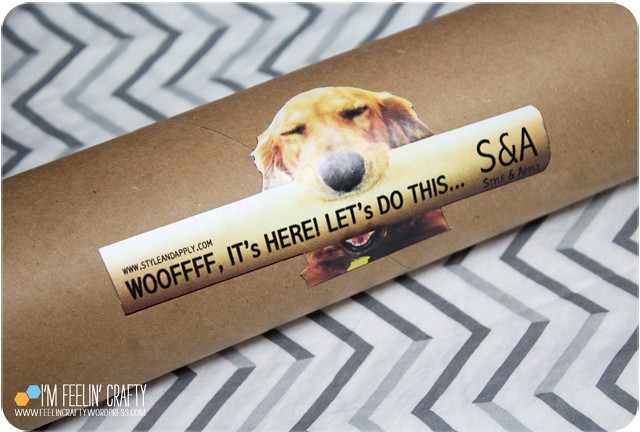
And then it came! In this cute mailer! It took me a little while to get it up. I had grand plans (as usual) to finish quite a few other things I have planed for his room. Then finally, I faced the truth and realized that I don’t know when those are going to get down and it’s too cool to just wait around on those other projects!
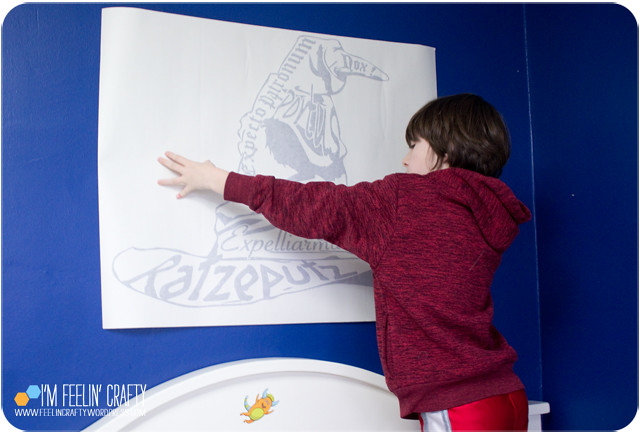
First step, we located exactly where we wanted it to go and marked the wall.
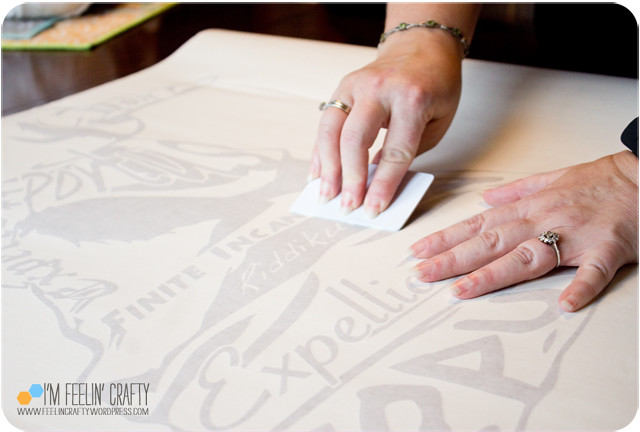
Then you use the supplied card to go through and press the decal to the backing.
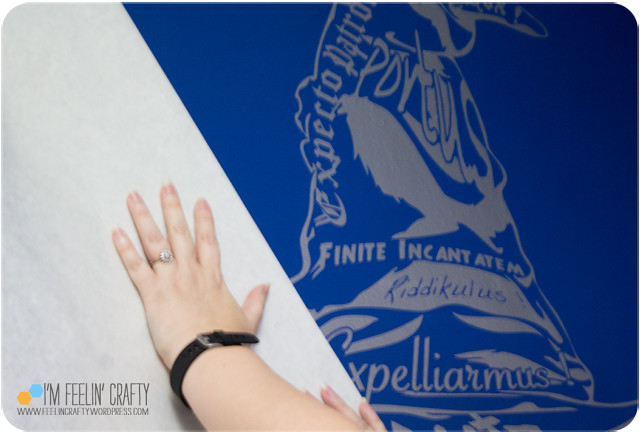
You remove one layer of paper and then stick it to the wall. Then, very carefully, remove the second layer of paper. For this design, there were a lot of little pieces so it got a little tedious. Also, my walls are plaster and not smooth since we live in a little, old house! That made it a little more difficult to remove the paper. I had to take more time and really make sure the decal was adhering to the wall. No fault of the decal, just my reality!
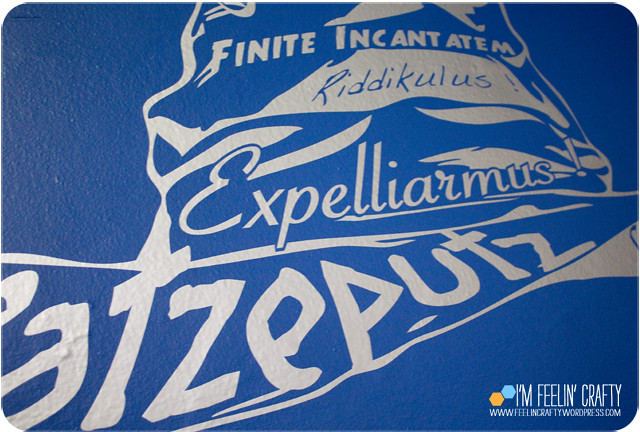
You can see the bumps! It took a little longer than a smooth wall, but it adhered all the same!
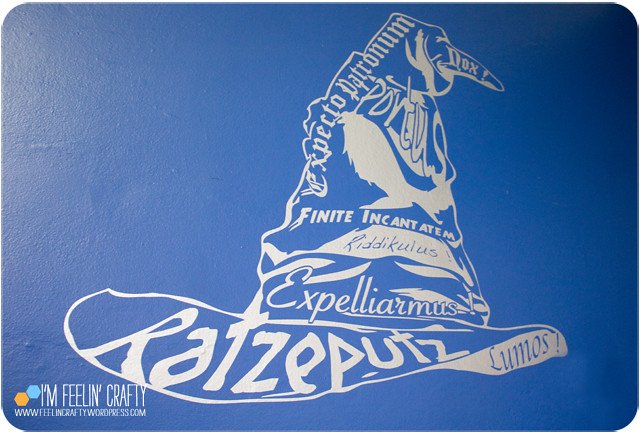
Look how cool it is!
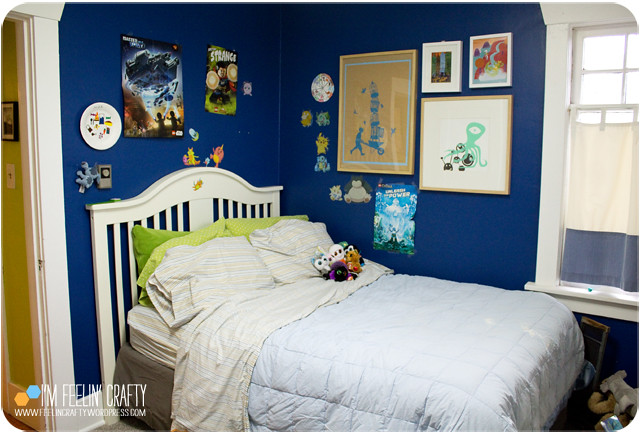
Here’s the before….
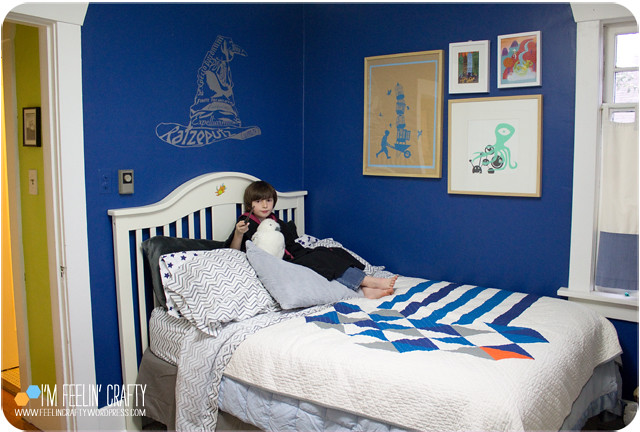
And the after! (in progress still, but getting closer!)
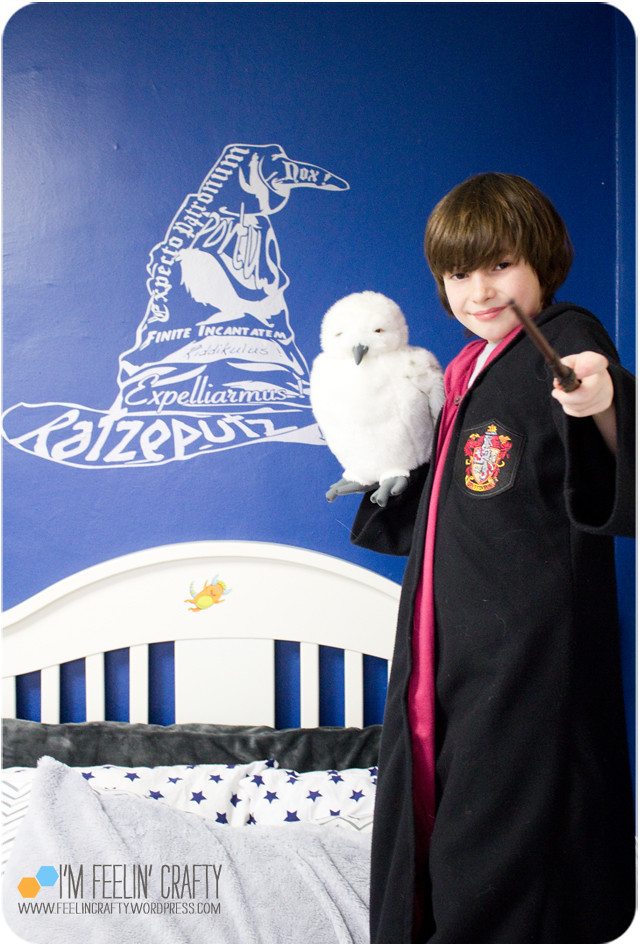
And one happy kiddo! Thanks Style and Apply for making this kid even happier! We will be back!
I have been compensated with either payment or product for this post. All opinions are my own, honest opinions!


