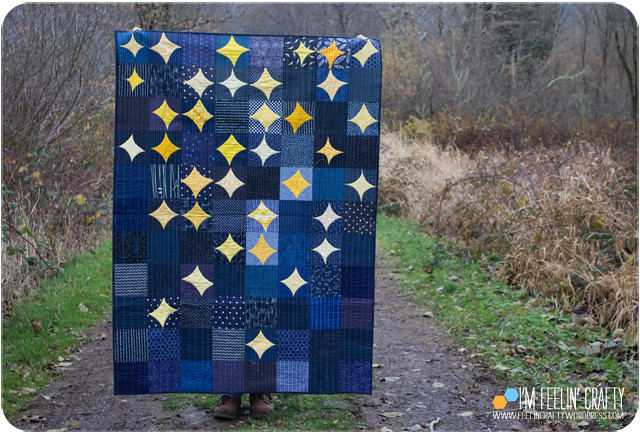
You may recognize this little guy from some of my other quarter circle quilts. I do have a fondness for quarter circles! I’ve used this technique in my 2020 Temperature Quilt, Off the Path Version 1 and Weeping Willow in Black and White. Off the Path takes the traditional Drunkard’s Path down a windy, smaller road! In the spirit of small piecing this little mini quilt was born from some of my office doodles and from scraps from larger projects! This is an easy one to use up your scraps and make one for yourself!
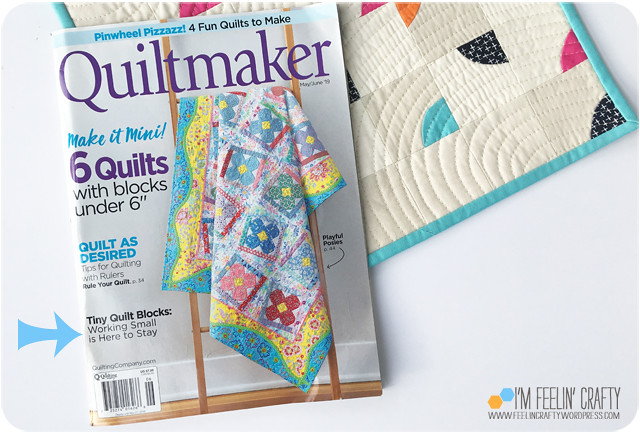

I realized I had not shared this mini quilt, nor had I shared that it was featured in Quiltmaker Magazine back in 2019!

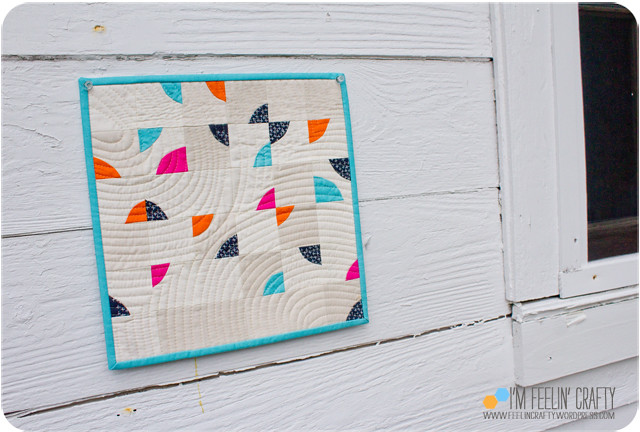
It’s been a while since I shared a tutorial, so I thought I’d share this one today. This mini finishes at 12.5 x 12.5 inches. And ot make it I grabbed (4) colors and (3) cream colors.
Cutting:
From Cream solids, cut:
15 (2.5” x 2.5”) squares
18 (3.5” x 3.5”) squares
3 (4” x 4”) squares
From Colors, cut:
24 (2” x 2”) squares
There are 2 different blocks in the quilt, a single and double quarter circle blocks.
Assembly of the single quarter circle blocks:

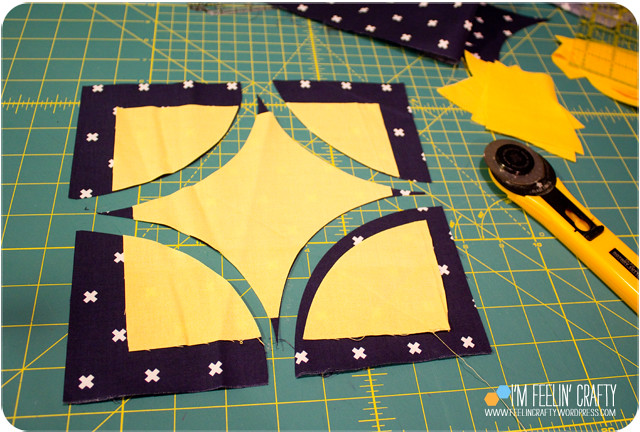
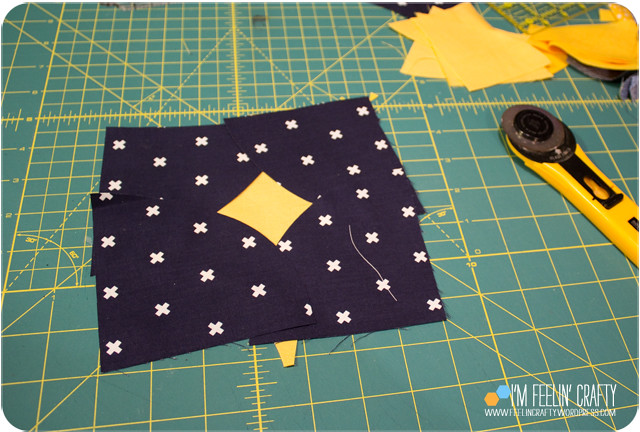
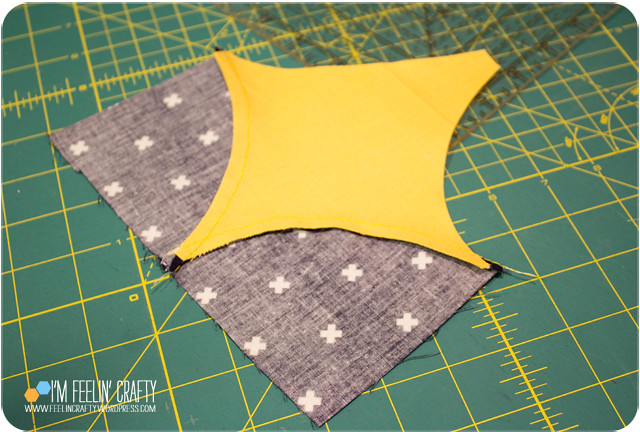
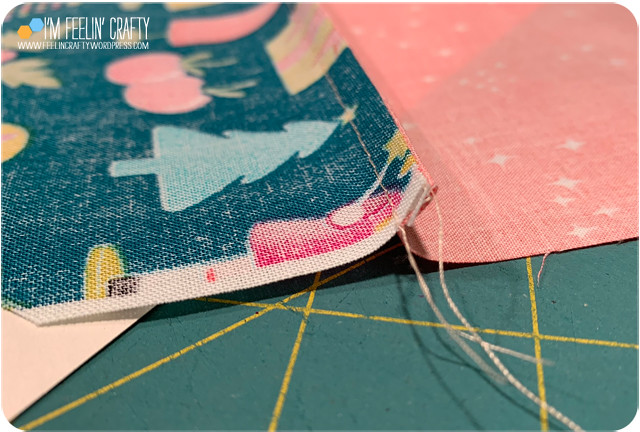
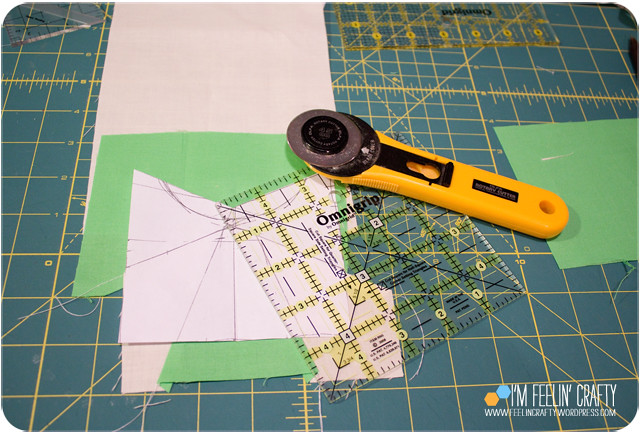
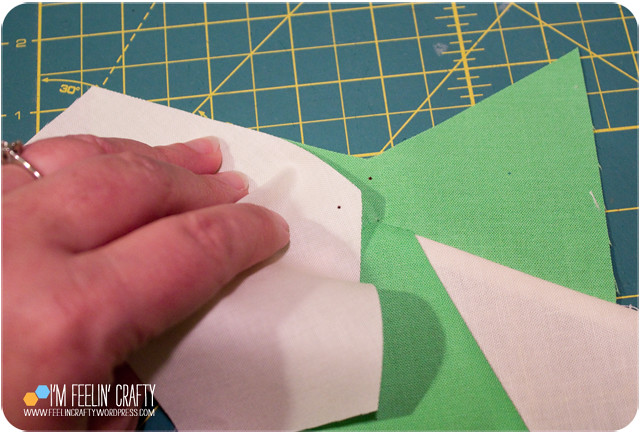
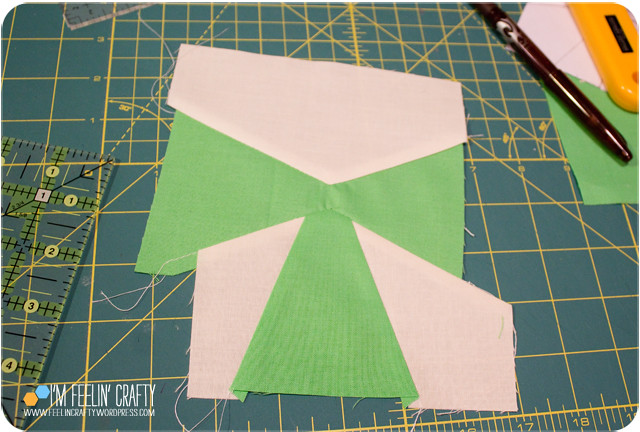
- Pair a cream square with a colored square. Stack the two squares in the bottom left corner. Align the fabric squares with your cutting mat squares. (illustration 1, above)
- Here’s where the improv comes in! No templates needed to cut your curves. You will cut a curve in the two pieces of fabric starting at ‘about’ 1 1/2” and ending at ‘about’ 1 1/2”.
- Keep the colored quarter circle and the cream background piece.
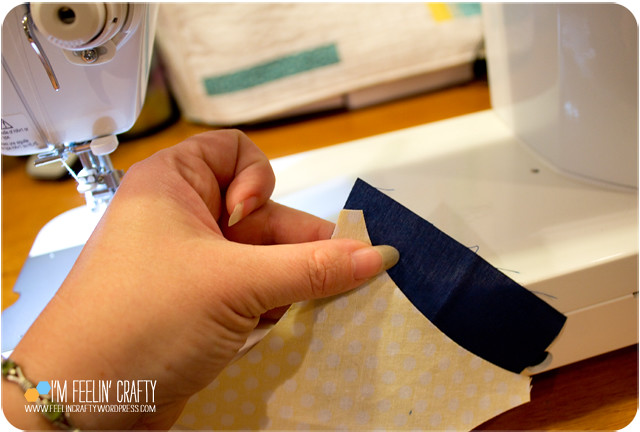
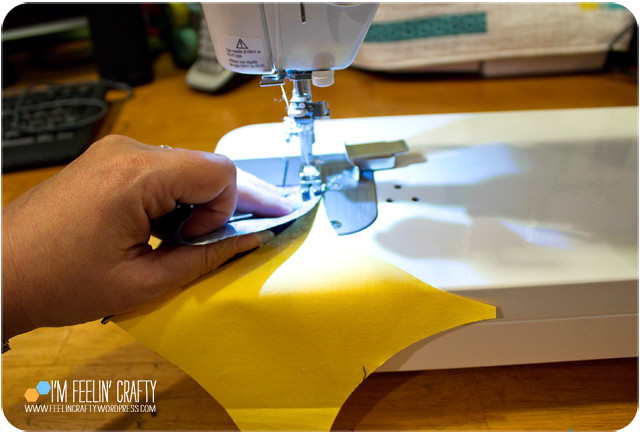
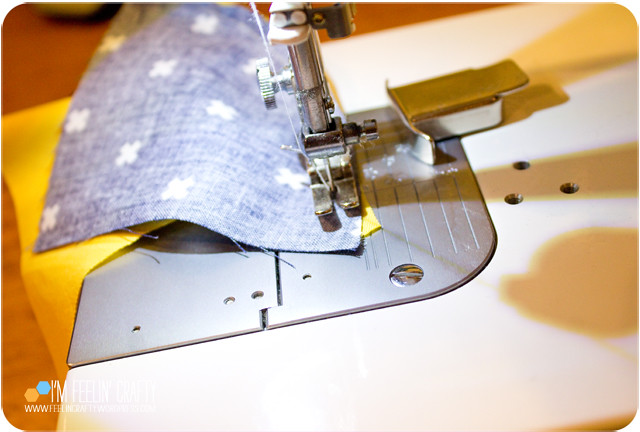
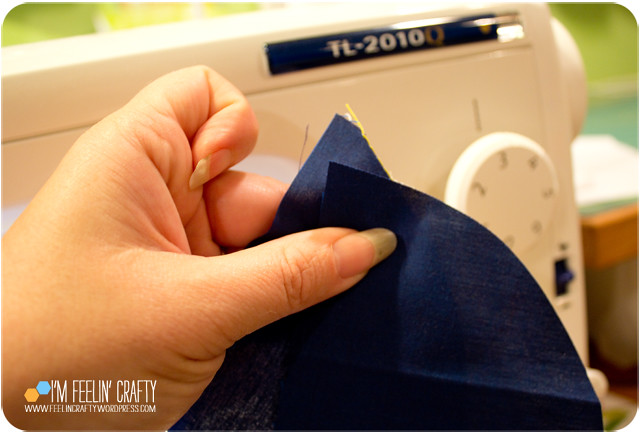
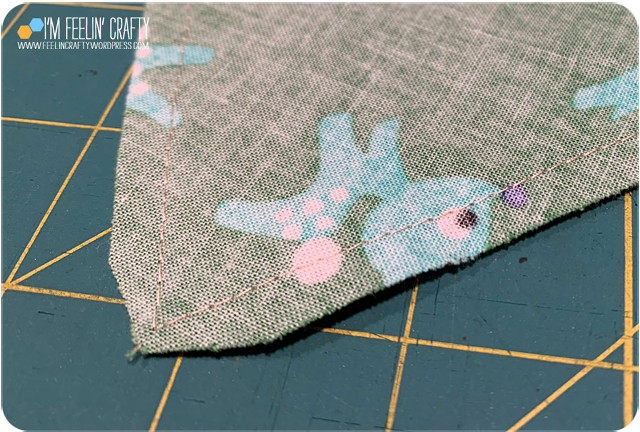
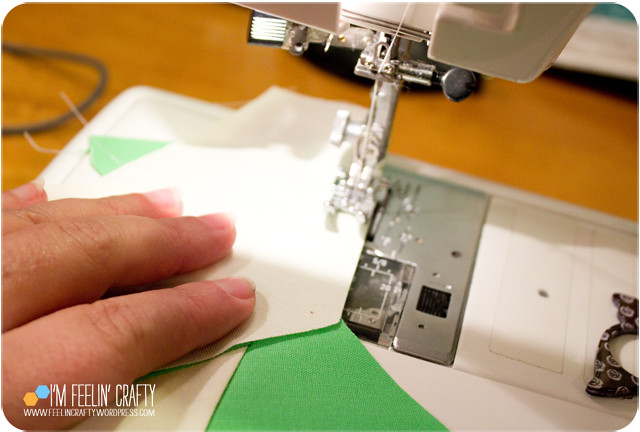
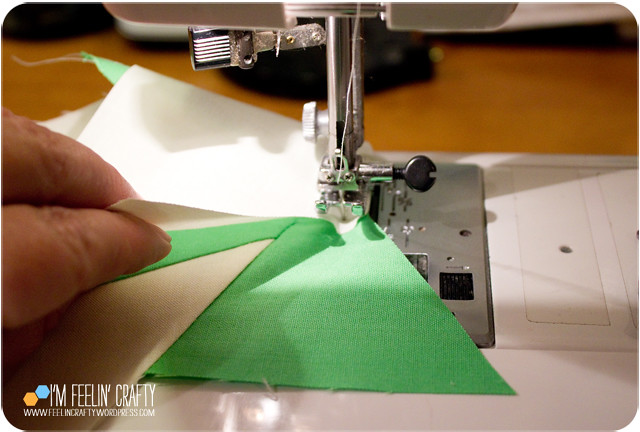
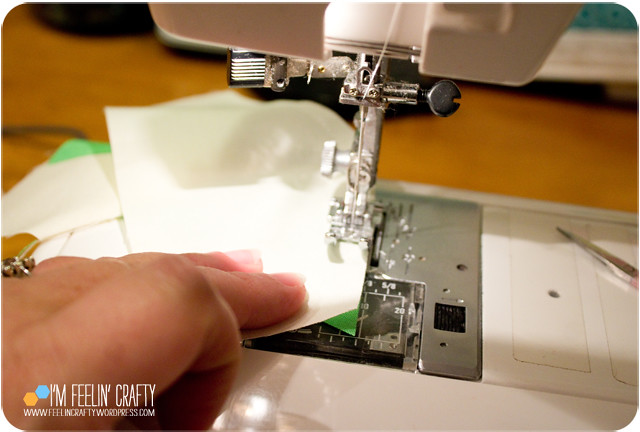
- Sew the two pieces together, right sides together. Do not pin! Align the quarter circle about a ¼” in from the edge of the background. (illustration 2, above) To sew without pinning, as you sew the pieces together hold the quarter circle, which is on top, with your left hand and hold the background piece with your right hand and guide them through your machine. As the fabric moves through the machine, you will gently pull the two fabrics so the edges align as you sew your ¼” seam.
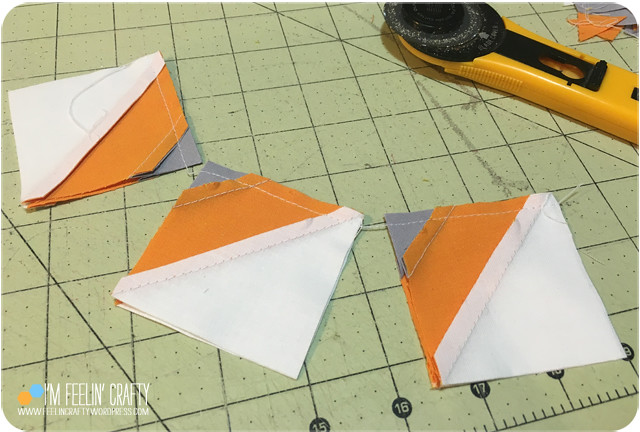
Remember: These are improv quarter circles. You are not sewing a perfect quarter circle! - Iron the seams toward the center of the circle.
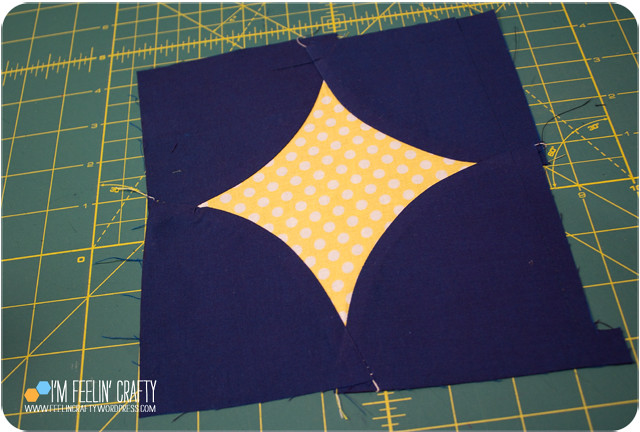
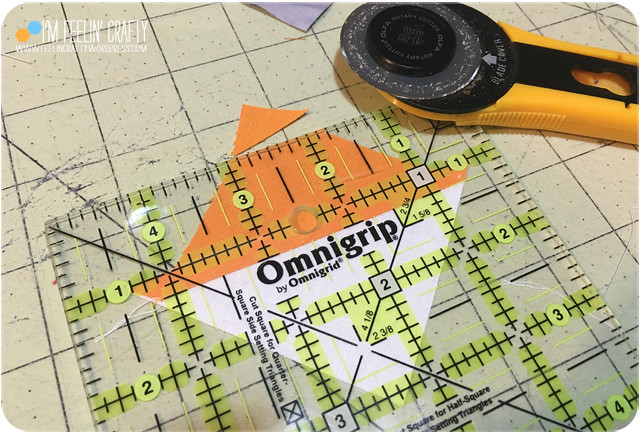
- You will now have a pretty wonky block. Trim this down to a 2 ½” square.

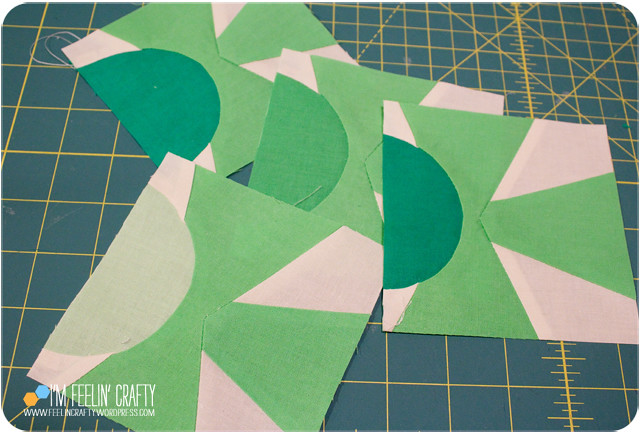
Assembly of the double quarter circle blocks:
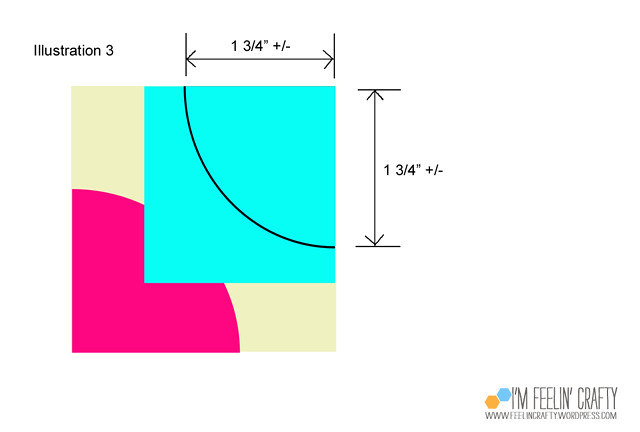
- Follow steps 1 and 2 above, but for this one you will cut a curve in the two pieces of fabric starting at ‘about’ 1 ¾” and ending at ‘about’ 1 ¾”.
- Follow steps 3, 4 and 5 above.
- Trim the block to 2 ¾” square.
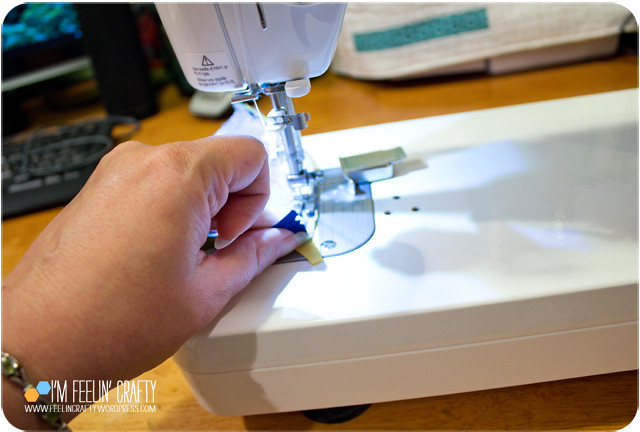
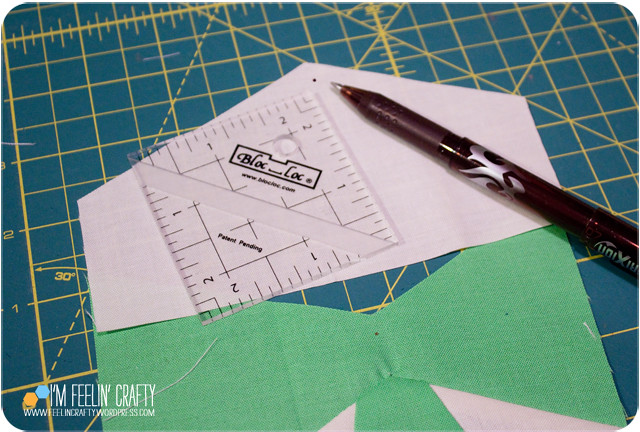
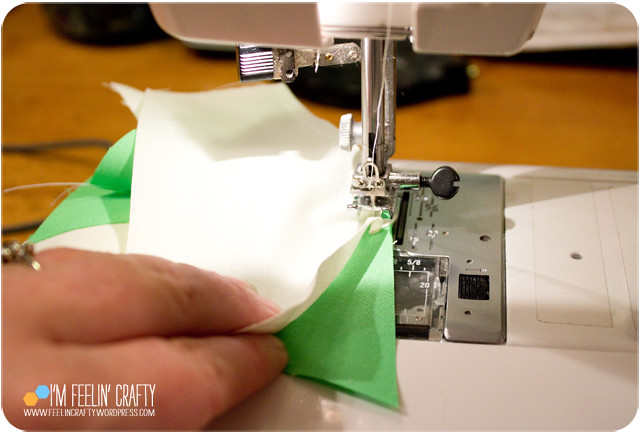
- Repeat steps 1 and 2 above using the plus or minus 1 ¾” curve. Ideally you will have about ½” to ¾” between your cut and the previously sewn curve. (illustration 3, above)
- Repeat steps 3, 4 and 5 again.
- Trim block to a 2 ½” square
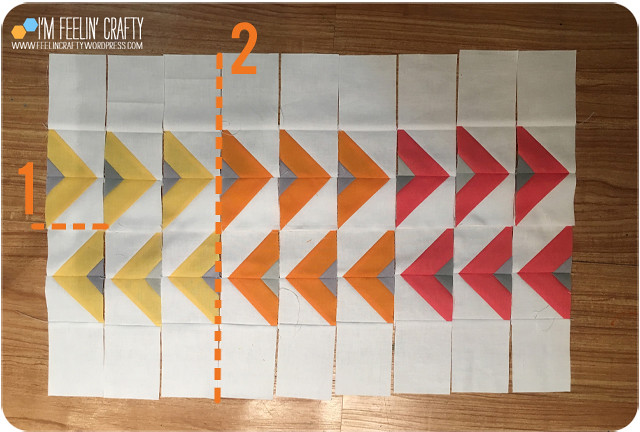
Once you have all the mini quilt blocks completed, you can lay out and assemble your blocks. You can match my layout, so design your own! It’s a pretty quick and fun little design to play with.
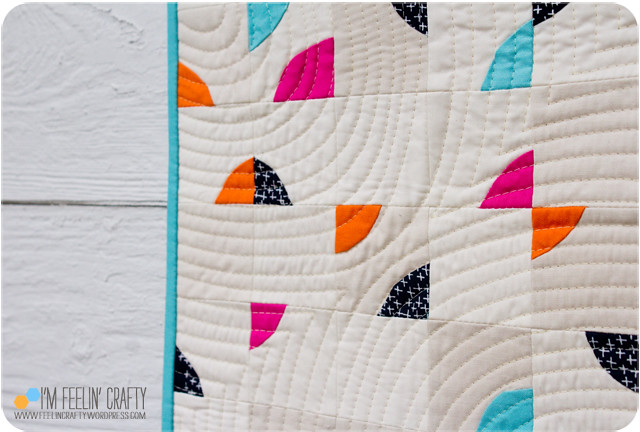
Once you lay out piece together all the blocks, quilt it however you feel most comfortable. I like to use curved quilting, but straightline and freemotion quilting would both work as well!


My token label shot! This was the old black and white label…
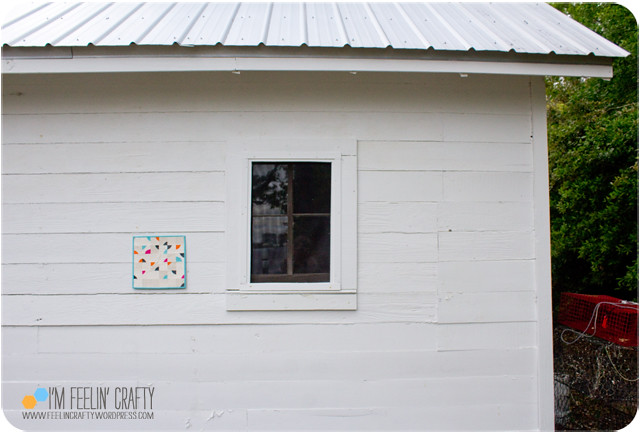
I love this picture and how tiny it looks! What do you think? Do you want to try it???