Quilt as You Go Tablet Cover Tutorial

Wow! It’s been a while! I’ve been super busy and excited about getting my etsy shop more organized and getting more parties to put in it! More to come on that soon… In the meantime, do you want to see another Christmas present I made and never showed off?

TabletCover-FrontMain-ImFeelinCrafty

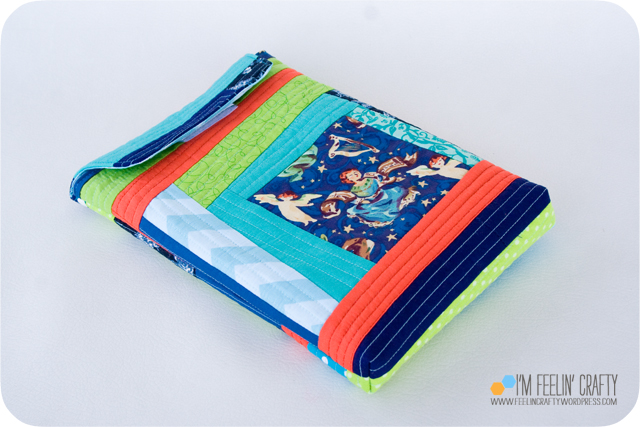
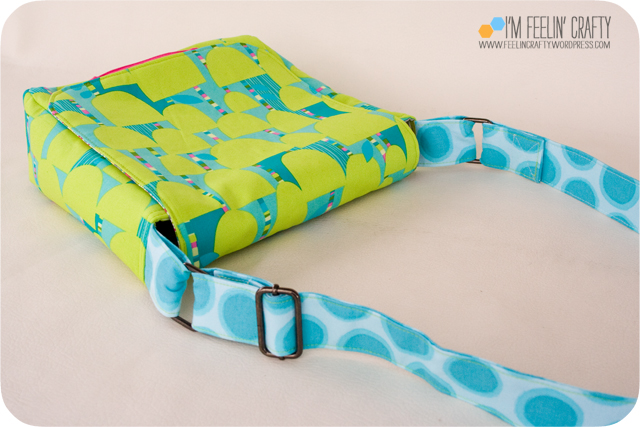
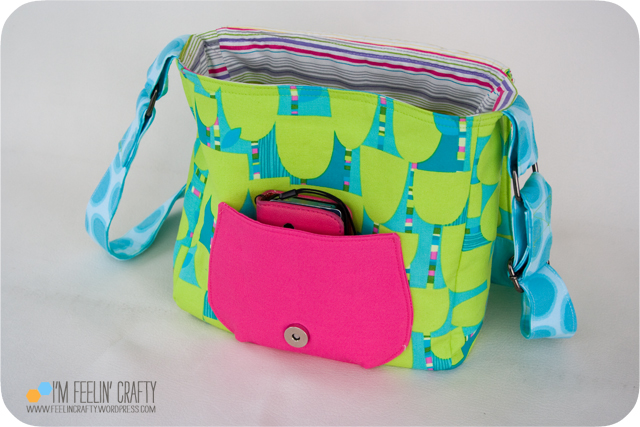
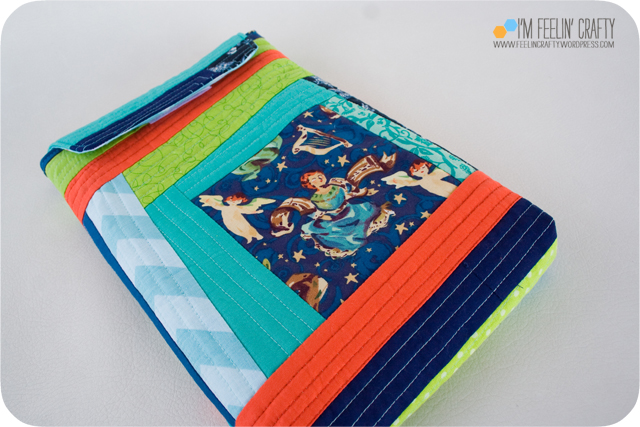
I made this tablet cover from my Step Mom for Christmas! Some people are probably already making CHristmas presents for this year, but I’m just showing you a present I made for last year!

TabletCover-Book-ImFeelinCrafty

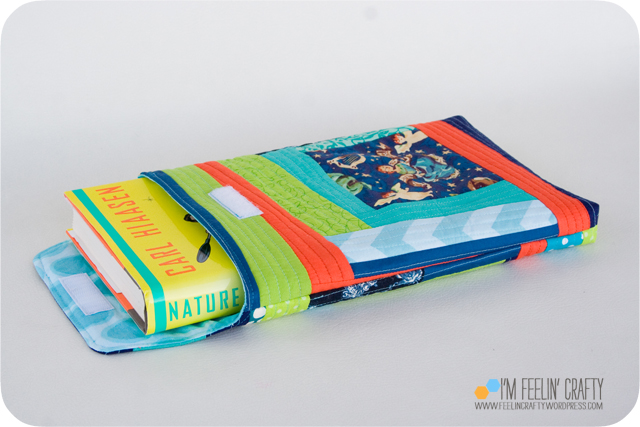
I don’t actually have a tablet, but I do have a model (AKA a book) that fits in the cover quite nicely…. hehehe….

TabletCover-Front-ImFeelinCrafty

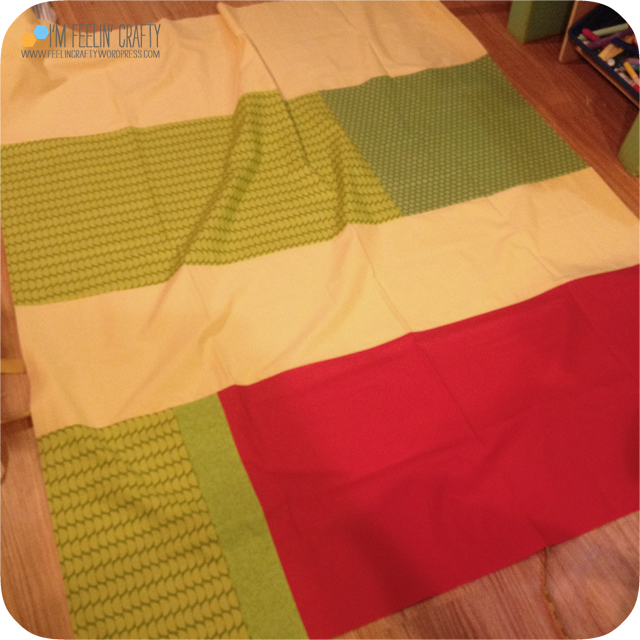
I started with two pieces of this angel fabric I’ve had. One main piece for the front.

TabletCover-Back-ImFeelinCrafty

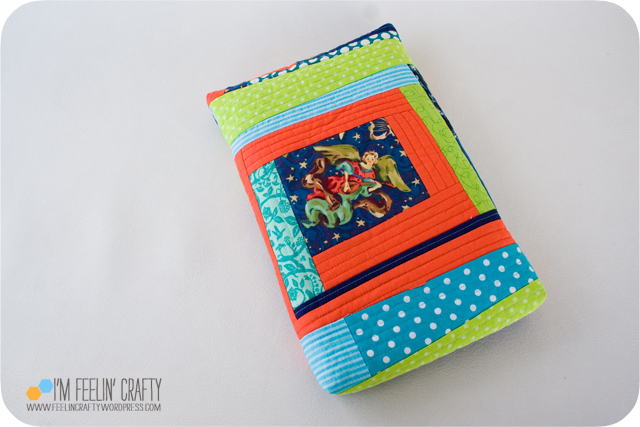
And one main angel piece for the front.

TabletCover-Open-ImFeelinCrafty

What do you think? Would you want to make one? Well, just in case I took pictures all along the way to show you how I did it….

TabletCover-Step01-ImFeelinCrafty

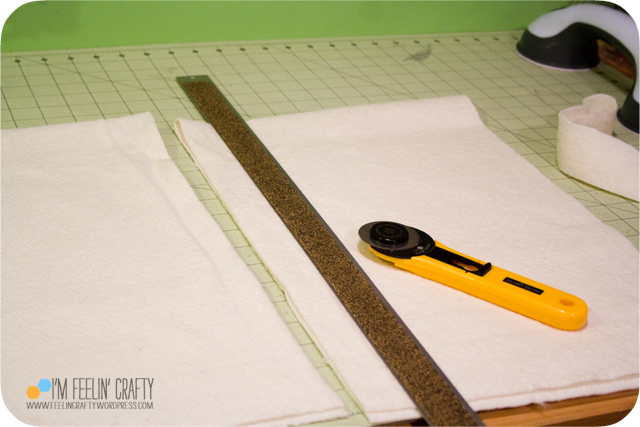
First cut the batting. So to get the right size… For the width, take the width of the tablet + the thickness of the tablet + 1″ for seam allowances + 1/4″ for a little extra. For the length, you want to take the length of the tablet + the thickness of the tablet + 4″. But wait! Don’t cut yet! I cut my batting about an inch wider and longer!

TabletCover-Step02a-ImFeelinCrafty

TabletCover-Step02b-ImFeelinCrafty

TabletCover-Step02c-ImFeelinCrafty

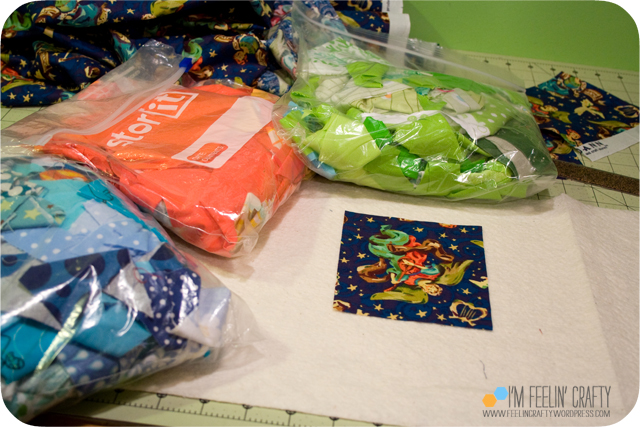
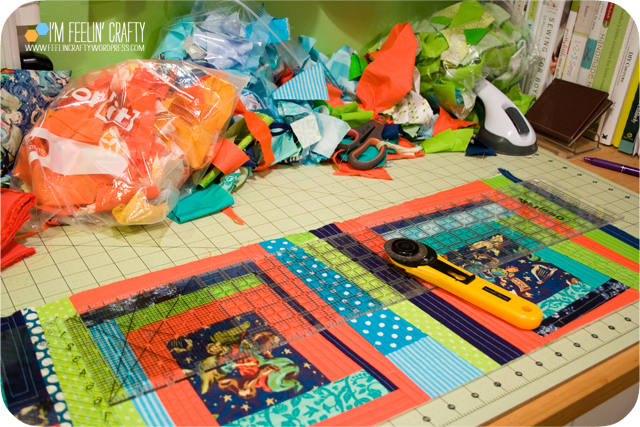
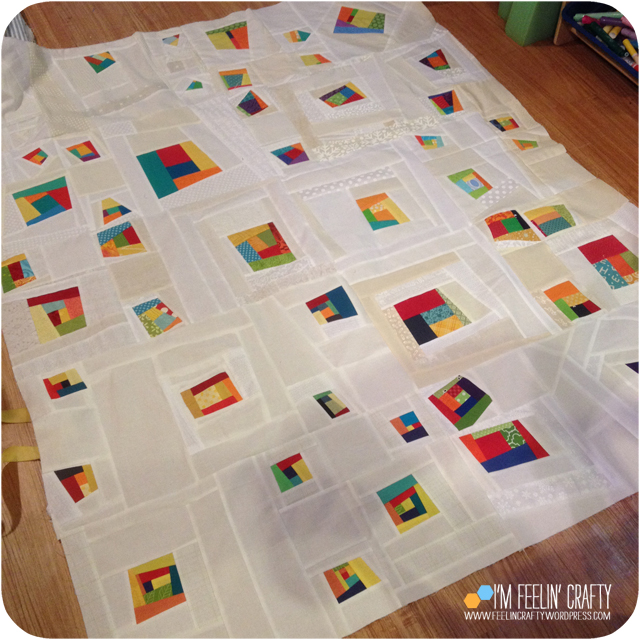
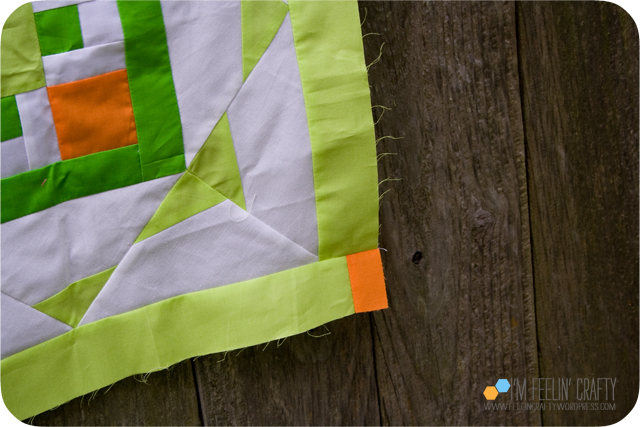
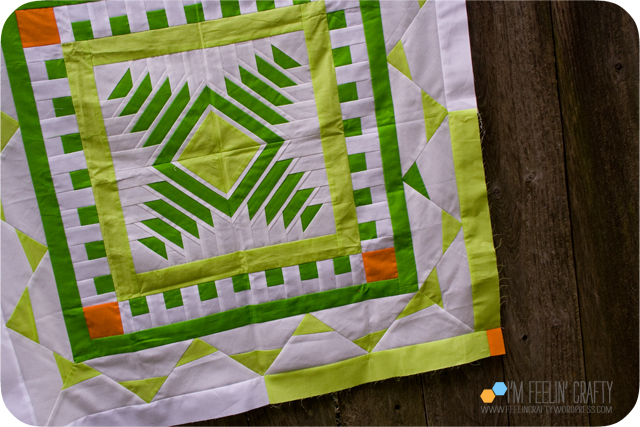
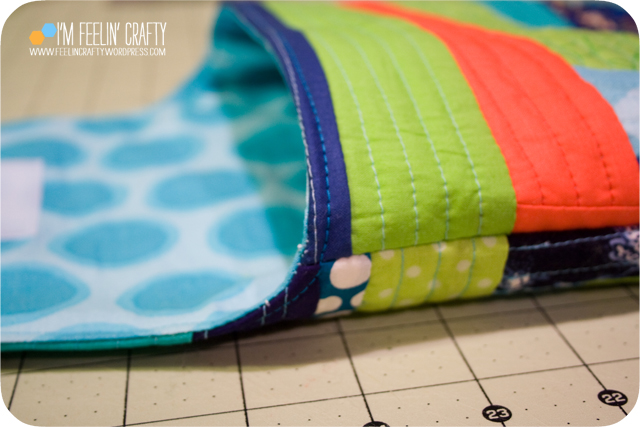
Then quilt as you go the cover! I’m not going to do a full quilt as you tutorial today, but start with you accent block, then start quilting around it and around it until you’ve quilted the whole top.

TabletCover-Step03-ImFeelinCrafty

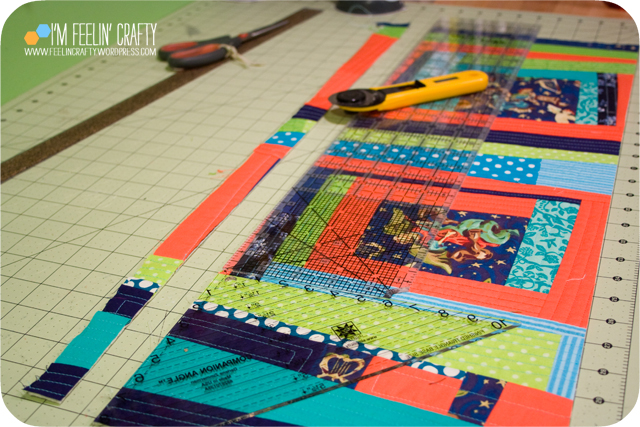
Trim the top piece to the right dimensions that you came up with earlier.

TabletCover-Step04-ImFeelinCrafty

TabletCover-Step05-ImFeelinCrafty

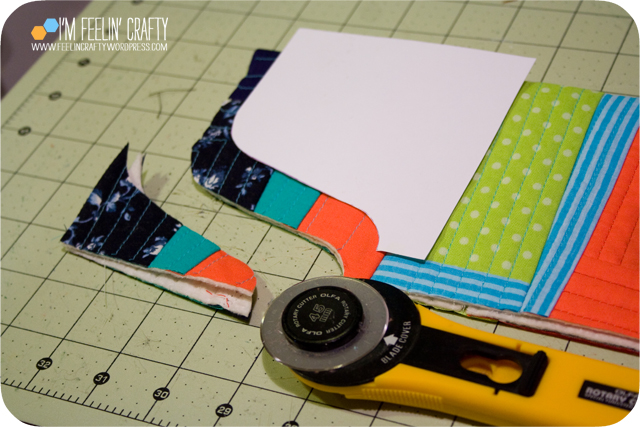
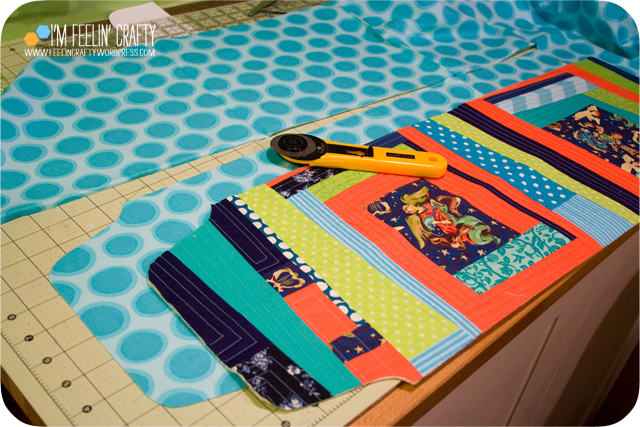
Cut the shape of the flap. I used a couple of spools of thread to make the curves. The curve is 3.5 inches. Fold the top in half and cut. Do this for the lining and the top.

TabletCover-Step06-ImFeelinCrafty

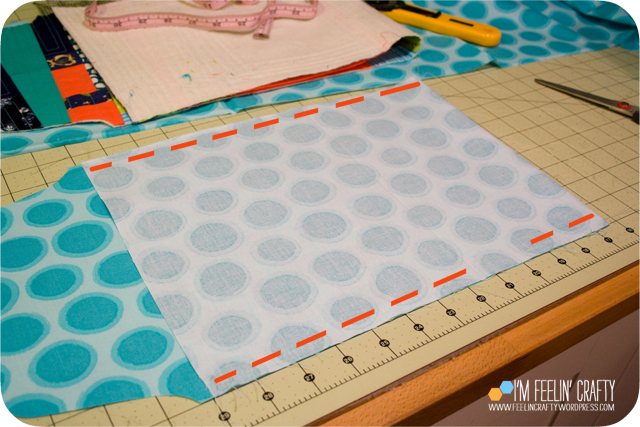
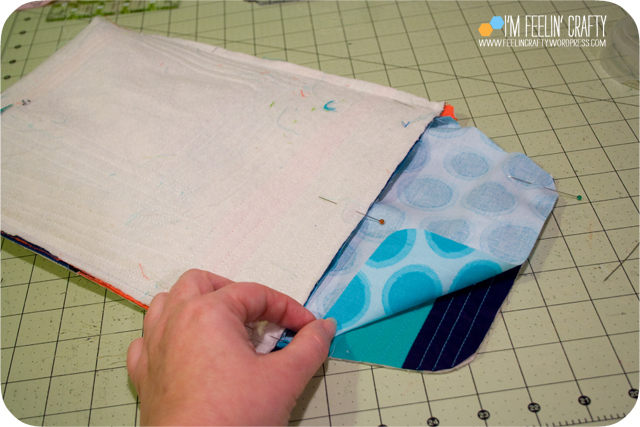
Fold legthwise, right sides together. Bring the bottom up, but hold it off 4 inches from the top. Then sew along the edges. With the lining, leave a hole to pull through later.

TabletCover-Step07-ImFeelinCrafty

TabletCover-Step08-ImFeelinCrafty

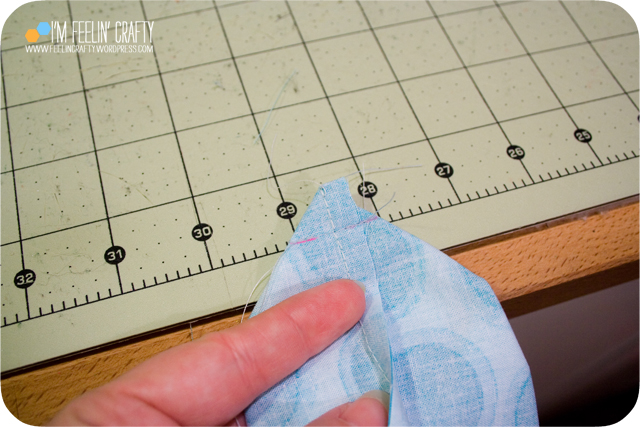
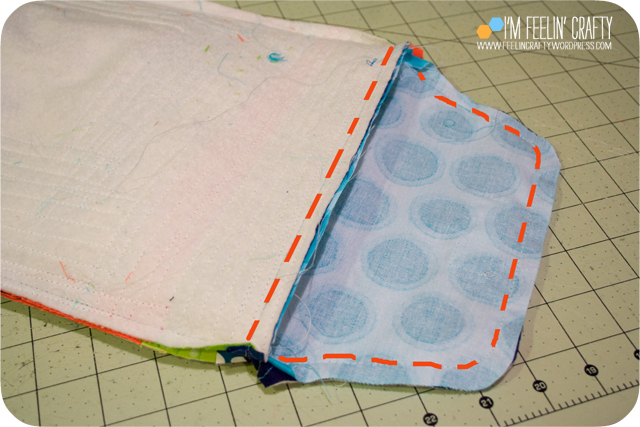
Pull the corners together with seams together. Sew along the triangle.

TabletCover-Step09-ImFeelinCrafty

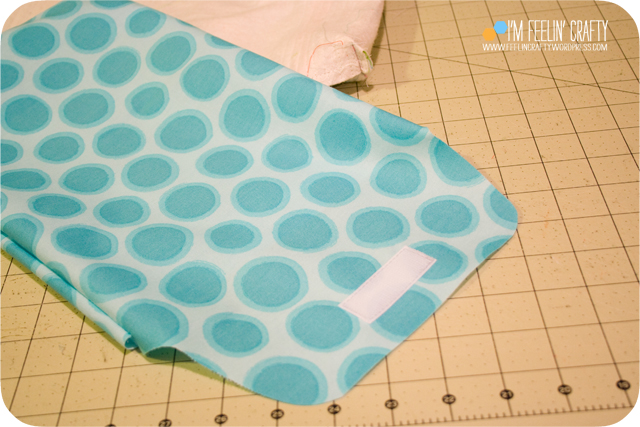
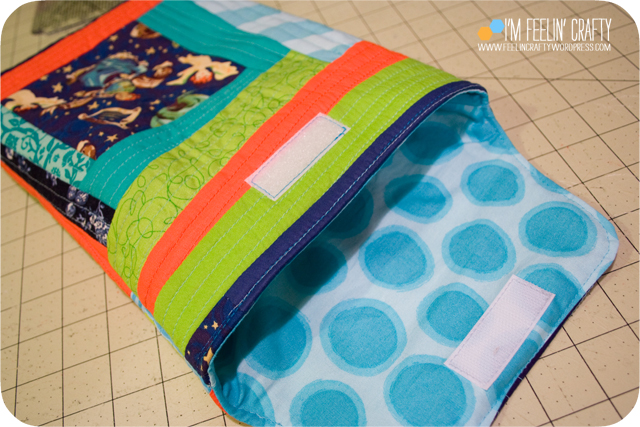
Add velcro to the lining.

TabletCover-Step10-ImFeelinCrafty

TabletCover-Step11-ImFeelinCrafty

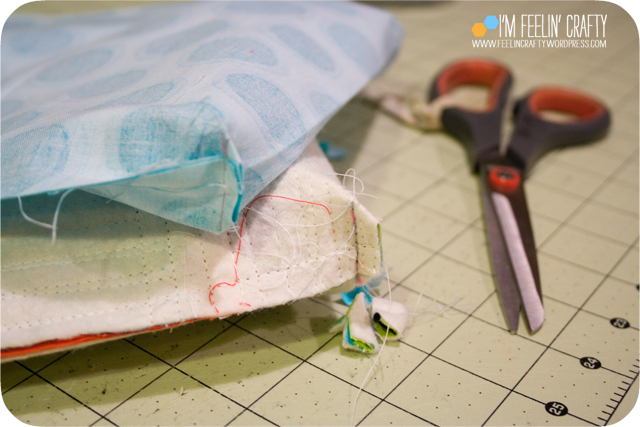
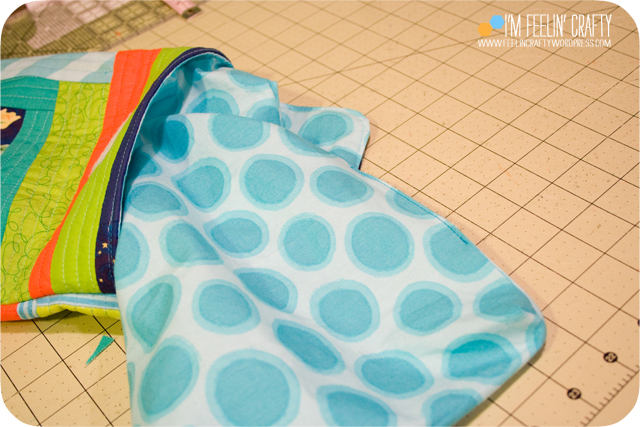
Insert the lining into the top, right sides together. And sew along the top using a 1/2″ seam.

TabletCover-Step12-ImFeelinCrafty

After you pull the whole cover through the hole so right sides are out, topstitch along the top edge and flap.

TabletCover-Step13-ImFeelinCrafty

Sew the hole closed!

TabletCover-Step14-ImFeelinCrafty

Add the velcro to the top. And you’re ready to add that tablet!

TabletCover-Last-ImFeelinCrafty

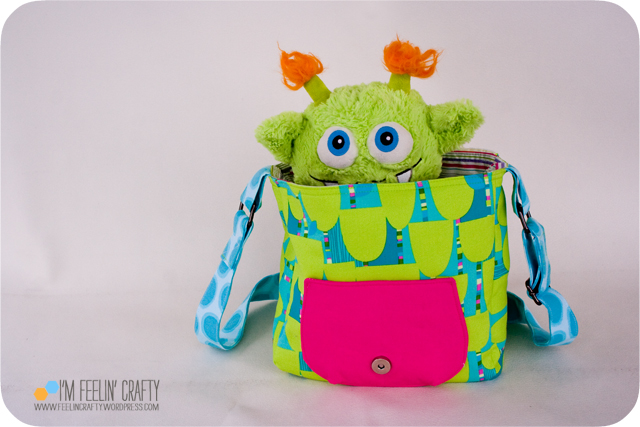
And then give it away of keep it for yourself! I broke it down into a bunch of steps, but it’s really quite a quick project. The quilt as you go part took the longest! The rest was quick, quick! And since I used a book to model the cover, you could use it for more than just a tablet… What would you use it for?


A Walk Down Memory Lane!

This weekend was totally sunny and felt like summer here in Seattle. The rain has come back, but in the meantime I was reminiscing about some of the fun summer projects the kiddo and I have done together! I thought I’d re-share some of my favorites that I want to do again this summer!

the water blob- I'm Feelin' Crafty

I really can’t believe we haven’t made another water blob! It was so much fun! Totally on the list for this summer!

ice cube paints- I'm Feelin' Crafty

We made the ice paint at the same time as the blob! I’d love to see what kind of paintings the kiddo would come up with this time!

GlueShirts-Main-ImFeelinCrafty


OK, I think might be one of my most favorite projects! The glue shirts were super cool! We’re so doing this again this summer!

TdayTurkey-Turkeys-Last-ImFeelinCrafty

Yes, this is a little fall like, but we love the salad spinner art. I think it would be fun to come up with a whole zoo of salad spinner animals. I wonder what other animals this would work with? What about a parrot? Or a peacock? hmmmm….What else???

Melted Bead Sun Catchers-I'm Feelin' Crafty- Windchime

And lastly, the melted bead projects. A great summer project, since I use my stove I need to open the house and send the kid outside while they melt. It’s a pretty popular post on the ‘ole blog, too. If you want to do it, read all the comments too, there’s a lot of questions answered and tips from other readers!

What projects do you have on the list for the summer?

I’m here…

But I don’t have anything to show you that you haven’t already seen. All year, I’ve had something… We took a little Spring Break trip, so I haven’t sewn in a almost a week! Kinda crazy! You saw all my WIPS on Monday….

monkey-ImFeelinCrafty

I haven’t been just hangin’ around doin’ nothin’ though! I’ve been working on a new party that should be a lot of fun! More soon!

2015 Finish Along- Quarter 2 Goals

Ok, I’ve been doing this Finish Along thing for a few quarters now and sometimes I’ll finish one, but it seems like more often, I don’t finish any…. Not this time. For real.

FinishAlong-WIP-Paint1-ImFeelinCrafty.

FinishAlong-WIP-Paint2-ImFeelinCrafty.

This first one is the Paint Chip Challenge with the Seattle Modern Quilt guild. And since the finished piece is due in May, I have to finish this one!

FinishAlong-WIP-Nurture1-ImFeelinCrafty.

FinishAlong-WIP-Nurture2-ImFeelinCrafty.

Next up for finishing… Our Nurture Circle quilt. The top and back are done. They just need to be put together! I can do it!

FinishAlong-WIP-Dad-ImFeelinCrafty

Dad’s back is done, which means it’s times to take this one to have it quilted by my friends at West Seattle Fabrics!

FinishAlong-WIP-Beach-ImFeelinCrafty.

And speaking of West Seattle Fabrics, I can’t wait to finish my beach quilt made with fat quarters from our last giveaway day! This is another one that has both the top and back complete. It just needs putting together. No excuses!

Ok, those I promise will be done… Those and my teacher gift bags that I have mentioned a couple of times!

IMG_7558

IMG_7592

I’d love to get these two done too! But no promises on these!

OK, I think that’s enough! Wait, there’s also the Riley Blake Challenge…. Ok, seriously. That’s it!

2015 FAL at On the Windy Side


Medallion BOM with April’s Border

We’re moving along on the Seattle Modern Quilt Guild’s BOM medallion quilt!

SeattleBOM-April-Main-ImFeelinCrafty

This month’s border was super simple! Just adding a simple white and green border on each side. I’ve started a little trend and I’ve been adding in a pop of one of the other colors in each border. Can you find my pop in this border!

SeattleBOM-April-DarkCorner-ImFeelinCrafty

In looking at the pictures, I wonder if I should have not used white… hmmmm…. THat would ahve been nice too, just green and green… Oh, well! Instead I added the dark green to the top corner.

SeattleBOM-April-LightCorner-ImFeelinCrafty

And the light green to the bottom corner. And yep, there’s my pop! A little orange spot.

SeattleBOM-April-Last-ImFeelinCrafty

I guess next time I could actually iron the quilt top, huh! I’m loving this BOM series! You’re welcome to play along. If you do, I’d love to see it. You can get the April instructions here.

Pikachu!

I’m not much up on the whole Pokemon thing. The kiddo isn’t into that whole thing yet. But…

Pikachu-Main-ImFeelinCrafty

One of his buddies up the street is! And she just had a Pokemon birthday party. So of course I needed a birthday present. I know our friend loves stuffies. I know she loves Pokemon and her favorite character is Pikachu. And I’ve been following along with ikat bag‘s Menagerie Stuffie Pattern.

Menagerie Pattern

Have you seen it? I was waiting everyday to see what she would come up with next! Using the same basic pattern she came up with a frog, a dragon, a shark, and my favorite, the squid! And many more! 17 actually. Fantastic! It’s so cool. The pattern is not out yet, but she did participate in Sew Mama Sew’s 6 Weeks of Love for Softies and gave us a sneak peek at the pattern with the Raccoon Pattern.

Pikachu-Smile-ImFeelinCrafty

So I jumped! Stuffie + Pikachu + Menagerie Raccoon Pattern = AWESOME Birthday Present! The pattern was perfect for my project! It’s so simple!

Pikachu-Materials-ImFeelinCrafty

I got to use two new materials that I have never used before! The plastic eyes and the stuffing beads. I ordered the beads not long ago to use in the lap desk, but the bag ended up being tiny. These are like little beads of plastic, not the tiny polyfill microbeads that fly around. I was going ot return them, but it cost more ot return them so I figured I’d use them sooner or later. Yep!! Good call!

Pikachu-Face-ImFeelinCrafty

The obvious changes from the raccoon are the ears and the tail. I did add heavy interfacing in the ears to help them stay straight. I also deleted the nose and instead hand embroidered it.

Capture

Image via Polygon

I debated adding the open pink mouth.  After I started all the pieces, I was sewing on the cheeks and was about to sew on the open mouth when I saw this picture. Totally inspired the closed mouth. So sweet looking!

Pikachu-Back-ImFeelinCrafty

Pikachu-BackDtl-ImFeelinCrafty

And I moved the stripes from the tail to the back! For the cheeks and the back I used high quality wool felt, instead of a fleece. But for the tail I did use a little bit of brown fleece. It was much easier to pull through the tail than the felt would have been. I think if I made it again, I would add one piece across the back instead of 4 little pieces. You can download the pieces I added here. There are no seam allowances included in my pieces.

Pikachu-Last-ImFeelinCrafty

I think it turned out freakin’ adorable! I’m in love with it! And I know the birthday girl was pretty happy with him too! There are such cute critters in the whole Pokemon thing, that  I almost want to try to make a whole series of them! What would you make with her pattern?

The Mini Messenger Bag

I got to test a pattern for Katy of The Littlest Thistle! I’ve seen her make some fun bags so I was excited ot try this one.

MiniMessenger-Main-ImFeelinCrafty

This one is the Mini Messenger Bag. I’ve made messenger bags before, but I was interested in seeing what made her’s different from the others. One is the size. It’s mini! It is exactly the right size for a kiddo, for sure.

Mini Messenger Bag Pattern Cover

I wanted to make it for my son, but he didn’t want one. At least not until he saw mine…. The picture on the cover is a little girlie and I think he was blinded by the floral fabric. Because when he saw mine in person, even though it’s a little girlie though, he wanted mine! But I said no! And I used it the other day and it’s great!

MiniMessenger-OutsidePocket1-ImFeelinCrafty

The second piece about it that was new to me was the insides! The pattern calls for some fusible interfacing that I had never actually used before. A woven interfacing, which I also learned is fantastic for clothing. And a fusible fleece. I’ve seen this before, but typically skip it since it isn’t in my sewing room… This time I bought it and the two interfacings really do give the bag a big sturdy shape!

MiniMessenger-Strap-ImFeelinCrafty

Lastly, for new ot me sewing, I have never done an adjustable strap! It seems like I would have with all the hundreds of purses I’ve made in my time (I used to sell purses…). But no! Super easy!

MiniMessenger-InsidePocket-ImFeelinCrafty

I love a purse with an inside pocket! And it has one included in the pattern! Next time I might put one on each side.

MiniMessenger-OutsidePocket-ImFeelinCrafty

The outside pocket is perfect for my phone! I made it the contrasting color, but in hindsight, I think I’d stick with either the same color or at least not as contrasting because part of the pocket shows under the flap. which I didn’t realize in the process!

MiniMessenger-Doodles-ImFeelinCrafty

And its’ a great size for a stuffie! I couldn’t resist, since this guy looked so cute in it! I actually didn’t carry Mt. Doodles around in it. I used it for carrying books and I really loved how the strap felt on my shoulder. I have a problem with bags falling off my shoulder, but this one didn’t!

MiniMessenger-Last-ImFeelinCrafty

Now to get your own pattern! You can purchase the pattern here at Katy’s shop. To celebrate the launch of her new pattern she’s offering 25% off ALL the patterns in her shop! Hurry over, the discount is available until April 10th with the code HOPPYEASTER15.


A Storybook Baby Shower

Please help me welcome Ashley from Ashley Quite Frankly, who is sharing a super cute baby shower theme with us!

FINALCollage1

Every mom-to-be deserves to be princess for a day while pregnant, making a classic storybook-themed baby shower the perfect prologue to celebrate the upcoming adventure. Invite guests to bring their favorite childhood book to start a library and set the tone for a sweet storybook soiree. Here are some ideas to help with planning:

FINALFoodtable

Centerpiece

Invitations provide wonderful inspiration for themes and color schemes, but they’re even better when they can double as decor. Put your leftovers to use by creating a building block puzzle that serves as both centerpiece and keepsake.

What you’ll need:

Blank wooden blocks

Mod Podge glue

Paint or foam brush

Paper cutter

Ruler

Pencil

Spare invitations and/or storybook pages

How to make it:

Step 1: Using the ruler, measure the blocks and lightly mark a grid on the invitation with pencil to indicate where to cut.

Step 2: Cut the paper into squares using the paper cutter — you could probably use scissors if you’re good at cutting straight lines (I am not.)

Step 3: Heavier card stock is the best paper to use to avoid air bubbles; these storybook-themed invitations from Tiny Prints have a slight texture that was thankfully forgiving. Apply a thin layer of Mod Podge glue to the block and allow it to dry until it feels tacky. Coat the back of the paper in a thin layer before carefully applying it to the front of the block and pressing down firmly. Use a credit card or roller to smooth out bubbles.

Step 4: The back of these invitations had a beautiful pattern that was perfect for the tops and sides of the blocks. Search thrift stores or printable illustrations online for other ideas.

FINALBlocks2

The finished product was easier than expected, affordable and adorable!

FINALBooksTable

FINALbookplate

Book Plate Guest Book

Skip the traditional guest book in favor of personalizing the books each guest brought as a gift. These printable book plates coordinate with the invitations and allow attendees to leave their name and a note for baby-to-be.

FINALRollups

FINALPunch

Food Table

Consider serving themed food like Pinkalicious punch, Peter Rabbit’s Garden Salad, and Three Little Pigs in a blanket for continuity. Little details like silverware roll-ups wrapped in a book page and raffia help bring your party story to life.

FINALquote

FINALgarland1

Decor

A chalkboard easel or frame with a sentimental quote on it creates a fun focal point, and your handy-dandy paper cutter along with the remaining pages of any books used for crafting can be turned into a colorful handmade garland. Just cut the pages into triangles and affix them to string — it’s as easy as that! And don’t worry, bibliophiles, only two dollar store books were harmed in the making of this party.

FINALFavors

Party Favors

Send everyone home with chocolate chip cookies (a la “If You Give a Mouse a Cookie”) as a sweet thank you for building baby’s library and creating a fairy-tale day that mom will never forget.

A storybook-themed shower is not only a fun event to plan, but also a lovely beginning to the newest chapter of a friend’s life. Take a look at a book in a whole new way and enjoy the party!


Ashley McCann is the award winning blogger behind Ashley Quite Frankly. As a Floridian mother of two young boys, Ashley spends most of her time tending to the various little people and animals in her life (which includes a hedgehog named Oswald). In her free time, she writes for Tiny Prints about parenting and crafty party planning. She recommends Tiny Prints to all her friends and family when it comes to baby shower invitations (here).