Transparency Mini

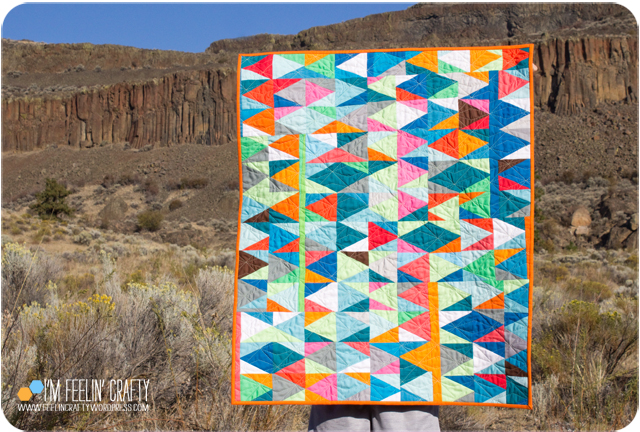
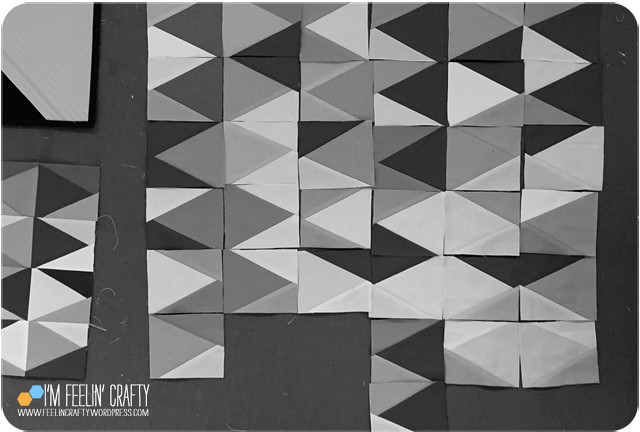
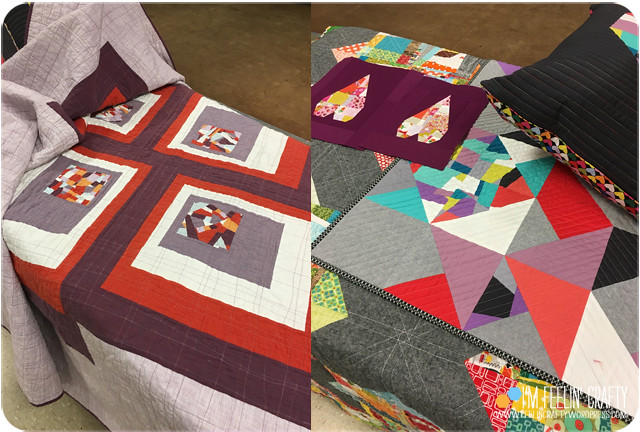
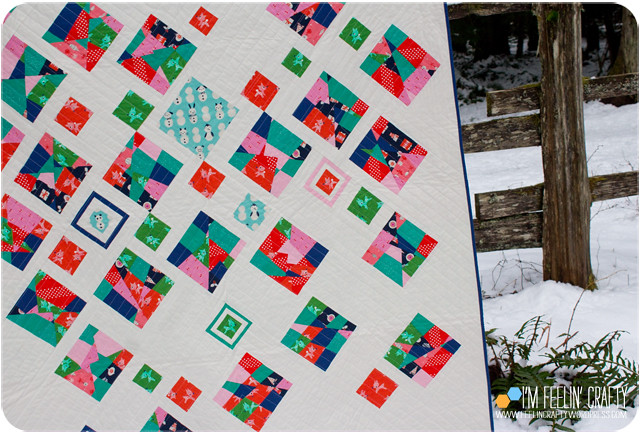
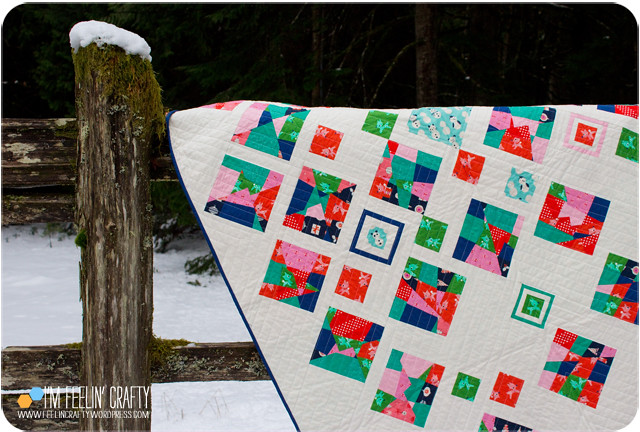
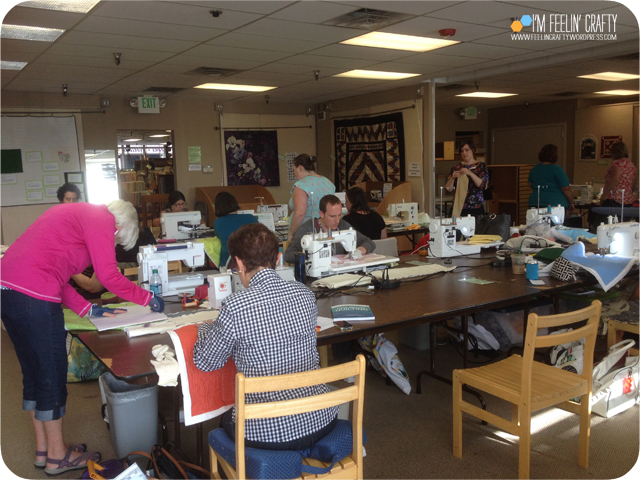
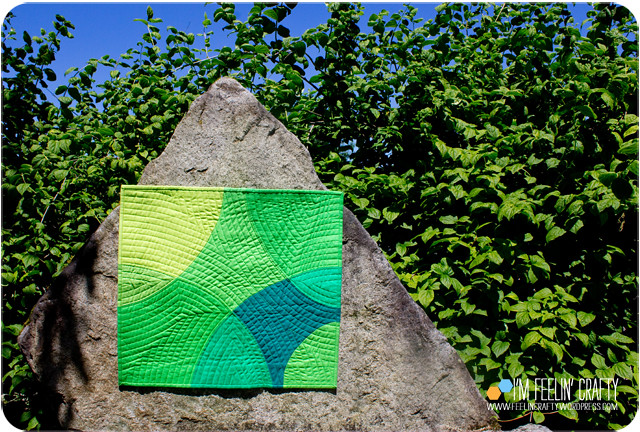
Back in March, I took a class about Color Transparency with Caroline Oneto hosted by the Seattle Modern Quilt Guild. I almost didn’t take it, thinking I have a fine sense of color. It was a really good class!

Transparency-Fabric1-ImFeelinCrafty
Transparency-Fabric2-ImFeelinCrafty

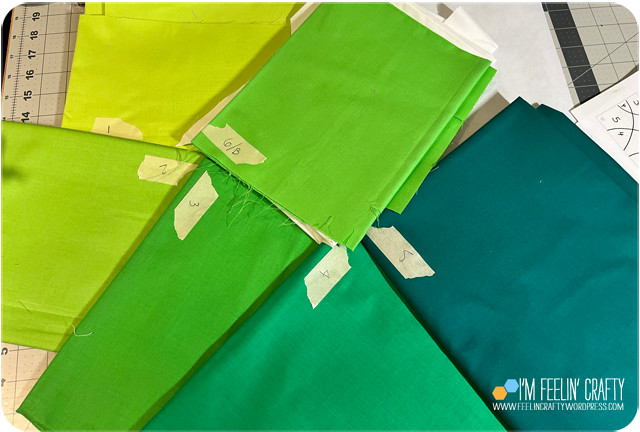
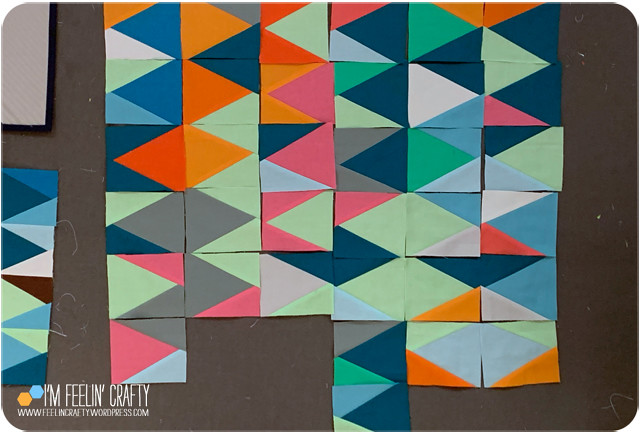
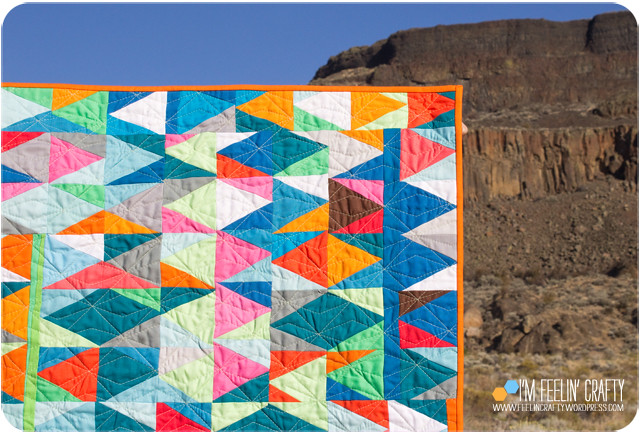
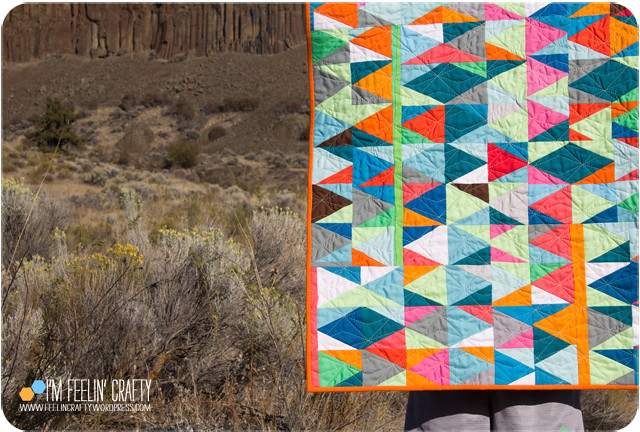
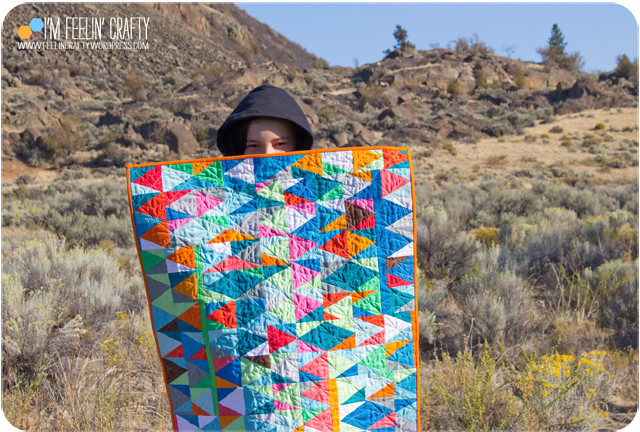
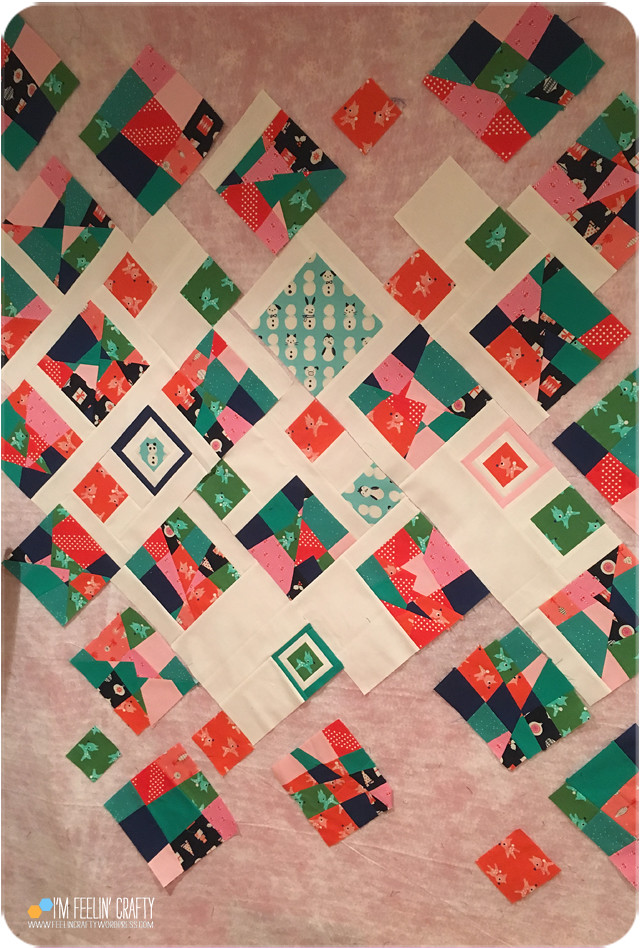
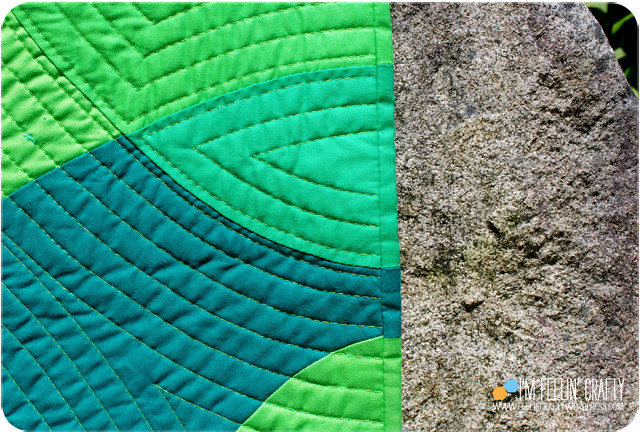
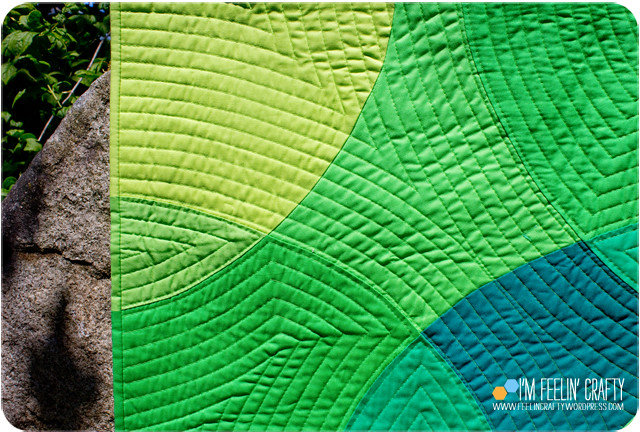
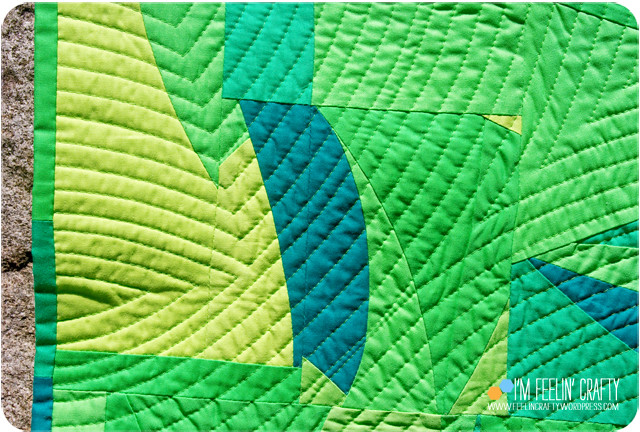
The directions were to get 5 colors and a neutral. Which I did. As I was laying them out, I realized that the neutral just stood out like a sore thumb. I realized I wanted all color, no neutrals! And I’m glad I did. The idea is to pick two different shade colors, then a third color that would be the color the first two would make if combined together. I’m not sure that’s exactly how she described it, but it’s my thought process!

Transparency-FrontMain2-ImFeelinCrafty

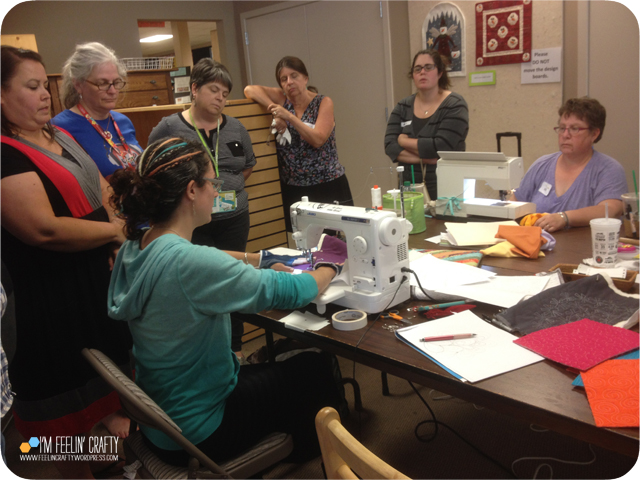
We learned about some color theory, but she also gave some really good tips about sewing curves and putting curves together. You can even take her class online on your own time, here.

Transparency-Binding2-ImFeelinCrafty
Transparency-Binding1-ImFeelinCrafty

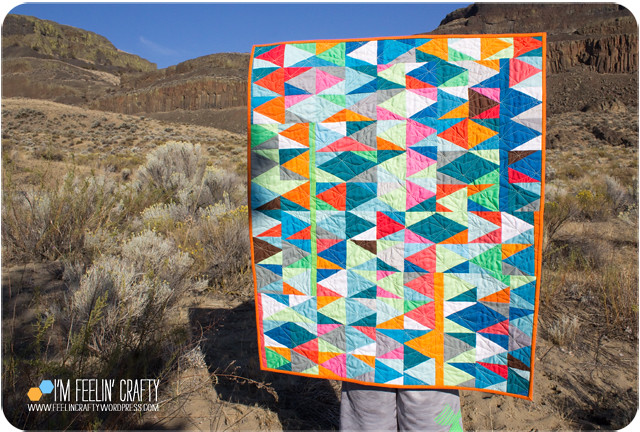
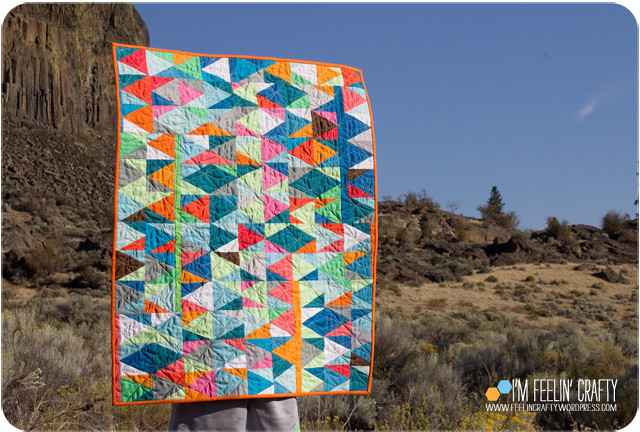
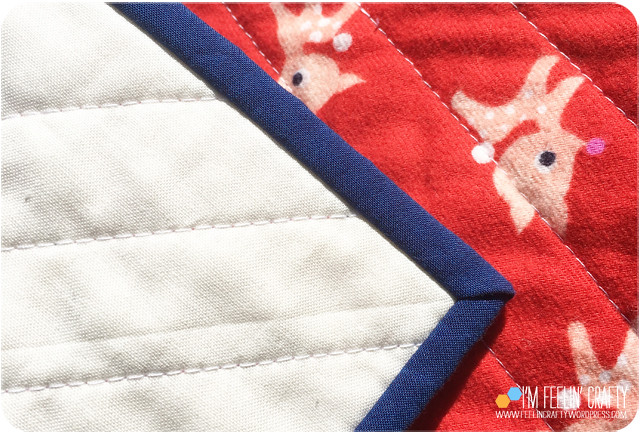
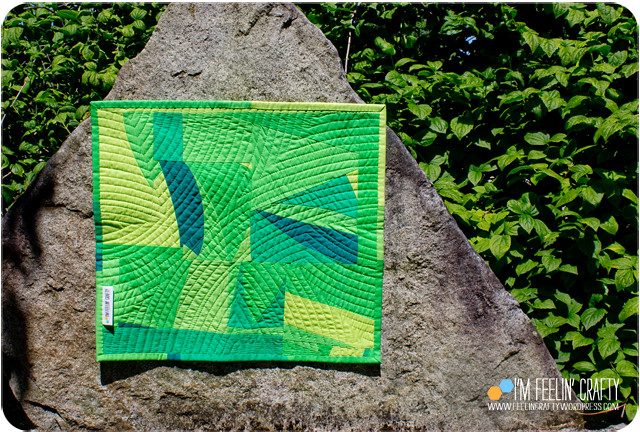
The other aspect of this quilt that I wanted to play with was matched binding for the whole quilt. And since it is a mini, that was not a huge commitment. It was a fun exercise to make it all line up.

Transparency-Back-ImFeelinCrafty
Transparency-BackDetail-ImFeelinCrafty

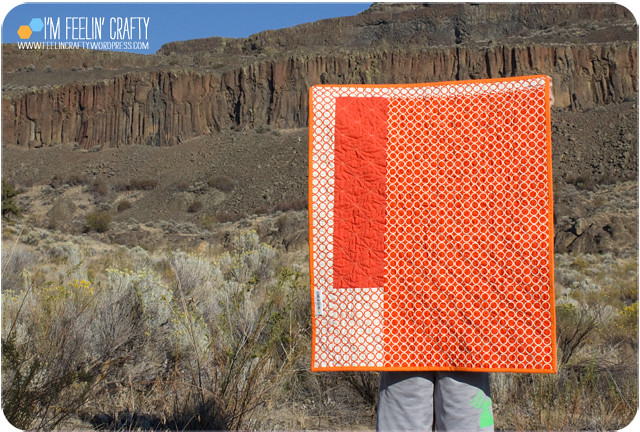
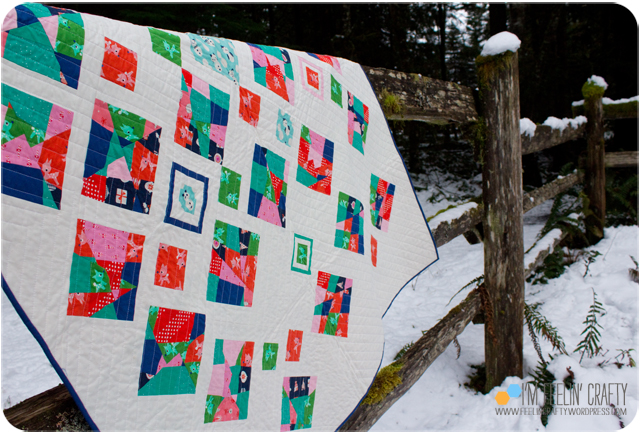
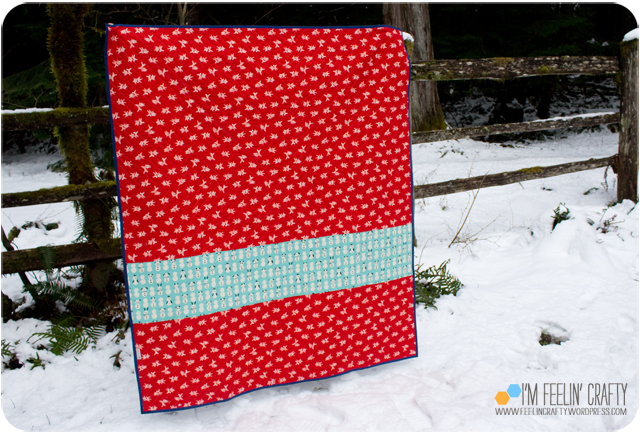
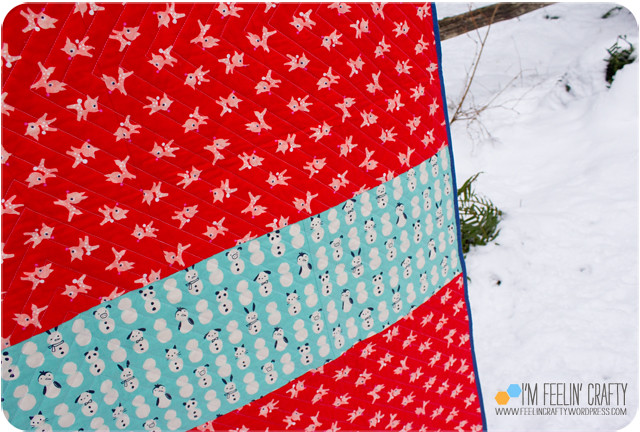
The back, of course, doesn’t have a matched binding. But it made completely of scraps from the front of the quilt. And I love how it turned out. this little detail is my favorite bit of scraps coming together to make a great shape!

Transparency-BackLabel-ImFeelinCrafty

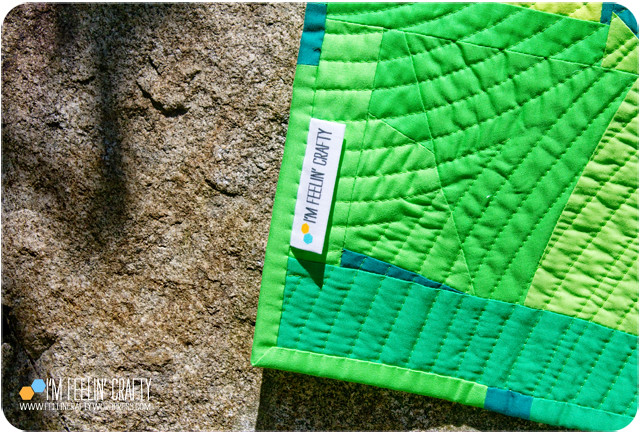
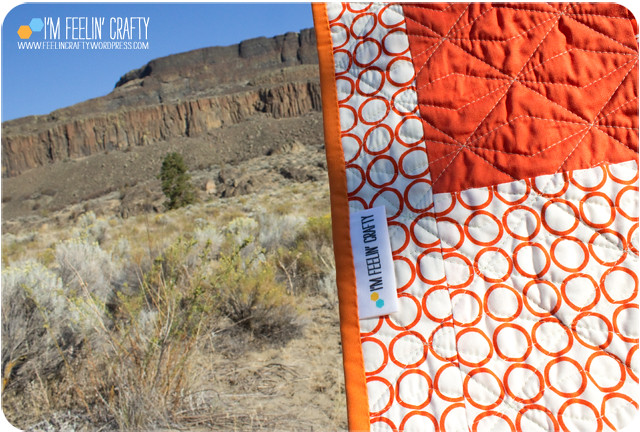
My traditional shot of my label!

Transparency-Last-ImFeelinCrafty

What do you think? Do you want to make one? Caroline is putting together a digital quilt on IG with all the class pieces. Check out her Instagram and add your own! Can you see mine?

Loons Here and There

This doesn’t happen often! A quilt that I started this year, finished this year, photographed this year and am blogging about this year!

This one I’m calling, Loons Here and There. If you are a fan of Maria Shell, you may recognize it as a play on one of her quilts.

HereAndThereLoons-Far-ImFeelinCrafty

I took Maria’s class, Improv Triangles: Perfectly Pointless, at Quiltcon From Home in February. I love a good improv triangle quilt and found the class very inspiring! I also have a bad habit of starting quilts at QuiltCon and never finishing them. (But thanks to the WIPs Be Gone Challenge, I’m going to change that soon!) But this class inspired me to get out of bed despite my broken leg and sew for a little while each day! I fell in love with Maria’s Break Up quilt and wanted to give it a go!

HereAndThereLoons-FabricPull-ImFeelinCrafty

She recommended pulling 8 to 12 fabrics for the fabric pull. I pulled 17, plus I added in brown later. I didn’t think much about the pallet, actually. I pulled a bunch of leftover fabric. Fabric that I had about a fat quarter’s worth of or so. Then got to cutting the squares.

HereAndThereLoons-FabricCut-ImFeelinCrafty

Once I had the squares, I cut them in stacks into triangles and then sewed them back together. The rule I made was that the sides of the triangles couldn’t be the same color. In keeping with improv, I only used the ruler to eyeball the size of my blocks. I did use it to get a straight cut on the triangles, but not to measure anything. Once I sewed all the pieces back together, I do trim the blocks, but just to give me straight edges, not a particular size. And I repeat this every time I sew blocks together.

HereAndThereLoons-FabricPlayColor-ImFeelinCrafty
HereAndThereLoons-FabricPlayBW-ImFeelinCrafty

Then I just laid them out and played with contrast to place the blocks.

HereAndThereLoons-Top-ImFeelinCrafty
HereAndThereLoons-Detail-ImFeelinCrafty
HereAndThereLoons-Bottom-ImFeelinCrafty

I would sew them into smaller blocks and then added a few straight pieces as needed to get all the blocks to fit together. I love the quilting pattern I used. Again, using improv a bit. I laid out the diagonals first using a guide, but then went back in between adding the diamonds ‘freehand’ with the walking foot! I did have a little problem with the quilting and the fabric not staying put. I spray baste and I think it was a combo between the actual brand I was using and also with the the fact I sprayed and then it sat without being quilted. Anyway, once it washes, I think it will be just fine for a potential baby quilt for a friend.

HereAndThereLoons-Front-ImFeelinCrafty
HereAndThereLoons-Back-ImFeelinCrafty

I did piece this back. I love how the orange block is reflected in the rock formation behind the quilt! You may also recognize this backing fabric from a few other quilts… The Spark and Tic Tac TIgerlily and Scatterlilies. I still have more so you may see it again!

HereAndThereLoons-Label-ImFeelinCrafty

And my label shot. This also gives a nice view of the quilting pattern.

HereAndThereLoons-Holder-ImFeelinCrafty

And the cutest quilt holder…

HereAndThereLoons-Last-ImFeelinCrafty

And that’s a wrap for this one! In case you’re wondering where this awesome ‘quilts in the wild’ photoshoot took place, I’ll tell ya! It was at Steamboat Rock State park in Eastern Washington. One of my most favorite places in WA!!! If you haven’t been, you should go!

A Christmas Quilt

It’s been a while since I shared a finished quilt!

It’s my Christmas Quilt! I have a Halloween quilt and I have a ton of amazing Christmas fabric, so I knew I needed to make a Christmas quilt! I’m a huge sucker for both Halloween and Christmas fabric. especially Cotton and Steel Christmas fabric…. I can’t get enough so I had to do something with it!

ChristmasQuilt-03-ImFeelinCrafty

The only problem with Christmas fabric is that it isn’t solids! It’s prints, hence the Christmas theme, right! And I’m not real good with prints! I get totally pushed around by print fabric.

ChristmasQuilt-Katies Work-ImFeelinCrafty

Quilts pictures here are by Katie of Sew Katie Did, not my work! 

In October 2017, the Seattle Modern Quilt Guild had one of our members, Katie Pedersen of Sew Katie Did, come teach some classes. One of the classes was her Split Personality Class. I signed up! But I didn’t want to take solids. Katie is so good with prints, so I was trying to let that rub off on me during this class. But what to take??? Christmas!

ChristmasQuilt-Process-ImFeelinCrafty

I love describing what I do as a quilter to non quilters! So basically the technique involves cutting up fabric, sewing it together, cutting it, mixing the pieces up, sewing it back together, cutting it again, mixing again and sewing it back together again! Yep, that about sums it up! You do that and end up with lovely little improv pieced blocks!

But then what to do with the blocks??? 

ChristmasQuilt-QDAD-ImFeelinCrafty

ChristmasQuilt-designWall-ImFeelinCrafty

I decided to use one of the designs I came up with from the Quilt Design a Day challenge. I forget what the picture was that inspired this design. Anyway, I thought it would be a fun design inspiration for this quilt. 

ChristmasQuilt-Detail-ImFeelinCrafty

ChristmasQuilt-bottomCorner-ImFeelinCrafty

I also used another technique that I don’ tthink I have ever used before. Fussy cutting… Well, sewing with solids doesn’t lend itself well to fuzzy cutting, does it now?? Ha!

ChristmasQuilt-MatchedBacking-ImFeelinCrafty

And another technique… Pattern matching my fabric for the back!

ChristmasQuilt-Back-ImFeelinCrafty

ChristmasQuilt-BackDetail-ImFeelinCrafty

Did you know those reindeer came in flannel? So soft! and adorable!

ChristmasQuilt-04-ImFeelinCrafty

ChristmasQuilt-02-ImFeelinCrafty

ChristmasQuilt-BindingProcess-ImFeelinCrafty

I liked how the blue binding didn’t totally scream Christmas for the quilt.

ChristmasQuilt-Binding-ImFeelinCrafty

ChristmasQuilt-Last-ImFeelinCrafty

I really like it turned out! And I’m loving watching the family curl up in on the couch this holiday season!


Sewing with Leather

Last weekend I took a class to learn more about sewing with leather.

SewingWithLeather-Main-ImFeelinCrafty

It was a lot of fun! I made two pouches, a keyring, learned new things and got to hang out with my SMQG friends! The Guild brought in Krista Fleckenstein to teach for two days and give a lecture. The classes and lecture all revolved around projects in her book, Beyond Cotton.

SewingWithLeather-Book-ImFeelinCrafty

The first class was about printmaking, the lecture was about mixed media artists and the second class about sewing with leather. Both of which are talked about in her book. I debated which class to take becuase I wanted to do both. I had taken two classes from another guest teacher and wasn’t happy, so I was a little leary to take both. Now I’m kicking myself! The printing class turned out awesome work! ANYWAY…. The book is really good. I get kinda annoyed when teachers books are ‘required’ for the class, but this one is worth it. I got the book from the library to start, to see if I wanted to actually add it to my own stash of books. It is full of useful information, so I did purchase it!

SewingWithLeather-Krista-ImFeelinCrafty

SewingWithLeather-Leather-ImFeelinCrafty

We learned about the different kinds of leather, things to look for when purchasing leather and how to cut leather…

SewingWithLeather-Black-ImFeelinCrafty

And then we were off to actually sew with leather! There are quite a few tricks of the trade that I didn’t know about! Different stitch lengths and sorts of things like that. It is hard to get remember to switch back and forth between the right stitch lengths for leather and fabric!

SewingWithLeather-Inside-ImFeelinCrafty

We ended up with 2 pouches each! I still need to add in my fancy labels, but otherwise they are ready to be stuffed with something!

SewingWithLeather-ClassPouches-ImFeelinCrafty

The class ended up with such a great pile of pouches! I love some of the others fabric choices! And some even used fabric they had made in the class before!

SewingWithLeather-Key-ImFeelinCrafty

Then we got to play around with veg-tan leather and make a key ring. No sewing involved on this one. The leather is way to thick. But there was a lot of pounding involved!

SewingWithLeather-Last-ImFeelinCrafty

If Krista comes to your town, take both classes! That’s my advice! The only problem with this whole sewing with leather class is that now I want to go buy leather!!! There’s a cool leather shop here in Seattle almost in my neighborhood… This could be bad…. but in a good way…..


Free Motion Quilting Class!

This weekend we had the opportunity to take a class with Christina Cameli to learn free motion quilting thanks to our Seattle Modern Quilt Guild!

FMQClass-Teacher-ImFeelinCrafty

FMQClass-Book-ImFeelinCrafty

One of the supplies for class was to have her book, First Steps to Free Motion Quilting. I got it from the library and was just going to bring that. But after reading it, I decided it was worth actually having in my own library! It has a nice instructions, quilting pattern ideas and fun projects to make to try out FMQ with.

FMQClass-MineFMQ-ImFeelinCrafty

And look what I did!

I don’t have my machine. (It’s a sad story, but I’m hoping there will be a happy ending…) So I had loaner machine. It’s a good machine, but wasn’t exactly what I wanted for the class. And since I didn’t have my own machine, I didn’t have my quilting table. And not to mention FMQ isn’t something you’re just perfect at the first time you do it…. So when my friend Debbie came over and asked how I was doing, I pouted and replied, ‘I LOVE my straight line quilting more than ever!’

FMQClass-MineFMQ2-ImFeelinCrafty

But not much longer, I was happy again and excited with this whole free motion quilting thing!

FMQClass-Working-ImFeelinCrafty

FMQClass-ClassmatesFMQ-ImFeelinCrafty

Everyone was doing great! And there was quite a bit of laughing going on! Especially when some of us cut off our quilting gloves, but then there was one who cut off the wrong finger tips…. I won’t name any names (our fearless leader), but she knows who she is….

FMQClass-Working2-ImFeelinCrafty

Between practicing, we’d have shorty lessons building on what we had already leanred!

FMQClass-TeacherDoodle-ImFeelinCrafty

FMQClass-TeacherFMQ-ImFeelinCrafty

Christina would give a little lesson which typically included doodling and then a little sewing. I love to doodle when I’m in meetings, because it actually helps me concentrate on what is being said. If I don’t doodle, I have a habit of starting to day dream. So, now I’ll probably be doodling quilting patterns! CHristina did a second book full of quilting patterns and said doodling all the time to prepare for the book, helped her quilting! So I’m in!

FMQClass-TeacherSamples-ImFeelinCrafty

It was so mesmerizing watching her quilt!! I love this asterisk pattern in her samples! And she has a tutorial on her blog about this one! I need to spend more time looking at her tutorials.

FMQClass-TeacherSampleQuilts-ImFeelinCrafty

One thing I love about classes, is seeing the teacher’s samples. And Christina brought some amazing pieces! But what she brought that inspired me the most, was one of her original free motion quilted quilts! The top left is one of her firsts! It’s amazing to see where she started and where she is now. Which means I can get better, too!

FMQClass-TeacherPebblePillow-ImFeelinCrafty

And I love her pebble pillow! Perfect project to practice with! What a fun day being with great people and friends and sewing! And learning something new!