Inside Out Pineapple Bed Runner

And you guessed it, another quilt!

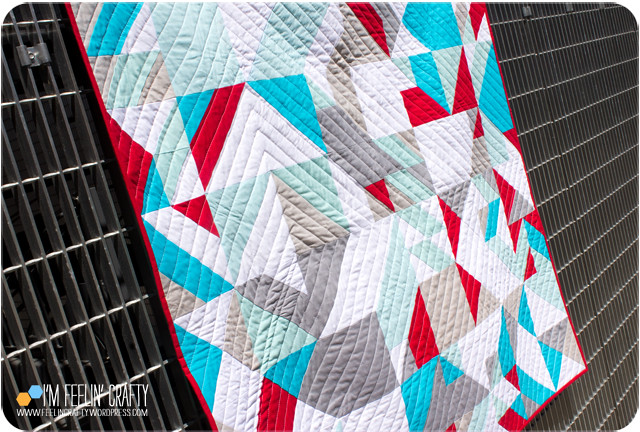
Another one to mark off my Finish Along to do list! This one I am in love with, but for some reason wasn’t able to photograph it as wonderful as it really is!

RunnerQuilt-Full-ImFeelinCrafty

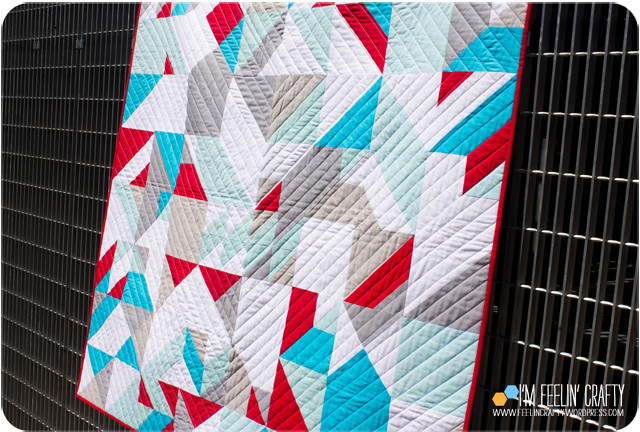
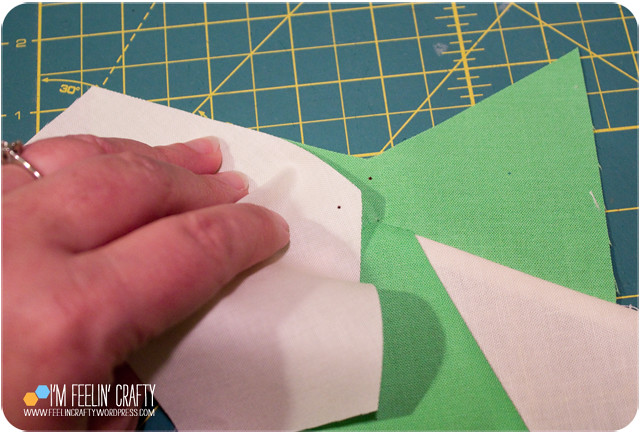
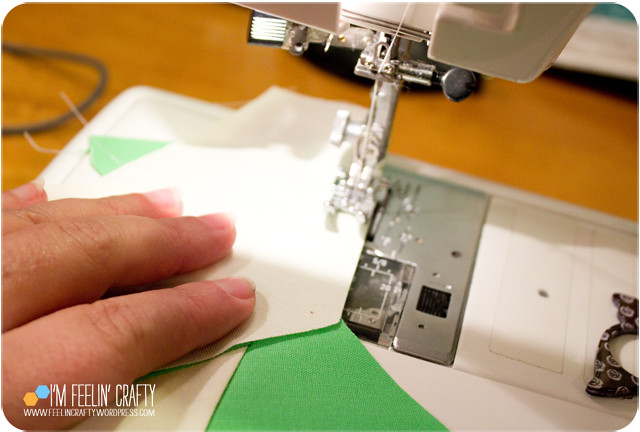
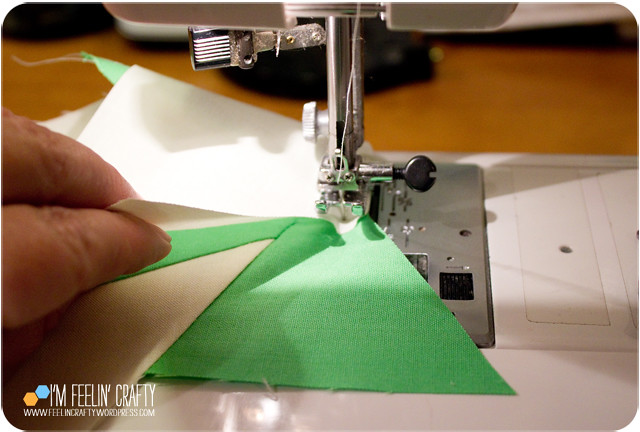
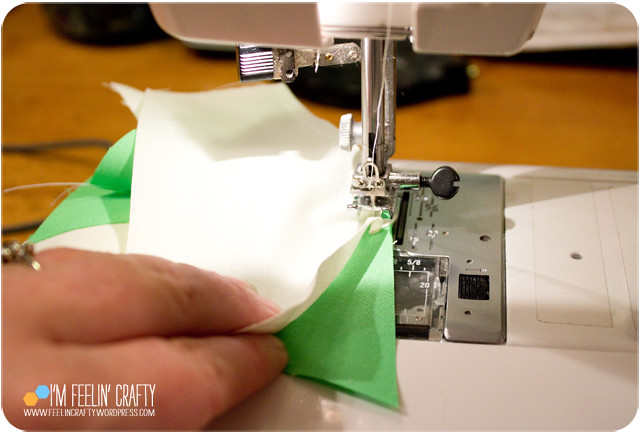
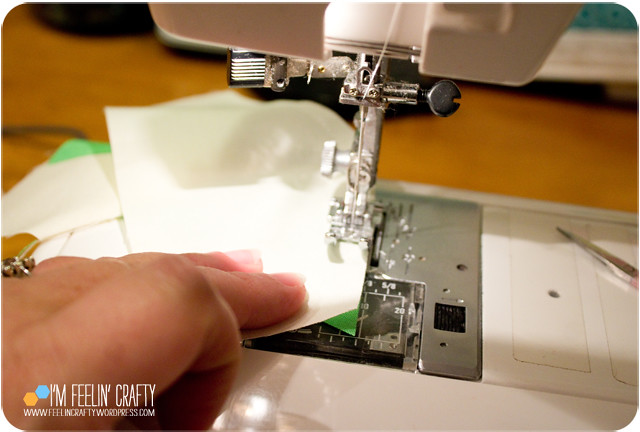
My stepmother told me she wanted a quilt made with my Inside Out Pineapple quilt pattern. I love the pattern, of course. You’d hope I would since I made it… But it’s so time consuming! So I was contemplating how long did she really want to wait on this project! And luckily before I asked that question, she clarified that she only wanted a bed runner. Oh, yes! I can do that without taking forever!

RunnerQuilt-Bed-ImFeelinCrafty

RunnerQuilt-BedFull-ImFeelinCrafty

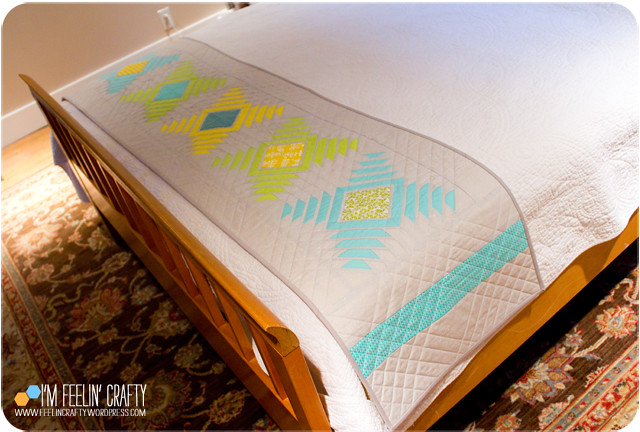
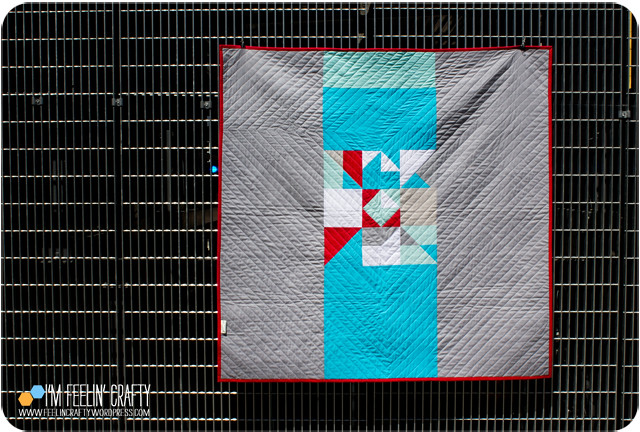
A bed runner… It does look pretty, but I’m still curious about why… You’ll notice I don’t make many mini quilts. A couple of reasons… I don’t have wall space to hang them. And If you aren’t hanging them on the wall, what is the point of them? They don’t really serve a purpose. People make awesome mini’s and I love seeing other peoples minis, but for some reason when I quilt, I think it needs to be able to be used…  I don’t know why I think this way… So I’m still kinda miffed at the bed runner concept. But it turned out great!

RunnerQuilt-Details-ImFeelinCrafty

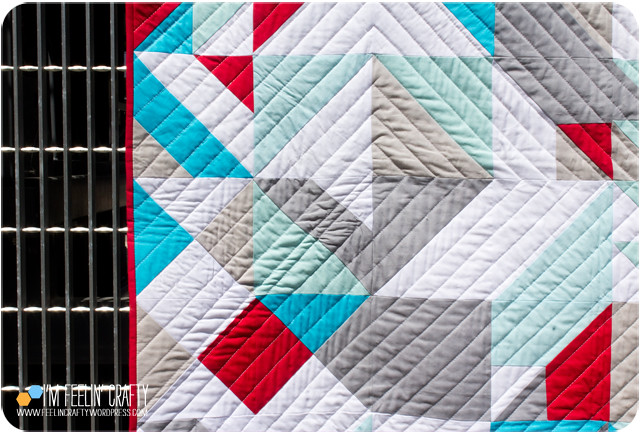
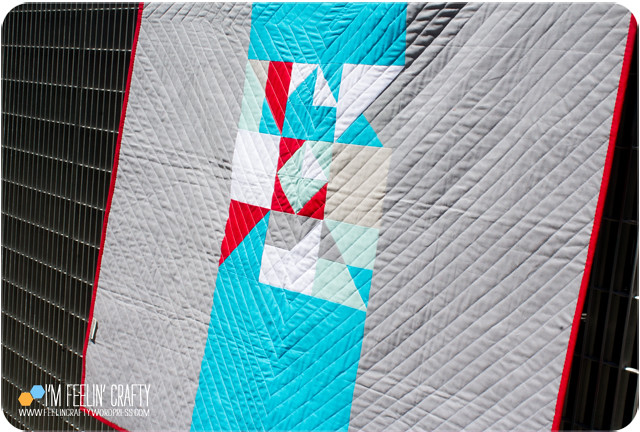
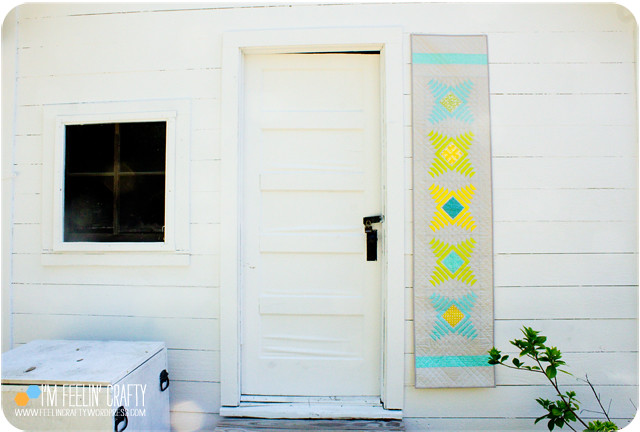
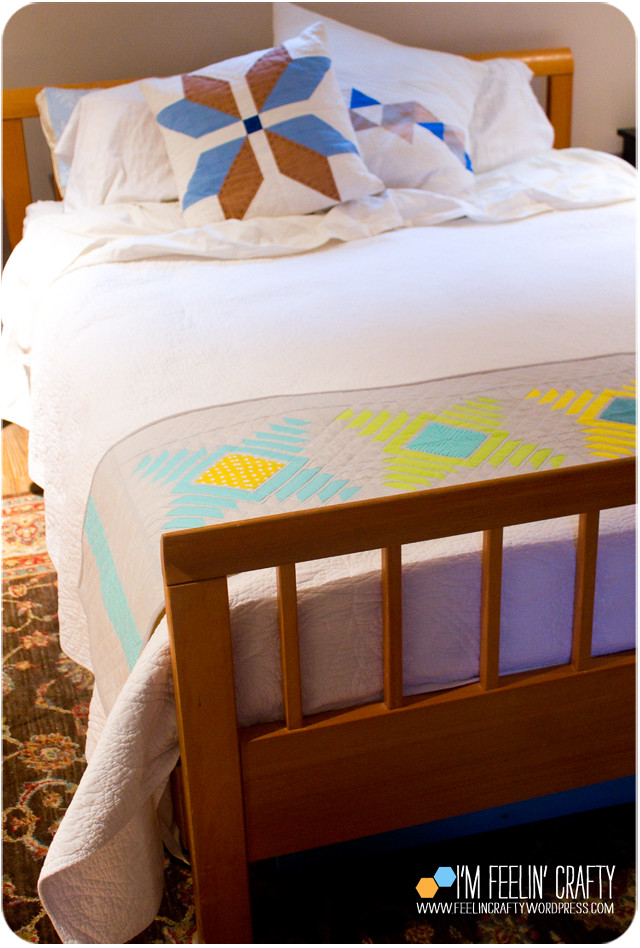
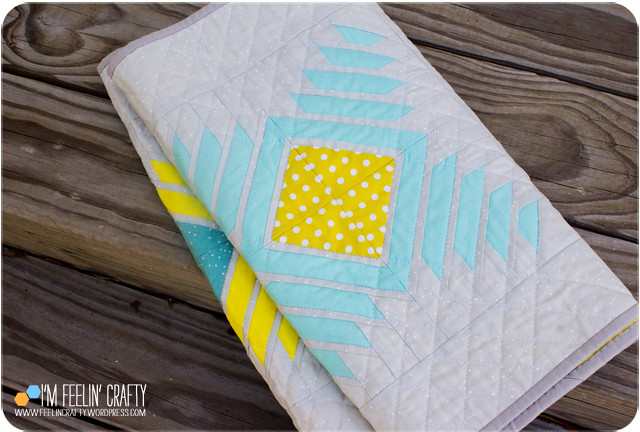
Her other request was for it to coordinate with the cross stitch pillow I made her a couple of Christmas’s ago. So that narrowed down the colors! And you know me and my white backgrounds! I was trying to figure out how to incorporate the white background and still coordinate with the pillow. Then my friend Debbie asked where the white was in the pillow! Ummmm…. there isn’t any. So what was I doing. Then I tried it with the grey background and, OH YES!

RunnerQuilt-GreenBlock-ImFeelinCrafty

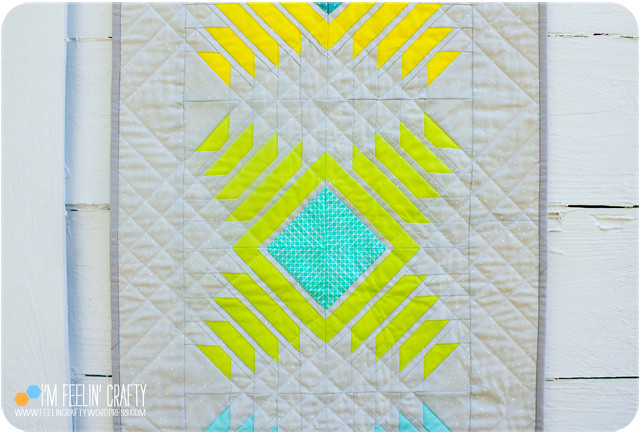
The grey is my favorite staple, Sprinkle by Cotton and Steel! Love it!

RunnerQuilt-BlockYellow-ImFeelinCrafty

RunnerQuilt-BlueBlock-ImFeelinCrafty

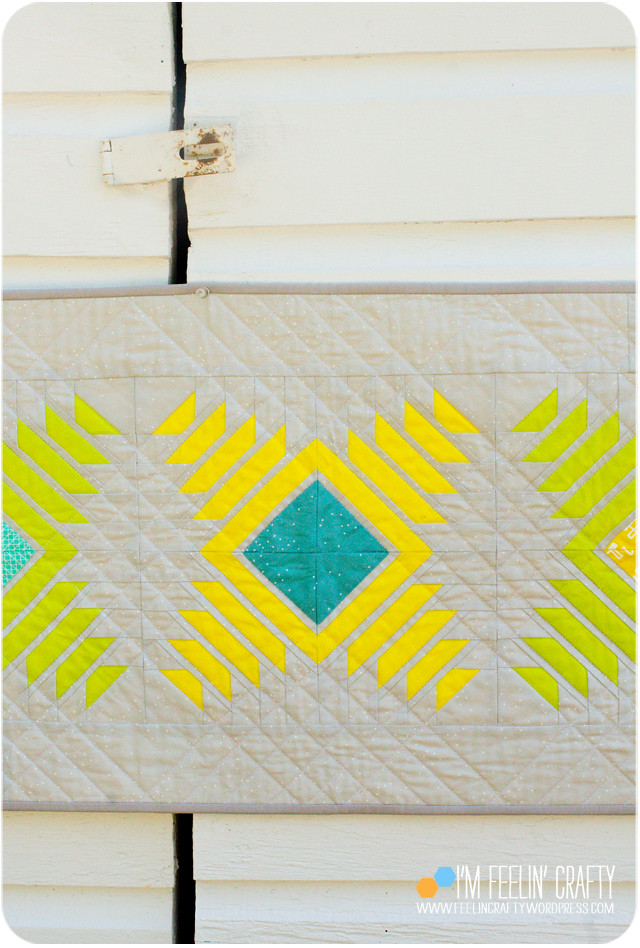
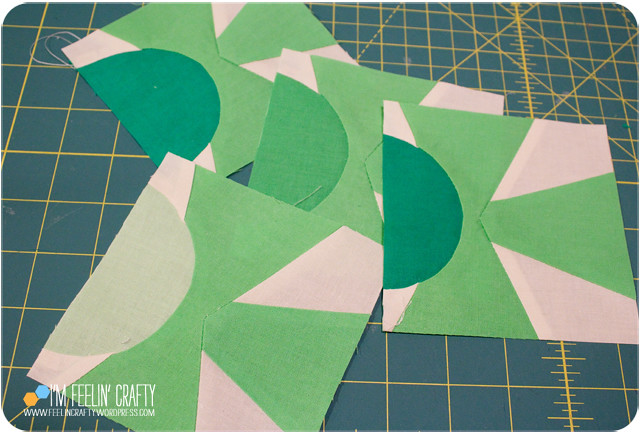
Besides the grey, I used a combination of yellow, green and teal solids and prints. Prints! Another quilting concept that I don’t use much! Yes, it still kinda reads as a solid, but I did branch out and use prints with my solids!

RunnerQuilt-Folded-ImFeelinCrafty

RunnerQuilt-Label-ImFeelinCrafty

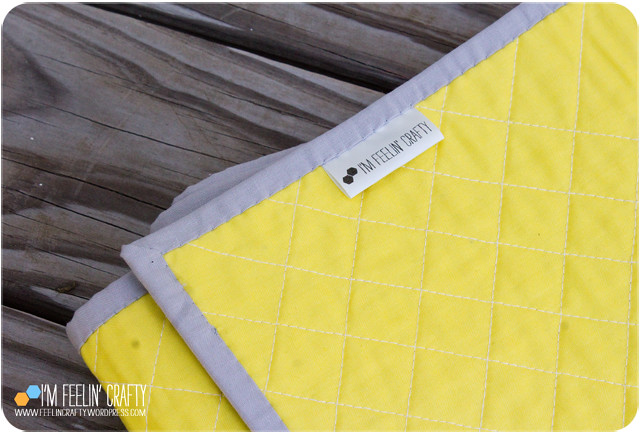
Throwin’ in my label picture!

RunnerQuilt-Home-ImFeelinCrafty

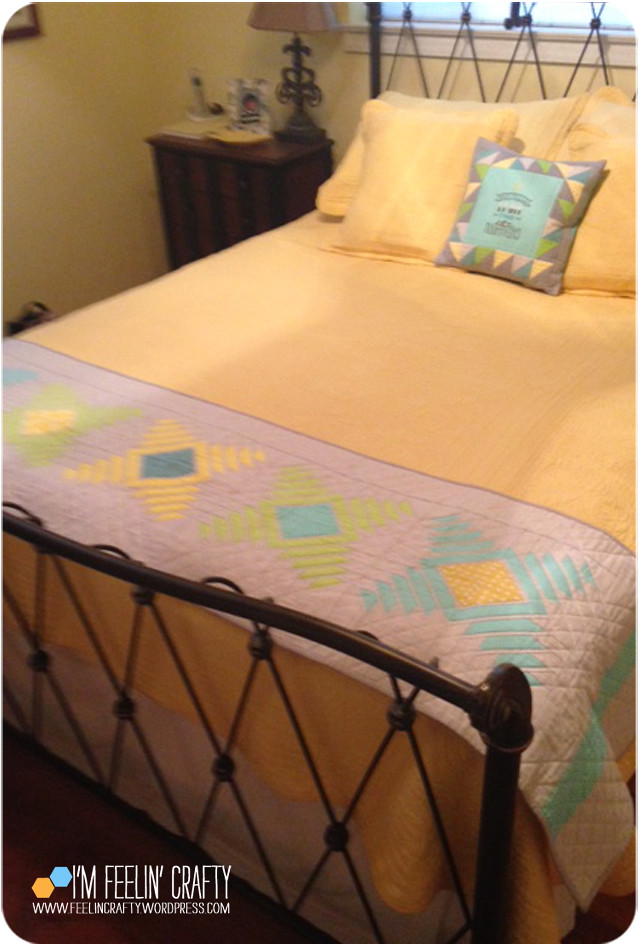
And here it is in it’s new home! It looks quite nice and does coordinate with the pillow. My step mother was very excited and put it on the bed as soon as she got home from visiting us! I’m glad to know it was well received and will be well loved!

RunnerQuilt-Last-ImFeelinCrafty

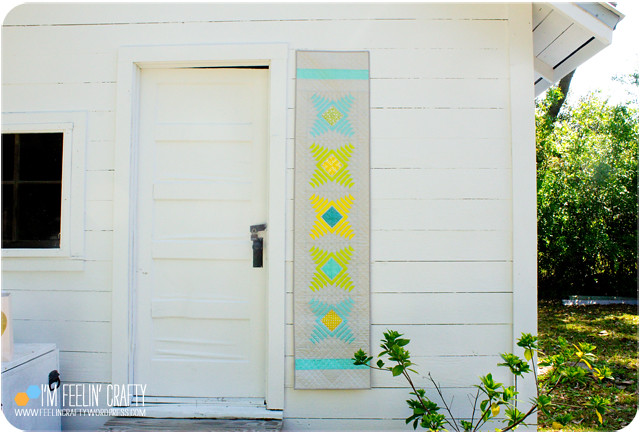
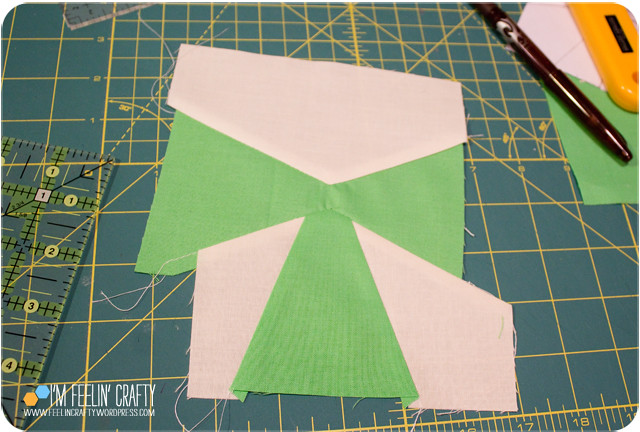
This was a great project to use the Inside Out Pineapple Pattern for! I got really quick at making it, but I also didn’t get burned out with having to make too many!


The Chaos Quilt

Another quilt finish! Sometime soon, I’ll show you one of the non-quilt projects I’ve been working on… But not today!

I took a class with Libs Eliot for her Chaos class last year. Back when I felt like I was in a design rut… It was an interesting class. I don’t know that I’d call it a class actually… It was more of a, shall we say, a directed sew-in….

ChaosQuilt-Front2-ImFeelinCrafty

You pick a handful of block designs and then roll a dice to random place your blocks. Then you start piecing! Pretty easy! It is interesting to see how different, yet how similar everyone’s quilt from the class ended up!  I really love the colors I chose, if I do say so myself. And best thing about it… All the fabric was from my stash! Oh, yes! Boom!

ChaosQuilt-Quilting-ImFeelinCrafty

It took me a while to decide how I wanted to quilt it. At first I thought I wanted to random lines around this way and that… I had a couple of other ideas, but they weren’t right either. then came this straight line pattern. I started a little way out and worked into the center. At the time I was quilting with my regular all purpose foot because my walking foot was not working. It totally pulled on the fabric and it looked horrible! I waited until my new walking foot came, picked out all the quilting and started over. Best decision!

ChaosQuilt-Front1-ImFeelinCrafty

I then headed back to where I started and then worked my way to the outside of the quilt. And I just kept going and going….

ChaosQuilt-Back-ImFeelinCrafty

The back! For the back of this one I used all the blocks that I miss cut! I did somehow cut a few wrong…  Also there were a couple of extras that I made on accident, so I cut them down to fit in, too. I like the back. It kind of looks like a mini version of the front!

ChaosQuilt-Back2-ImFeelinCrafty

ChaosQuilt-Label-ImFeelinCrafty

Throwin’ in the ‘ole label photo…. Did have to order a new set of 50 for 2017… Will I use them all this year… Ha!

ChaosQuilt-FrontFarAway-ImFeelinCrafty

People often ask me what I do with all my quilts. I keep a few. I gift them every now and then. But, a good bit of them go to charity organizations. This one went to my son’s school auction. Since it’s not my design, I’m not as attached to it as others I’ve made. But I’m super excited about the recipient who ended up being the highest bidder. My kiddo’s second grade teacher and she’s very excited about it!!


Inset Corners- A Quilting Tutorial

One more post about my Raindrops on Wildflowers Quilt! I’ll show you how I made all those inset corners!

I made the block up to start with, but then I had to figure out how to actually put it together. I thought about more piecing, but I had to make a lot and that would have been too many steps per block. So I had to figure out how to make with as few pieces as possible. I made a little video of how many steps there still are in the block!

Anyway… I digress… Back to the corners… Maybe everyone else knows how to do this. I did a lot of inset corners on the Weight of Love quilt I made, but for some reason it took me a little while to get it to make these blocks! I kept forgetting which way to sew them together… Finally it stuck and I was on a roll!

InsetTutorial-02-ImFeelinCrafty

First up, stack the two fabrics on top of each other so that they overlap.

InsetTutorial-03-ImFeelinCrafty

Then trim the two pieces of fabric. And you end up with the pieces above.

InsetTutorial-04-ImFeelinCrafty

Mark one piece, on the right side, 1/4″ down from your corner.

InsetTutorial-05-ImFeelinCrafty

Mark your second piece, on the wrong side, 1/4″ down from the corner.

InsetTutorial-06-ImFeelinCrafty

InsetTutorial-07-ImFeelinCrafty

Stack your dots! I’m using solids, so it doesn’t really matter for me, but you’ll want these to be right sides together!

InsetTutorial-08-ImFeelinCrafty

InsetTutorial-09-ImFeelinCrafty

Then sew, using a 1/4″ seam along the edge and stop at your dot.

InsetTutorial-10-ImFeelinCrafty

InsetTutorial-11-ImFeelinCrafty

When you stop at the dot, leave your needle down, but raise your foot. Then pull your top fabric around to align with the bottom piece. Sometimes the fabric wants to bunch under the needle, sometimes it doesn’t. Not sure why… But when it does, I just go in with my tiny scissors and move the fabrics behind the needle so they aren’t bunching. If you watch the ‘video’ above, you’ll see these steps in action!

InsetTutorial-12-ImFeelinCrafty

Then continue sewing out to the other end!

InsetTutorial-13-ImFeelinCrafty

Here’s the kicker! Iron into the V. If you iron the other way, you’ll get bumps.

InsetTutorial-14-ImFeelinCrafty

Then you have this!

InsetTutorial-done-ImFeelinCrafty

Some pretty awesome looking inset corners! Oh, yea!

InsetTutorial-green blocks-ImFeelinCrafty

Honestly, I kinda hated cutting the second one off to add the half circles. But it had to be done. I thought about not using the half circles on the back blocks, but I really like the half circles, too. Big Dilemma I had! I used the inset circle tutorial to add the circles.

Hope this helps in your sewing fun!

What Shade Are You? Giveaway!

Like I mentioned the other day, there’s a tutorial and a giveaway coming up! I haven’t been able to get the tutorial together yet, so how about a giveaway? Yes?


In case you missed my last post, I used all these fabrics in my latest quilt, Raindrops on Wildflowers! And you can win a fat quarter bundle of all the different fabrics I used!

But this giveaway is a bit different! It’s on Instagram. I hope everyone has an Instagram account and can play along! You can head over to my Instagram account to sign up! My Instagram name is imfeelincrafty. If you don’t follow me, please do! I love making friends over on IG!

The rules are:

  1. You have to like my picture of the giveaway on IG.
  2. You must be a follower of both myself, @imfeelincrafty, and @rjrfabrics
  3. You must tag a friend that loves colorful fabric! Ok, they just need to love fabric!

The giveaway on my page will be open until Thursday at 5PM PST.  Good Luck!


#What Shade Are You with RJR Fabrics

It’s my turn on the RJR What Shade Are You blog hop!! Have you been following along with the #whatshadeareyou series with RJR Fabrics? I started following RJR fabrics when I found the series or blog hop or whatever you want to call it!

What is this # I keep talking about? Each week or so, they feature a quilter with a quilt made from a bundle of RJR Fabric and then have a giveaway of that fabric bundle! The fabric bundle was what originally hooked me, but the quilters are amazing! I’ve found some new quilters to add to my IG feed, for sure. One day they had a call for bloggers interested in participating, so of course I volunteered and they accepted me.

I used the following colors:

Eggnog 228
Canvas 150

Carrot 131
Oriole 314
Bandana 367
tangerine Dream 276
Orange Crush 372

Cove 294
Riviera 274
Luau 376
Turks and Caicos 292
horizon 354

Pistachio 404
Spring 405
Lucky Green 406
Sour Apple 346
Grass is Always Greener 347

2961-001
2960-004
2960-001

Super excited, right?? Yes, I was. Then panic struck! Me being in the lineup with all these other quilters that use tons of different fabric. I typically only use a few different colors in one quilt, but all these others use tons of colors. I remember walking around Quiltcon looking at the quilts with more than just a few colors for inspiration…

Then I decided on a design I had made in one of my office meeting sketches. It was a design I could incorporate a bunch of colors into. The kiddo and I got to work and picked the fabrics, finally… Then they came. And stage fright set in again. And I decided I didn’t want to make the design I was starting to make…

So in came design idea number 2. A Quilt Design A Day design! The ‘spark’ above from Design Seeds inspired my purple design. And that purple design became my #whatshadeareyou quilt! I thought it would be cool, but I still wasn’t sure it would stand up against all the other quilts in the series. Once I started going, it kept growing on me and I liked it more and more! And now I love it! I hope you do too!

I’m calling it Raindrops on Wildflowers! As I was quilting it, I debated, one big spiral or three spirals? The whole family agreed on three circles. The kiddo said it was like raindrops in water!

The quilt block is obviously something I just made up, but then I realize it was full of inset corners! Ergh… But I remembered they aren’t so bad and I pretty much mastered it! Well, for this block at least! I’ll post a tutorial soon.

The front had to be the solids collection, which I love. My go to solid fabric is typically another brand that I won’t mention here… But I might have just been swayed! This fabric is much softer than my usual. And there’s still tons of colors to choose from. No reason this fabric can’t be my new go to!

And the back is actually a really fun polka dot fabric. The front had to be solids, but you could choose anything for the back. Obviously I had different intentions since it was a different quilt design I ordered the fabric for, but I like the polka dots and stripes together!

And stayed tuned… A tutorial and giveaway will be popping up here shortly!