X Marks the Creation- The Kiddo’s Quilt

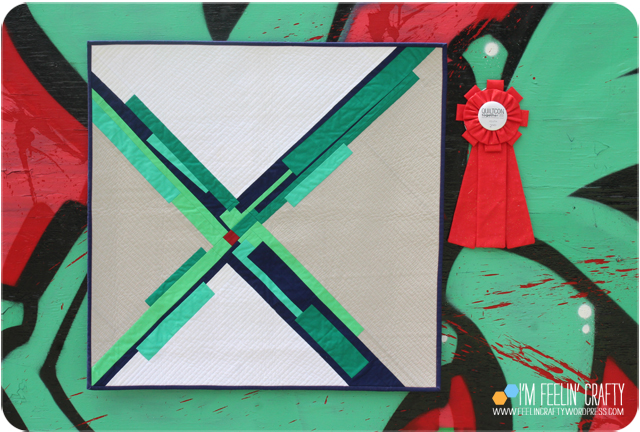
This bog post is WAY late. Even though it took years to post it doesn’t mean I’m any less impressed with my kiddo! Way back in 2020 he designed and quilted this mini quilt and won 2nd Place in the Youth Category at Quiltcon!

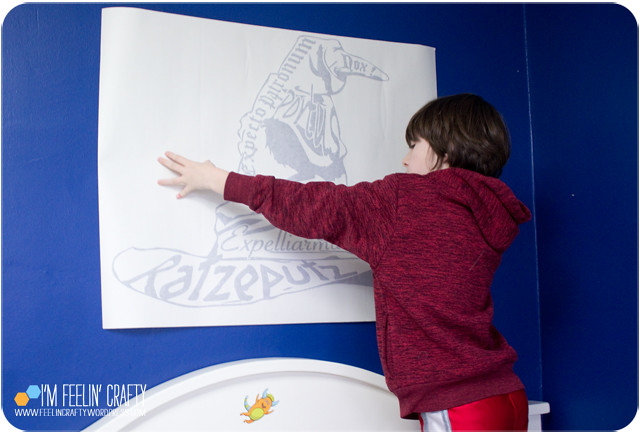
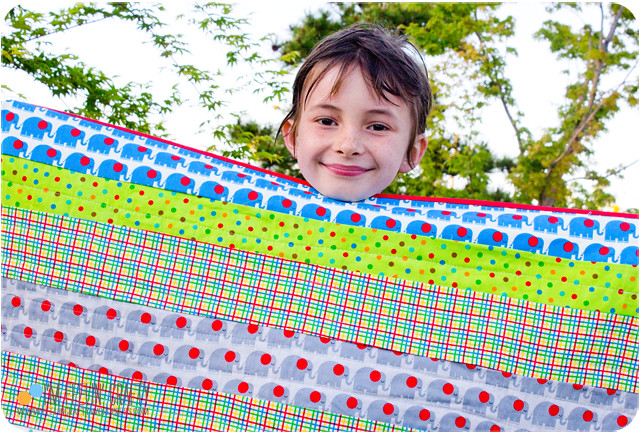
Back in 2020, Curated Quilts hosted a youth mini challenge Youth Mini Quilt Challenge. The challenge was to have youth and another quilter collaborate on a 10×10″ to 16×16″ quilt that used navy blue, mulberry, spring green, aqua, evergreen, soft grey, and white.

I pulled out some scraps in the colors noted for the challenge and hung them on the design board.

The kiddo came in and arranged them in an X design with overlapping colors. Then I came in and pieced the scraps to match his design as close as possible to the original layout. You can see in the picture above, I would piece a mirror of what he designed for each arm of the quilt, before taking down his layout.

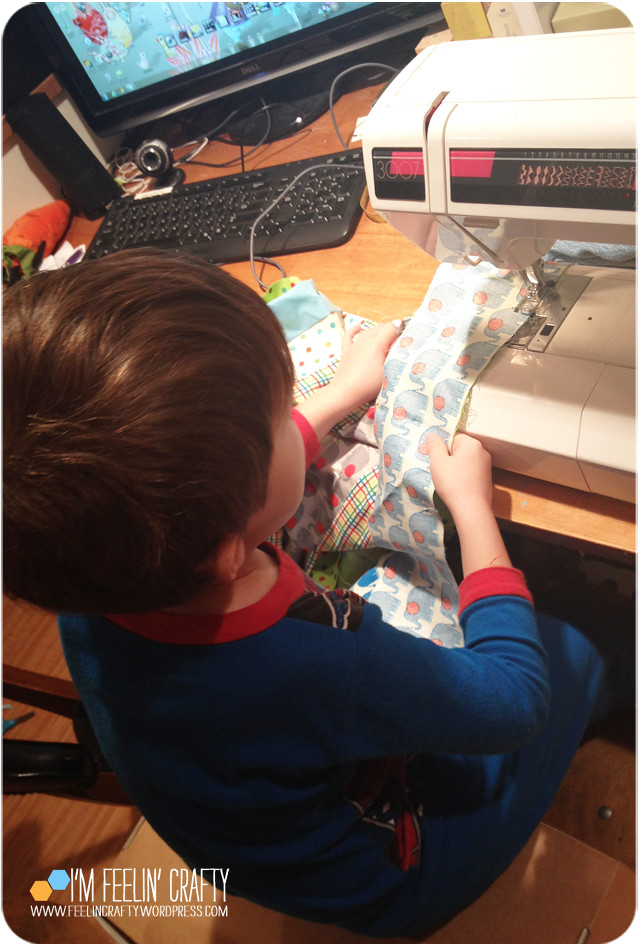
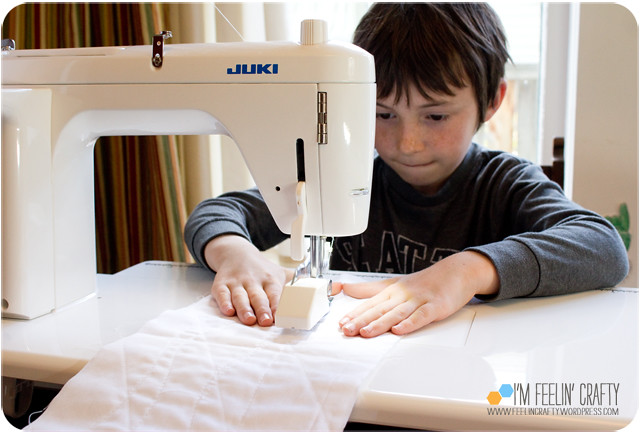
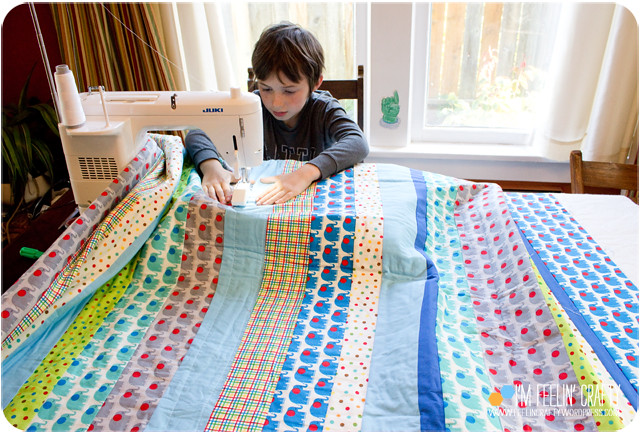
Then the kiddo came back and did all the quilting!

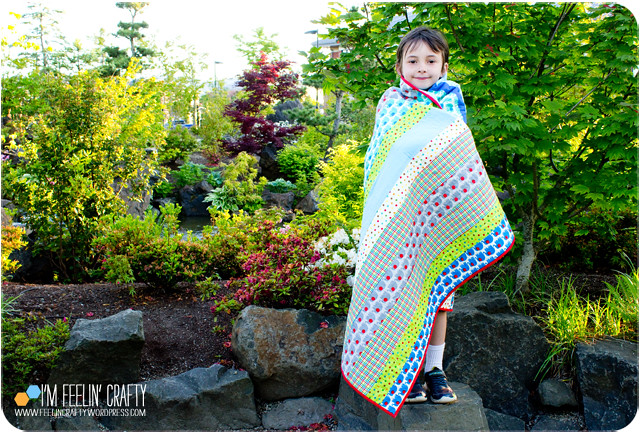
We ended up not meeting the timeline or the size requirements for the Curated Quilting challenge, but we pressed on and just went with it. And I’m glad we did. It just couldn’t be that small!

Once he had it on the design wall, it was too cool to try to downsize it to fit the challenge. Instead, we entered it in the Quiltcon show, it was accepted, and he won 2nd Place in his category!

The kiddo’s quilt description-

I started this quilt by making up ideas with my mom and this one just stuck. I came up with the design by thinking about geometric shapes. First off it was just a plain old X, but then I thought we needed to add more colors. So I got the idea of stacking the colors onto each other in different sized strips.  I included the white and grey as something to make the colors POP!  My mom pieced it because I’m not that advanced, but I came up with the colors and placement and everything. After that, I did all the quilting and binding.

I got the notice about him winning and had to keep it a secret until the Awards ceremony! He was having a sleepover at the time and I had to make them both watch. I think they were wondering why! Until the Youth announcement! Yea!

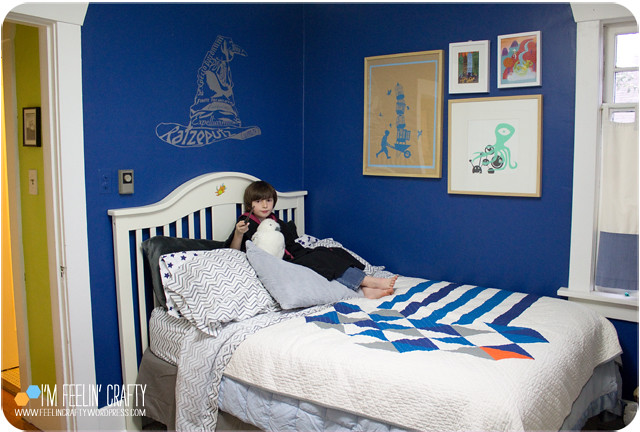
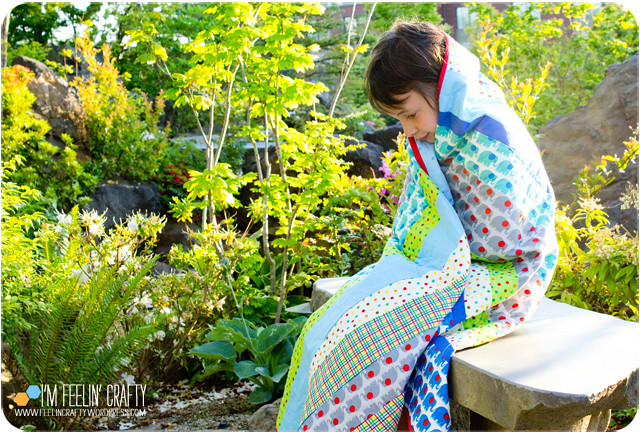
And here is now with the quilt. He’s grown a lot since then, but we still love the quilt!

The back we pieced we pieced with the scraps left over from the front.

I’ve been trying to get him to make another one. He started one, but never finished it… I’m still working on it!

Magic, Gross and Jokes Valentines- Free Printables

Are your kids in school this year? I know a lot of kids aren’t! But if your kids are in trading Valentine’s this year, we have something fun!

We found a great deal on this box of magic tricks, gags and jokes and as soon as my son and I saw them, we knew we could turn them in great Valentines!

GagGiftValentines-last-ImFeelinCrafty

These are a little bittersweet as they were for the last year that the kiddo is going to trade Valentine’s with his whole class. I love making fun Valentine’s. Yes, I’m positive that I’m more upset by this than the kiddo is. Ha!

GagGiftValentines-JokeLabels-ImFeelinCrafty

Let’s start with the Jokester Valentine! You can download this Valentine here.

And for the bags, I got mine at Paper Mart. You do have to buy 500 or 1000, but they come in handy for all sorts of things. I have been using my box for years!

GagGiftValentines-JokeMain-ImFeelinCrafty
GagGiftValentines-JokeLabelsBack-ImFeelinCrafty
GagGiftValentines-JokeLabels2-ImFeelinCrafty
GagGiftValentines-JokeMain2-ImFeelinCrafty

For fillers, I googled PRANK PARTY FAVORS and found some things! You could use whoopie cushions, hairy spiders, fake teeth, fake worms, and noise putty! All of these would make for a good prank joke on your classmates! I also found this assortment of prank gifts.

GagGiftValentines-Magic01-ImFeelinCrafty

Next we have the Magic Valentine! You can download it here.

GagGiftValentines-Magic02-ImFeelinCrafty

Similar to above, I googled MAGIC TRICK PARTY FAVORS. I like to add the party favors part, because they usually come in packs of 10 or so. I found some ideas on Amazon. Remember the magic worms? I loved these things as a kid! Other ideas are metal magic puzzles, magic light up fingers, or these easy magic tricks.

GagGiftValentines-GrossMain-ImFeelinCrafty

And last, but not least, the Gross Valentines! You can download this Valentine here.

GagGiftValentines-GrossLabels-ImFeelinCrafty
GagGiftValentines-GrossLabelsBack-ImFeelinCrafty
GagGiftValentines-GrossLabelsBack2-ImFeelinCrafty
GagGiftValentines-Gross-ImFeelinCrafty

Technically, these could be jokes and you could use the jokester Valentine from above. But these are more on the gross side of things than the others! Again, I searched for GROSS PRANK PARTY FAVORS. You could use plastic roaches, or fake poo putty, fake pimples and warts, pimple temporary tattoos, and fart bombs! So many things to choose from!

You could also get fake worms in the fishing department at Walmart or any outdoor stores. Funny story is that as a kid I LOVED the fake worms and bugs and lizardy things from the fishing aisles. I had a huge collection of them! Some of them are very lifelike. And pretty inexpensive.

GagGiftValentines-Main2-ImFeelinCrafty

Which one is your favorite? I hope you enjoy them as much as we did! And for the downloads again, here is the jokester, magic, and gross Valentines. Enjoy!

Seahorse Pillow- a cross stitch project

I hate that summer is coming to an end and I feel like I haven’t done much… My husband keeps reminding me about the pandemic… But today we just found out that the kiddo got two extra days before school starts!

With that, I have a series of beachy pillows I want to share to make me feel like I’m at the beach instead of ‘Staying Home and Staying Safe!’

HaleyPillow-Main2-ImFeelinCrafty

I’m really in love with how this cross stitch pillow turned out! My niece is in love with seahorses. You might even remember the seahorse stuffie I made her from her very own design…  Well, when I got the Summer 2017 issue of Crossstitcher Magazine and there was a seahorse alphabet in there, I knew I had to make it for her!

HaleyPillow-Beach1-ImFeelinCrafty

HaleyPillow-Beach2-ImFeelinCrafty

I have to say I loved working on this on my trip to the beach last year, but I was sad I wasn’t able to put it lall together before I left the beach. Ha. but sometimes swimming in the Gulf is more important that sewing… sometimes… Ha!

HaleyPillow-Detail-ImFeelinCrafty

Typically when I pick cross stitch projects, I’m not a fan of the outlining.  I almost left this one without the outlines, but I’m so glad I switched gears and actually followed the directions! I’m pretty sure they wouldn’t have been as cool. I really love this alphabet.

HaleyPillow-Back-ImFeelinCrafty

Although, I’m just posting this, it is an older project. One I made before my obsession with invisible zippers.

HaleyPillow-Last-ImFeelinCrafty

And how about that seahorse and octopus fabric??? A perfect match. I’ve been hoarding this fabric and it was perfect for this project!

Harry Potter Pillowcases

Last week was Harry Potter’s birthday and I decided to drag it out a bit with another Harry Potter project. Who doesn’t prefer to celebrate for a week instead of a day, right???

I was at our last quilt retreat and someone was making pillowcases using the ‘Burrito Method.’ Of course, I went home and googled it.

HarryPotterPillows-Front-ImFeelinCrafty

There are plenty of tutorials on this, so I’m not going to post a full tutorial. I started with using the tutorial from The Seasoned Homemaker. The problem with most of the burrito pillowcase tutorials is that they don’t make their pillowcases using directional prints. And of course, my nature is to not make things easy, so of course, I chose a directional print. The burrito method uses one long piece of fabric for the edge of the pillow, one long piece for the trim and another piece for the main pillowcase. To use a directional print, you have to piece two pieces together to make the main fabric piece.

HarryPotterPillows-Vertical-ImFeelinCrafty

The tutorial I used uses a 27″ by 40″ piece for the main fabric. For directional fabric you need to cut (2) 27″ by 20 3/4″ pieces. Then sew these together using a French seam tutorial. I made mine with a 1/4 inch seam and then a 1/2″ seam. Then I have a 40″ long piece of fabric for the main fabric.

HarryPotterPillows-Detail-ImFeelinCrafty

I love the mix of fabrics on this! I made 6 sets of pillows because this method is so easy! One set for the kiddo and two sets for two best friends. I did end up with some scraps and almost gave them away, but I held on t them and got to use them in the pouch I shared earlier this week.

HarryPotterPillows-Last-ImFeelinCrafty

Have you used the burrito method? I really love it. It makes It so easy to make pillowcases!


A Harry Potter Project Pouch

This week is Harry Potter’s birthday and I have a couple of projects to share for the celebration!

I made a project pouch for the kiddo! I’ve been realizing that there are a lot of projects that I want to make, but I end of up quilting more than making fun things as well. I’ve been wanting to make some project pouches so when I got issue 76 of Love Patchwork and Quilting and saw the pouch project, I decided to make one!

HarryPotterPouch-Magazine-ImFeelinCrafty

The project is the Zip It Up Pouch by Minki Kim. I’ve kinda become obsessed with magazines, but now I have too many with too many projects to make! It was fun making this one! Even if I might not have followed the directions 100%…

HarryPotterPouch-Pocket-ImFeelinCrafty

I love the little clear pocket on the front. I think on my next one, I might put a snap on the pocket. I thought about putting in some elastic, but decided against it.

HarryPotterPouch-BackEmpty-ImFeelinCrafty

HarryPotterPouch-Back-ImFeelinCrafty

The pouch in the magazine was actually quilted. I decided not to quilt mine, but you could. I also took out the quilted back and used a piece of clear vinyl on the back so you can see which project you have in the bag.

HarryPotterPouch-Binding-ImFeelinCrafty

I tried my hand at machine binding… I’m horrible at it. this corner is the best one. I know, I should show the corner I messed up, but I’m not going to! Ha! It was the best way to sew on the binding with the vinyl, but I think I have a slightly different plan for the next one! I think I’m faster at hand sewing the binding than at machine binding because every time I machine bind something I have to pull part out and try again!

HarryPotterPouch-Last-ImFeelinCrafty

What is your favorite pouch pattern? I really like this one! And I’m excited to make some more for each of the projects I want to take on vacation!


Haley’s Seahorse- A Kid Designed, Momma Made Project

One thing I love to do, besides quilting, is make stuffies from kid’s drawings. One of my best friends daughters loves seahorses, so when we found out we’d be in town for her birthday, I knew I wanted to make her something. And she just happened to have a drawing she had made of a seahorse!

HaleysSeaHorse-WithDrawing-ImFeelinCrafty

So I made a stuffie!

HaleysSeaHorse-KiddowithBaby2-ImFeelinCrafty

HaleysSeaHorse-KiddowithBaby1-ImFeelinCrafty

HaleysSeaHorse-Beach-ImFeelinCrafty

This one was a little easier than some of the others I’ve made, but still fun. I just happened to have the seahorse fabric is my stash. And, I also just happened to have the fleece that matched the seahorse fabric. (Is that a sign that I may have too much in my stash?

HaleysSeaHorse-Water-ImFeelinCrafty

HaleysSeaHorse-Drawing2-ImFeelinCrafty

I really wanted to get the eyes right and the baby. I don’t understand the eyes really, but she drew them that way for a reason. Even her parents commented that I had done the eyes right. So the shape meant something to her.

HaleysSeaHorse-Eyes-ImFeelinCrafty

HaleysSeaHorse-BabyinPocket-ImFeelinCrafty

HaleysSeaHorse-Baby-ImFeelinCrafty

It’s a rough life for baby seahorses out there. As cute as this one was, it had a rough life and didn’t last long in this world. Unfortunately, she disappeared within a couple of days. In hindsight, I should have attached the baby with a ribbon or something. Lessons learned!

HaleysSeaHorse-Last-ImFeelinCrafty

When I gave Haley the present, I included the picture of it that she had drawn in the bag. The first thing she pulled out was this bad computer print of her drawing. She was kinda confused as to why I was giving her her drawing for her birthday. She realized there was more in the bag,  and I wish I had a picture of her face when she pulled this guy out of the bag. Her eyes were huge, her mouth fell open and she exclaimed, This is my drawing! that made it all worth it!


Harry Potter Snitch Valentines

We still enjoy making our own Valentine’s over here! What about you?

This year we went with a Harry Potter theme, because we all love Harry Potter of course! (Ok, do you want in on a little secret? The truth is, I’m not the best planner and to get my Valentine’s done early enough to share, doesn’t actually happen… So the truth is, these were from last year! shhhh…)

SnitchValentine-Main-ImFeelinCrafty

SnitchValentine-Bowl-ImFeelinCrafty

We designed the card, ordered the lollipops and gold paper and they turned out really cute! If I say so myself!

SnitchValentine-Materials-ImFeelinCrafty

We ordered the lollipops and the gold candy wrappers from Amazon.

SnitchValentine-Wrap01-ImFeelinCrafty

SnitchValentine-Wrap02-ImFeelinCrafty

SnitchValentine-Wrap03-ImFeelinCrafty

Super easy, just wrap the lollipops in the gold wrappers so they look as round as possible. Repeat for as many Valentine’s as you need.

SnitchValentine-CutOut01-ImFeelinCrafty

You can download the free Snitch Valentine by clicking here. They print two to a sheet, so print half as many pages as you need Valentines! And then cut out the 5×7 Valentines.

SnitchValentine-CutOut02-ImFeelinCrafty

This next part is a little more lollipop specific. The printable does show a circle of where to cut out the hole for the lollipops. I found that I had to enlarge the circle a bit and make a slightly different shaped, a little elongated shape. I suggest you start with the printed circle and then put in your lollipop and see how you need to enlarge it for your specific lollipop to fit halfway in. You also want to cut two little strips at the bottom to put your stick through.

SnitchValentine-CutOut03-ImFeelinCrafty

SnitchValentine-CardsMain-ImFeelinCrafty

And repeat and repeat!

Oh, yes, don’t forget to sign them!

SnitchValentine-Last-ImFeelinCrafty

According to the kiddo, the Harry Potter Snitch Valentines were a hit! Do you think they would be at your house too? We’ve broken out my Harry Potter books from when they first came out and we’re reading our way though the books! We’re only on Book 4. Have you read them? Re-read them? With your kids?  I’m loving re-reading them with my kiddo!

We’ve also made Penguin Valentines, Out of this World Star Crayon Valentines, Lego Valentines, Quilted Postcard Valentines and Pixelated Valentines.  And now Harry Potter! Enjoy!

Happy Valentines Day!


Ted Wiggins and his Unicycle!

This project is a kinda old one, but I never showed it! And it deserves it’s spot on the blog, in my opinion…

A while back my friend wanted a Ted Wiggins doll with his unicycle for her son, but couldn’t find one online. So she asked me! I love the Lorax, but was blanking on who Ted Wiggins is! He’s the kiddo in the lorax that goes and meets the Lorax outside of town and learns the whole story. In the movie he has a unicycle. A big red unicycle. And of course, I bit and took the challenge!

This isn’t a real tutorial, because I didn’t measure everything and I didn’t save my templates, or any of that. But I do want to show you a bit about how I made these guys! First up is Ted.

TedWiggins-Ted01-ImFeelinCrafty

TedWiggins-Materials-ImFeelinCrafty

TedWiggins-Ted02-ImFeelinCrafty

I started with the Mikey Monkey doll pattern from mmmcrafts. I have made this pattern before when I made Bear and his best friend Pear for my kiddo. I altered it a bit then for the monkey to be a bear and I did it again for the monkey to be a boy.

TedWiggins-Ted03-ImFeelinCrafty

The main alteration was the shape of the head. I didn’t want it to be as round as the monkey head, so I worked that out. One reason I wanted to use this pattern is that he comes with accessories, like shoes and a baseball cap. I knew I needed a helmet, so I altered the baseball hat to be a bike helmet. I had to make a trial hat to make sure it fit on the new head shape though! I also added more pieces of fabric for the shirt to match the look of his shirt!

TedWiggins-Ted04-ImFeelinCrafty

TedWiggins-Ted08-ImFeelinCrafty

TedWiggins-Ted09-ImFeelinCrafty

TedWiggins-Ted06-ImFeelinCrafty

And I winged it on the hair and face! When I stitched the hair on the back of the head, I also stitched up through the brown to give it a little more dimension, instead of just along the edge. I didn’t like it just straight across the back, so I added a couple of curves. And the hat turned out great! I put the front and back together and then hand stitched the flames on. The hat is removable. In hindsight, due to the age of kiddo that this was going to, I probably should have sewn the helmet (and the shoes) on the doll! I wouldn’t be surprised if they got lost pretty quickly!

TedWiggins-Ted05-ImFeelinCrafty

And I love the shoes!

I had fun taking pictures of him as he was being stuffed and coming to life!

TedWiggins-UniCycle01-ImFeelinCrafty

And his unicycle!

TedWiggins-UniCycle02-ImFeelinCrafty

TedWiggins-UniCycle03-ImFeelinCrafty

TedWiggins-UniCycle04-ImFeelinCrafty

TedWiggins-UniCycle05-ImFeelinCrafty

TedWiggins-UniCycle07-ImFeelinCrafty

TedWiggins-UniCycle08-ImFeelinCrafty

The handlebar… So for the handlebar, I wanted it to be skinny and stand up straight. I tried a few things and this is what worked best. I sewed on the red pieces to the longer sides of the grey ‘x’. I included the seam allowances, ironed those over, folded it in half, wrong sides together, and then topstitched. I left the bottom open and one side of the handle to stuff in the pipe cleaners. Then stuffed the pipe cleaners in. As many as I could! Then sew up the other side of the handlebar!

For the bottom of the unicycle, I totally winged it and drew it out. I cut the black and red based on my drawing. The design is to have two sides and one long stripe going around the sides, like a box pillow.

TedWiggins-UniCycle09-ImFeelinCrafty

So I sewed the two red sides to the handlebars.

TedWiggins-UniCycle10-ImFeelinCrafty

TedWiggins-UniCycle11-ImFeelinCrafty

TedWiggins-UniCycle12-ImFeelinCrafty

I measured out how much black and red sides I’d need. Made long side strips. Pinned the sides on (yes, missing some step photos, but not a full tutorial here!) to the front and back, right sides together and sewed it all together, leaving a hole in the bottom. For stuffing I used foam pieces. I used two pieces of foam so that the handlebar would be situated between the foam.

TedWiggins-UniCycle13-ImFeelinCrafty

And, like the helmet, I hand sewed the flames on the unicycle.

TedWiggins-UniCycle14-ImFeelinCrafty

And there you have it! Tedd Wiggins and his Unicycle! I think he turned out pretty cute!

TedWiggins-UniCycle15-ImFeelinCrafty

TedWiggins-UniCycle16-ImFeelinCrafty


The Kiddo’s First Quilt

It’s been quite a long time in the making, but the kiddo finished his first quilt!

And he’s pretty excited about it. We was super excited in the beginning, then lost interest and only kept working on because I’d nag him about it. Until he started to see it was almost done! Then he got reenergized about it! Not that that’s too unusual even with us grown-up

MaxsQuilt-Kiddo-ImFeelinCrafty

MaxsQuilt-Standing-ImFeelinCrafty

MaxsQuilt-Starting-ImFeelinCrafty

He started back in June of 2013. I wasn’t working my full time professional and was enjoying some time in a little quilt shop. I’d close the shop and run pick him up from preschool and then we’d head back to the shop. One day he got really excited about making his own quilt. We picked out the fabric and step a stool for the pedal, a bunch of cushions in the chair and he was off. For a few rows anyway….

MaxsQuilt-Middle-ImFeelinCrafty

Then we got it back out again about 5 months later… And there were a couple of other rows added on between 2013 and 2017, but not too much!

MaxsQuilt-LearningQuilting-ImFeelinCrafty

Last year he finished the piecing of both the top and back. Yes, he did it all himself! He even helped me baste the top, back and batting! And then he tried out quilting…

MaxsQuilt-Finishing-ImFeelinCrafty

Before really quilting! I helped move the quilt and keep it on the table, but he did it all himself!

MaxsQuilt-Binding-ImFeelinCrafty

The only thing I did was the binding. He picked the color, but I put it on.

MaxsQuilt-SMQG-ImFeelinCrafty

At one of our Seattle Modern Quilt Guild meeting nights, Dad was out of town, so he ahd to go with me. And he had just finished the quilt, so it was perfect timing for him to participate in Sew and Tell! I have to say, I love that little smile!

MaxsQuilt-Sitting-ImFeelinCrafty

MaxsQuilt-Quilting-ImFeelinCrafty

MaxsQuilt-Back-ImFeelinCrafty

The back we decided not to do a lot of piecing! I didn’t want to loose him again, so we went with not a lot of piecing!

MaxsQuilt-Label-ImFeelinCrafty

And he made his label! I told him what most people put on labels and he went with his name and year. Sweet and Simple!

MaxsQuilt-Last-ImFeelinCrafty

We were trying to get one made for Quiltcon, but didn’t make it. But he does already have a design for his next quilt. Penguins….


A Fun Review Thanks to Style and Apply

Hello friends! Long time, no blogging! Today I want to share something that was very fun for the kiddo!

We were in the process of updating the kiddo’s room when Style and Apply contacted me to see if I was interested in checking out their product and writing a review. Of course I said yes, thinking this could be really fun. Then as soon as I saw the sorting hat, I knew it was perfect timing!

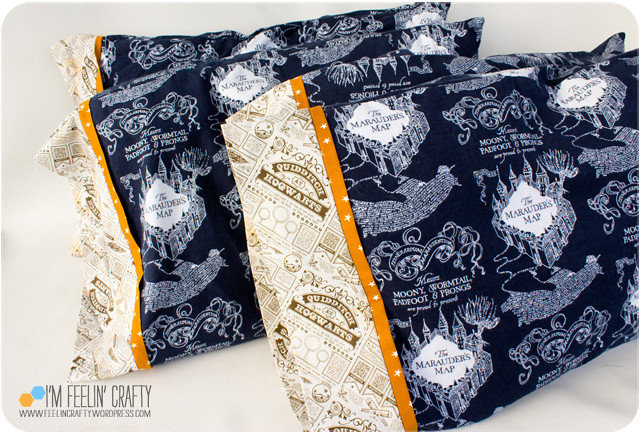
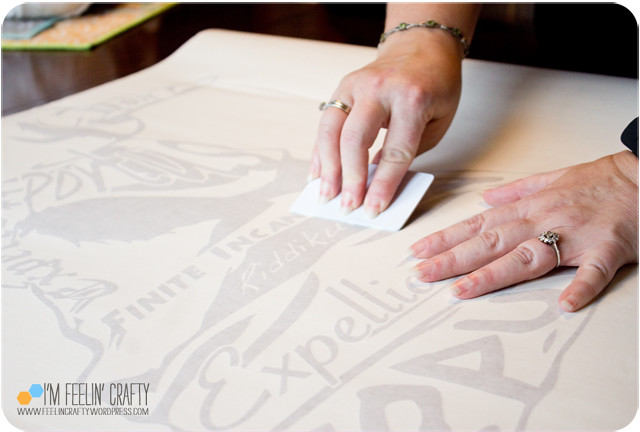
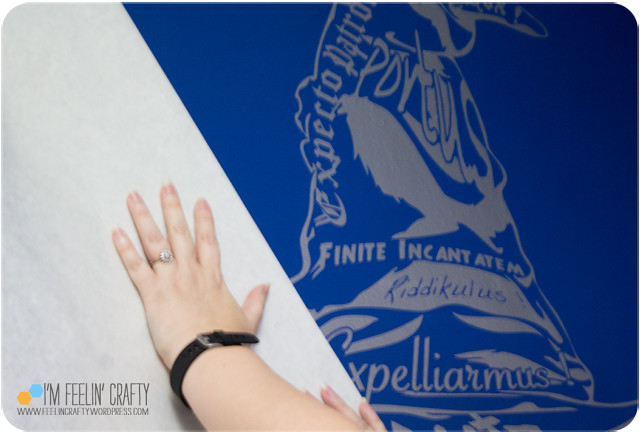
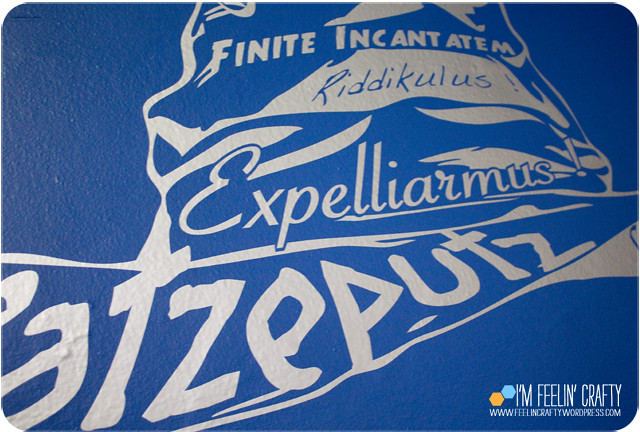
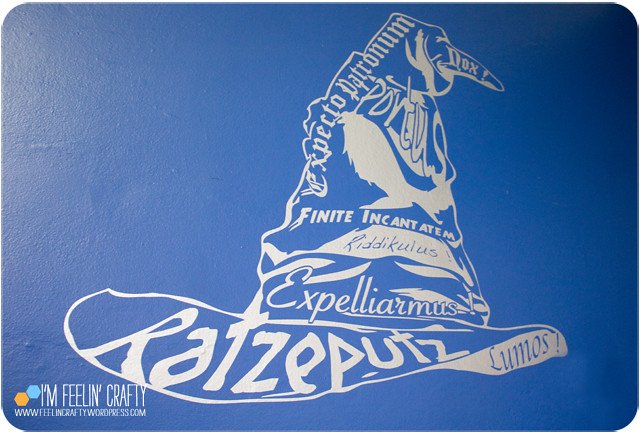
I guess you can tell from the name what it is. Right? They sell wall decals that are stylish and all you have to do is apply! They also have window decals! I went straight to the sorting hat of course, since the kiddo is totally into Harry Potter right now. But then I started thinking, what about something for me? They have some cute Christmas ones. (I love the Reindeer II) We love Bansky’s art and they have a bunch of his art. Kids, kids galore! I almost got a funky pattern for the play room. But we went back to getting something for the kiddo! Of course….

StyleApply-two-ImFeelinCrafty

The people at Style and Apply were very accommodating! You see how dark blue the walls are and I couldn’t tell which grey was the right one to go with . The sent me some samples and helped by narrow down the choice. We are transitioning from a green, blue and tan room, to a silver, blue and white room!

StyleApply-Happy Mail- ImFeelinCrafty

And then it came! In this cute mailer! It took me a little while to get it up. I had grand plans (as usual) to finish quite a few other things I have planed for his room. Then finally, I faced the truth and realized that I don’t know when those are going to get down and it’s too cool to just wait around on those other projects!

StyleApply-Locate-ImFeelinCrafty

First step, we located exactly where we wanted it to go and marked the wall.

StyleApply-Rub-ImFeelinCrafty

Then you use the supplied card to go through and press the decal to the backing.

StyleApply-Remove-ImFeelinCrafty

You remove one layer of paper and then stick it to the wall. Then, very carefully, remove the second layer of paper. For this design, there were a lot of little pieces so it got a little tedious. Also, my walls are plaster and not smooth since we live in a little, old house! That made it a little more difficult to remove the paper. I had to take more time and really make sure the decal was adhering to the wall. No fault of the decal, just my reality!

StyleApply-Bumps-ImFeelinCrafty

You can see the bumps! It took a little longer than a smooth wall, but it adhered all the same!

StyleApply-Done-ImFeelinCrafty

Look how cool it is!

StyleApply-Before-ImFeelinCrafty

Here’s the before….

StyleApply-After-ImFeelinCrafty

And the after! (in progress still, but getting closer!)

StyleApply-Happy-ImFeelinCrafty

And one happy kiddo! Thanks Style and Apply for making this kid even happier! We will be back!


I have been compensated with either payment or product for this post. All opinions are my own, honest opinions!