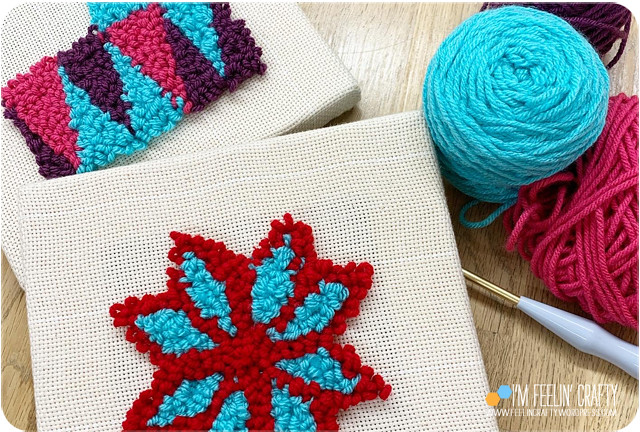
Another craft I’ve taken up recently is punch needle. This is another easy project type for a beginner! There are also a lot of kits you can get for starter projects. This project is not from a kit, though. I just made it up as I went along!
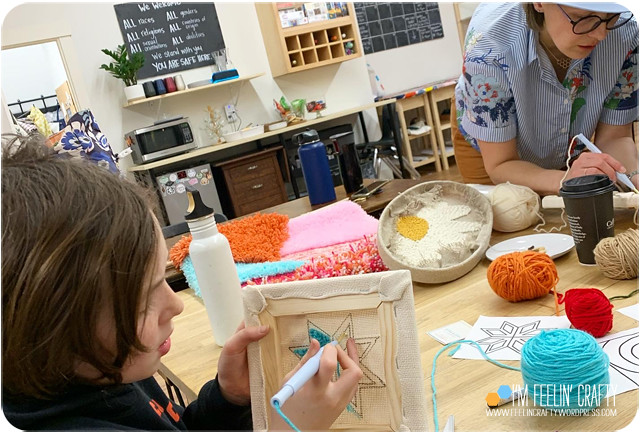
Back in February 2020, before we had a clue all of our lives were about to change dramatically, my kiddo and I took a punchneedle class at Wyldwood Creative with Andie Solar of Myra & Jean. Now I say it’s a fun easy craft project. Andie was a good teacher, but she does some amazing art that I haven’t been able to figure out and that does not look easy!
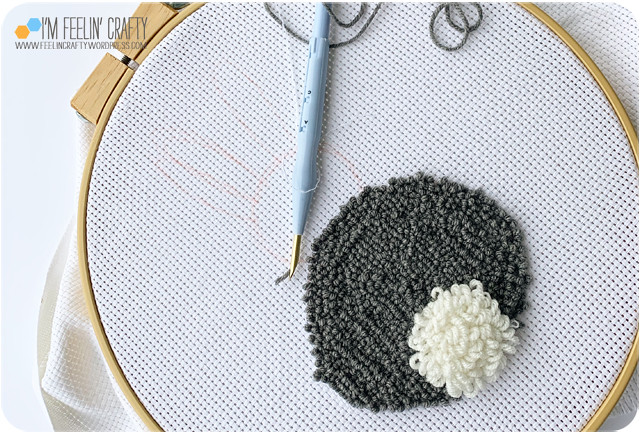

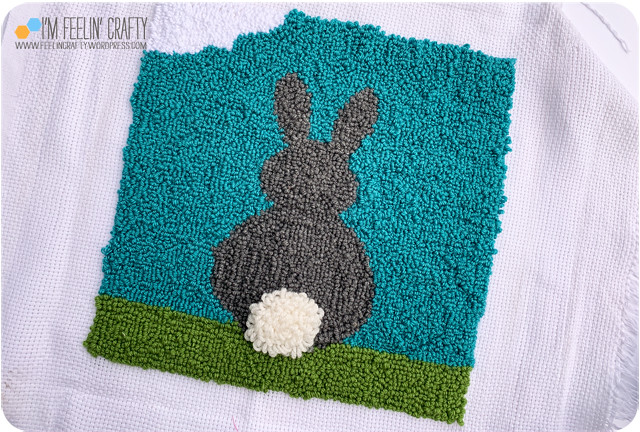
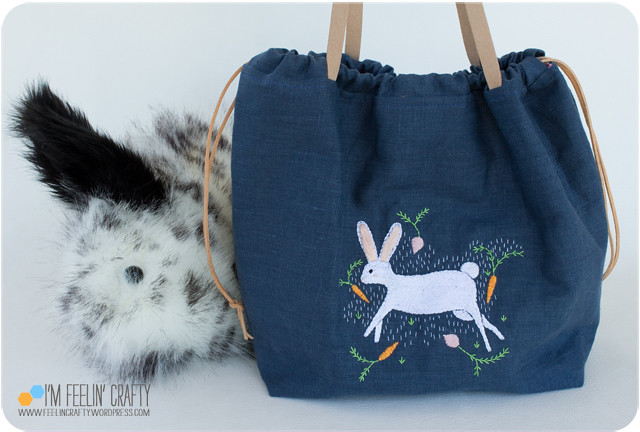
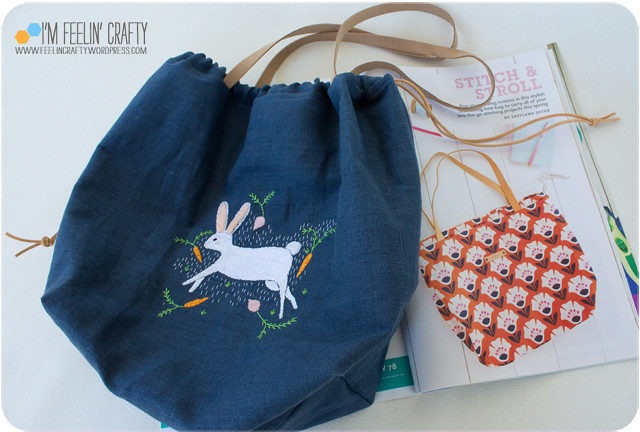
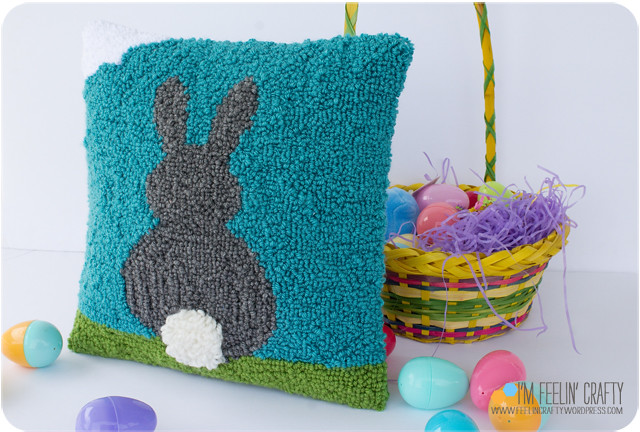
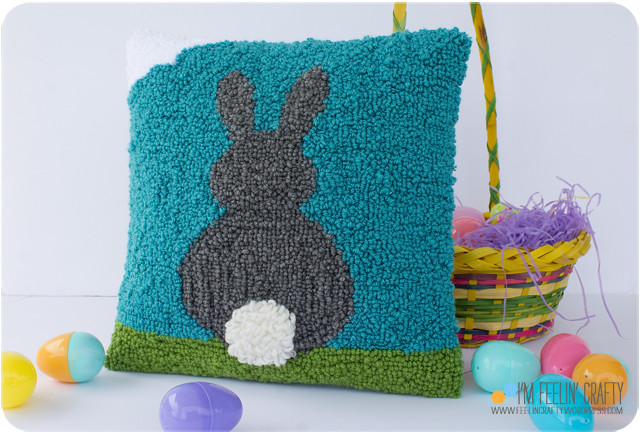
After the class I had the punch needle tool I needed and a random stack of yarn. I ordered some monks cloth and set to work on my bunny project! I changed the length of the punch needle to be longer for the tail! One tip I learned in the class was to not go in straight lines, to get a more organic feel and to not see the ‘lines.’
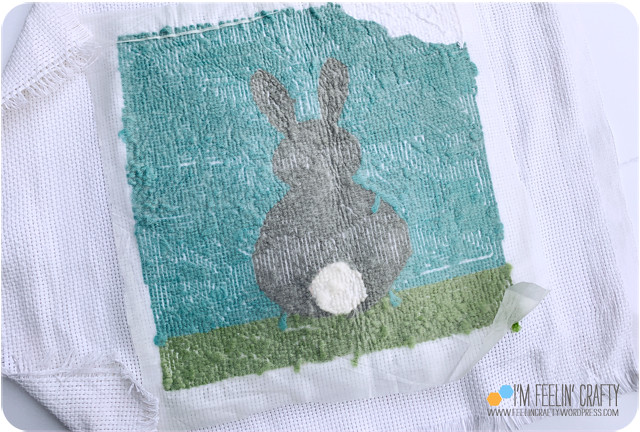
Once I was done, I finished the back with a layer of thin fusible interfacing.
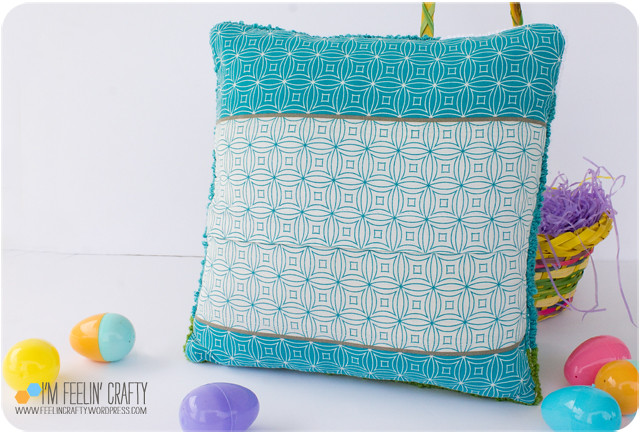


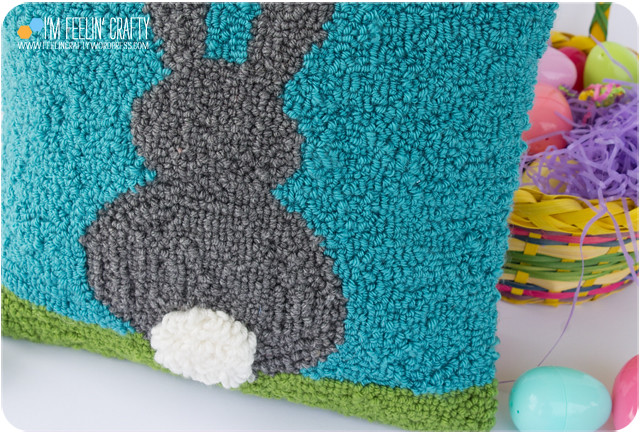
For the back I upcycled two pillowcases by using the contrasting hem of the pillowcases. And I added a hidden zipper! Surprise!


When I was trying to figure out how to sew the front and back together, I found two schools of thought. Some tutorials said to use a zipper foot and sew right up to the punch needle edge. The other side said that you don’t need to do that and to just use a regular foot and to sew over the edge of the punch needle edge. I went with option 2. I got two perfect edges and two not so perfect edges… Next time, I’m using the zipper foot method to see if it helps get a better edge!
Have you tried punch needle??? It’s really quite fun and relaxing!