This one is long overdue! I made the tutorial WAY back in 2017 for my group in the do. Good Stitches group. A long time ago!

I asked my group to make a few of these stars each and send me some navy squares as well. The stars and navy squares turned into this lovely quilt I call, Falling Stars.
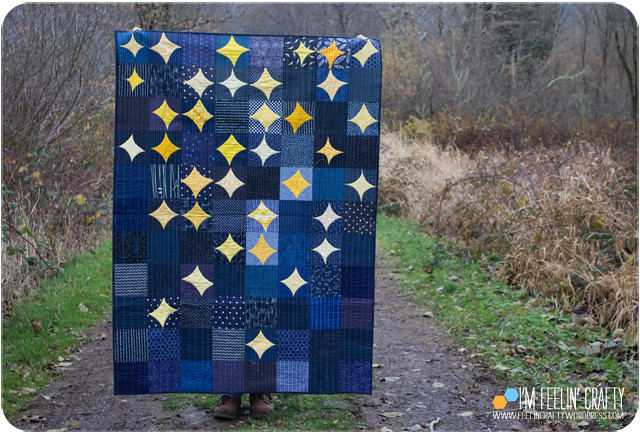
You may recognize it as I’ve posted it on the blog before when I was honored to have it featured in the Curated Quilts Curves Edition. The magazine is fantastic and this issue is full of great talent (if I do say so myself!)
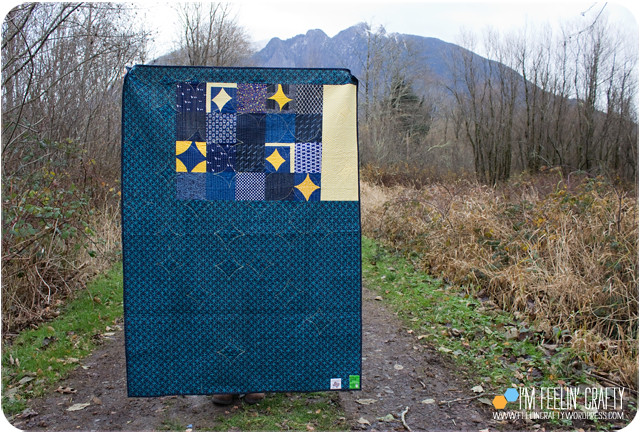
I even had some left over the quilt back. I think a random scrappy placement would make a really cool quilt, too!
You can take this block tutorial to make all sorts of fun things! So let’s jump into it! They are curves, but they are super simple! Trust me on this! Let’s go!

1. Stack the background and star fabrics, right sides up with the star fabric on top of the background fabric.
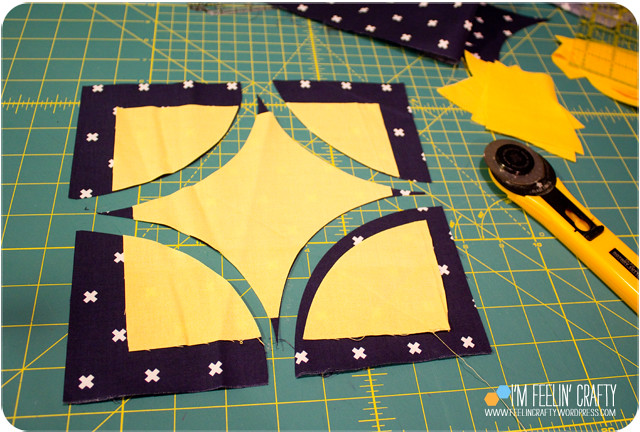
2. Trim off each corner with a quarter circle shape. No rulers! Start your curves at approximately the center of each side of the background fabric and finish on the adjacent side of your square, in approximately the center of the background fabric block.
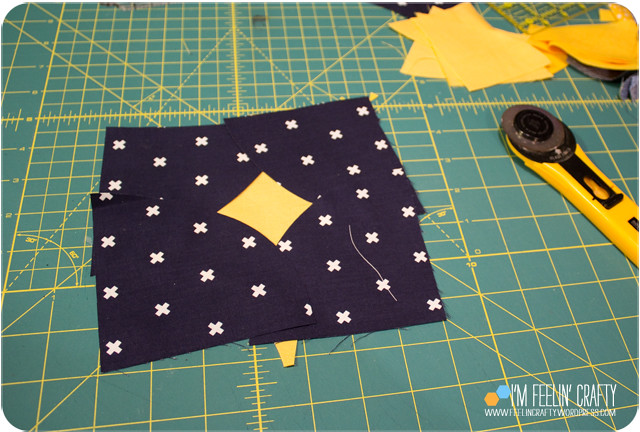
3. You want to keep the corners in the same location as they were cut! Discard the star fabric corners and the background fabric star. (I keep all my scraps, so you can keep them and use them to make an inverse color Falling Stars quilt!) Then stack your star and corners and move to your sewing machine.
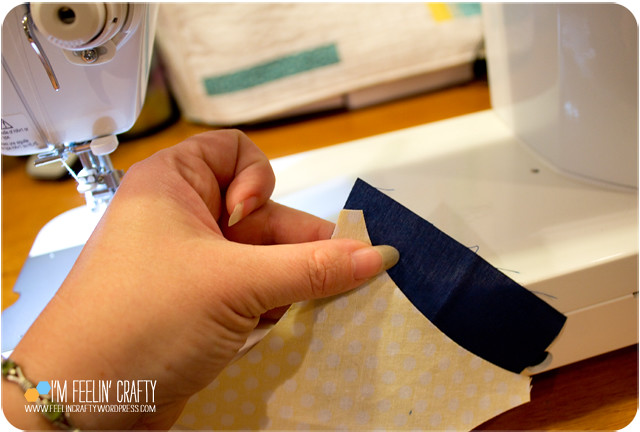
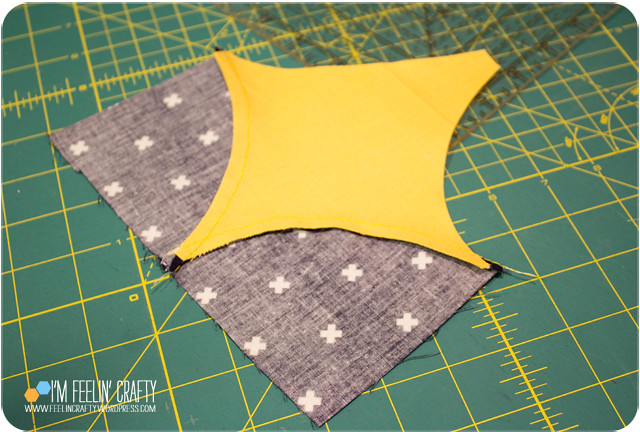
4. Line up your star fabric with a quarter circle of the background fabric. Right sides together. You will want the background fabric to overlap the corners of the star fabric by about a half inch. Do not line up the corners of the background and star fabrics!
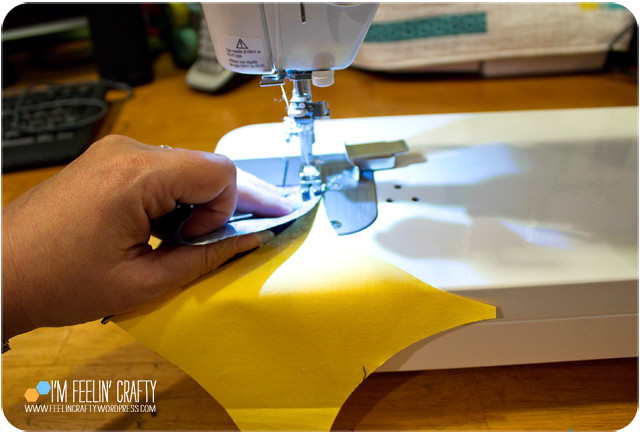


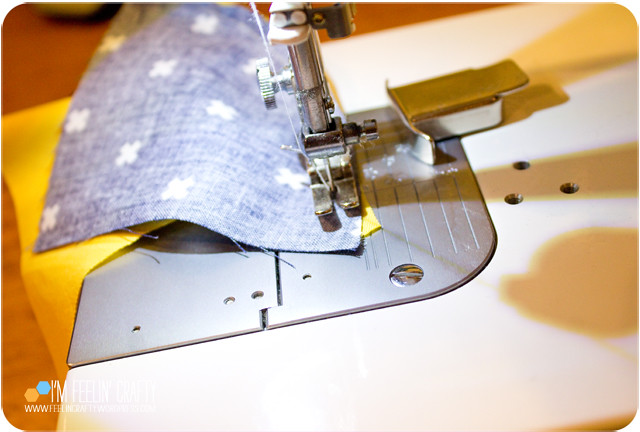
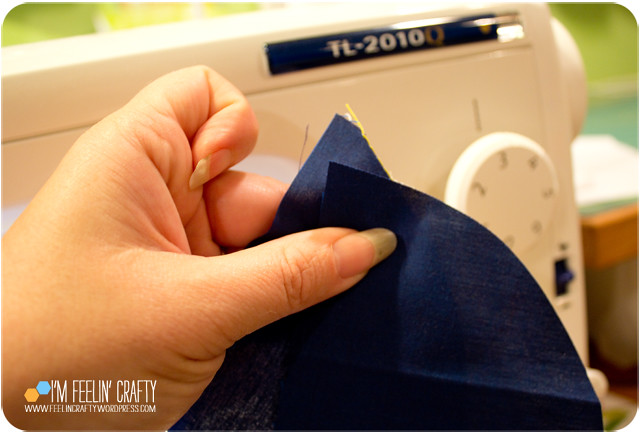
5. Now sew it together. No pinning! This is all about moving the pieces slowly through your machine and continually aligning the two pieces. You want to hold the top fabric in your left hand and very slowly, move the star fabric with your right hand. As you sew, continually move the blue and yellow fabric towards each other so that the edges align with each other as you continue from one end to the other. If you need to stop and adjust, that’s fine. At the end, the bottom fabric is going to try to stick out and it’s ok if it does!
6. Iron each quarter circle as you go. Iron towards the background fabric. You’ll see that the fabric will guide you to ironing towards the background fabric!
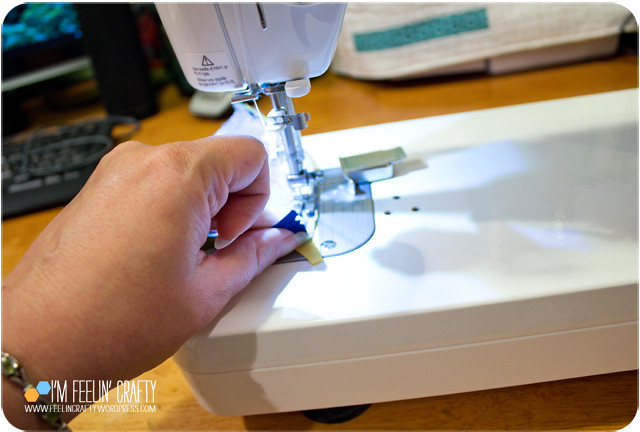
7. Sew on the next quarter circle. Make sure you overlap so that you have at least 1/4″ before the yellow, preferably more.
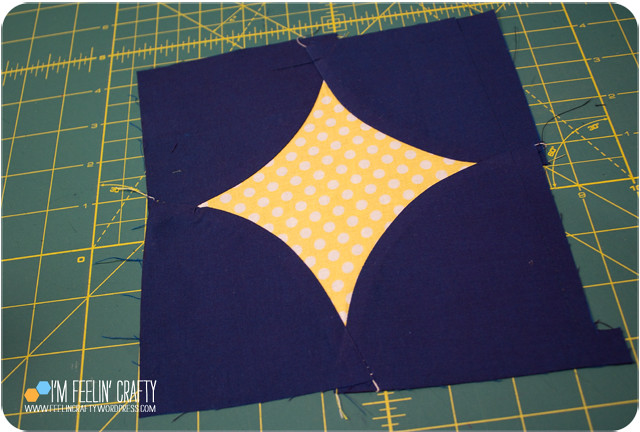

8. You’ll end up with a pretty funky shaped block! Use a 6 ½” square template if you have one to square up your blocks. Try to keep at least ¼” of background fabric at each corner of the star.
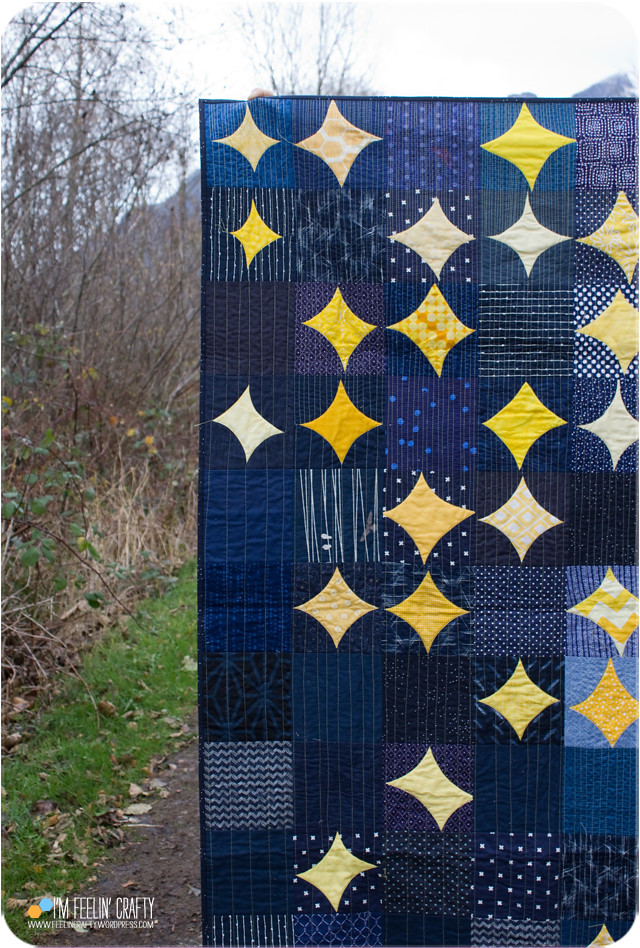
Once you get it, you’ll have plenty of stars in no time! Enjoy!

My son started a new quilt this week and he wanted stars, so I didn’t teach him any old star. I taught him an Improv Star. He made tester block for his first attempt and it wasn’t very good. (Mostly because I cut the fabric the wrong size since I thought it was just a test.) He kept trying to convince himself that it would work because he didn’t think he wanted to make three of these. But by the time he finished the second one, he realized how easy it was and continued on to make the third! If he can do it, so can you!
Can’t wait to see what you make with the Improv Star Quilt Block!


Love your star quilt. Thanks for the tutorial!
This is right up my alley. What are the starting fabric dimensions? I don’t see them in the post, unless I missed it. Thanks for your time.