If you’ve been reading since last Christmas, you know that I rarely break out the glitter unless it’s Christmas. It’s out again! And I’ve been making glitter tree ornaments.

I’m doing another swap…. Yes, another one. This one is an ornament exchange! The 5th Annual Handmade Holiday Ornament Exchange hosted by Blu Penny. I’m excited! So originally I joined thinking I’d exchange the tree ornament I made from my son’s designs, but then this idea hit me… You might already know this, but I have a growing collection of brightly colored pointy, cone trees that I decorate with. So then this seemed perfect!

The Idea started with this tree as the final product, but the making of went through a few ideas… The idea came from a bag of wooden spools I picked up at Goodwill and have proceeded to lose. I’m 99% sure I have these spools, but I can’t find them anywhere. Then I found some ‘fake’ spools and this is how I finally decided to make the ornaments.

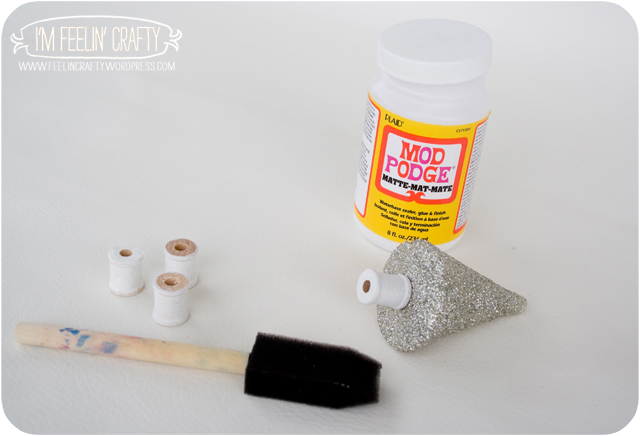
The materials you’ll need are:
Little Foam cones
Little Wooden Spools
Mod Podge or glue
White Paint
Paint Brush
Glitter, I prefer the super fine glitter
Barbeque Skewers
Ribbon
And not pictured (I forgot) is a Loop Turner

Step 1: First, I painted the little spools.

Step 2: Push the skewer in through the cone. This is kinda tricky, because it wants to come out through the side. So you have to work it up and straight through the middle.

Step 3: Coat the cone in the Mod Podge.
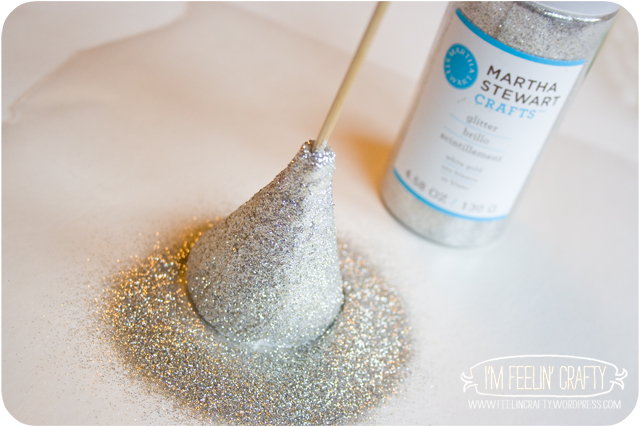
Step 4: Coat in glitter!!!
Step 5: Glue the spools onto the bottom of the cone. I kept my skewer sticking out of the tree to help locate the right position for the spool. (You can also use a hot glue gun for this part!)

Then you have this great little forest of glittery trees!

Step 6: Pull the ribbon through the spool and the cone.

Step 7: And tie a knot at the bottom of the spool and another one at the top of tree. This covers up that flat top part of the cone.

And Voila! It’s ready to hang on the tree!

I’m totally in love with these trees, but now I have to decide which of my swap partners gets which tree….

Do you decorate with these bright colors? Or are you more or a red and green traditionalist??
Be sure to check out all the ornaments in the ornament exchange flickr group for more inspiration!!
Shared with these Link Parties!


This is so cute and easy. Will have to try with Maci ….outside! When I first saw the pic, I thought the spool was a chapstick lid. I may try it with chapstick lids.
These are total cuteness. I *despise* working with glitter, but it might be worth it for one of these!!
I love glitter, but it does get EVERYwhere. Even if you think you have it all cleaned up, you find it in odd places! 🙂
Your glittery trees are just perfect, Louise. I love their simple lines and very clever construction. I bet the recipients will be chuffed!