Like I mentioned the other day, I’m not a huge fan of piñatas. Kids bashing in things with baseball bats is kinda unnerving to me. But I guess it’s better that it’s a piñata than something else, huh? So when Max asked, or should I say announced, that we were having a piñata at his birthday party, I had to process the whole thing for a while.
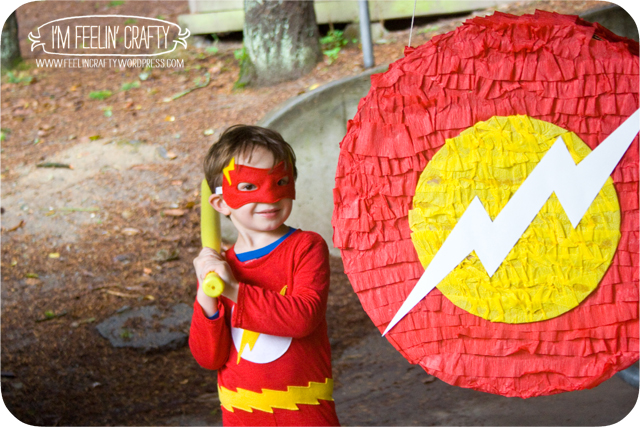
But I came around and then had to decide which superhero was the piñata going ot be? I have to admit, the Flash symbol seemed to be the easiest to translate into a piñata and thank goodness he’s a big hit at our house!
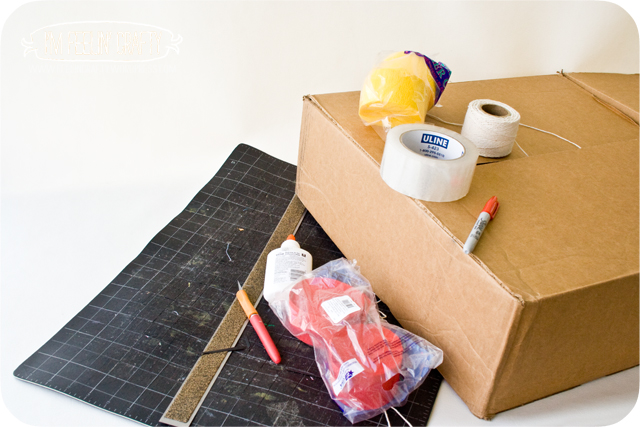
Now, I’m no pro at piñata building or anything, but I thought I’d share how I made ours! The materials I used were just a cardboard box, shipping tape, crepe paper, glue, an exacto knife and string. I’d recommend a thin cardboard than might bust easily when hit. (mine didn’t!) Like maybe an Ikea box…
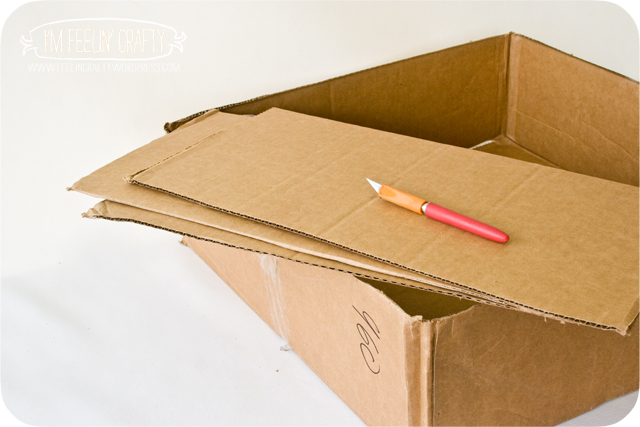
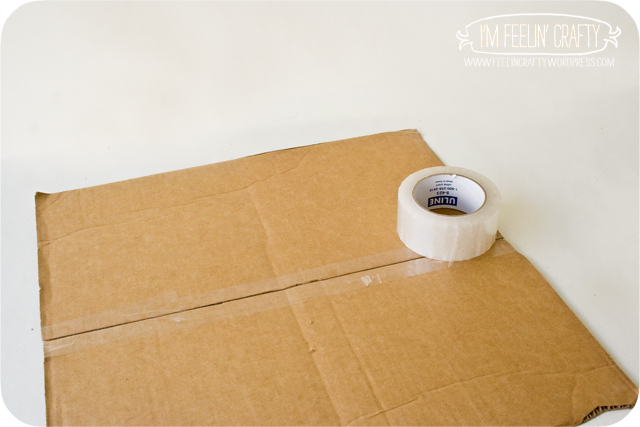
First, I cut the tops and bottoms off the box and then taped them together.
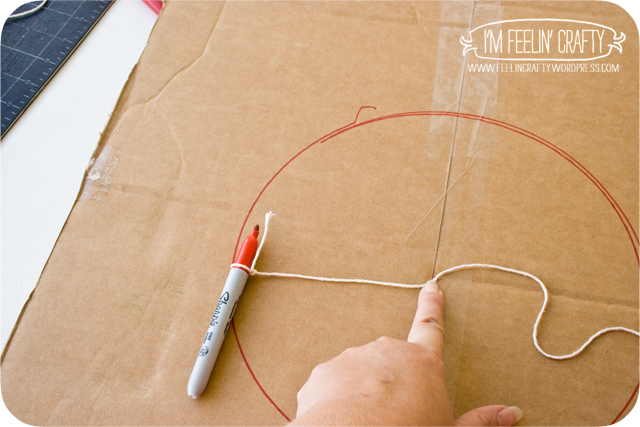
Secondly, I cut my circles. I don’t remember the dimensions, but basically as round as I could based on the size of the box. And then I cut a third little one for the middle circle.
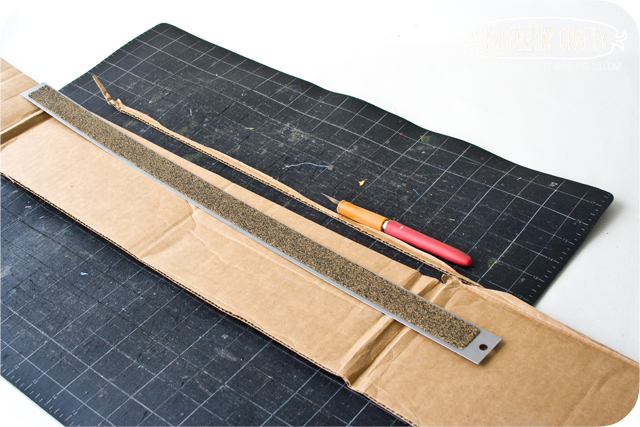
Next, The sides. I cut a long narrow piece from the sides of the box, about 4 inches wide. Then I curled it by slightly bending it about every inch or so just a little bit. Also be sure to cut the side a bit longer than the circle sides to overlap at the end!
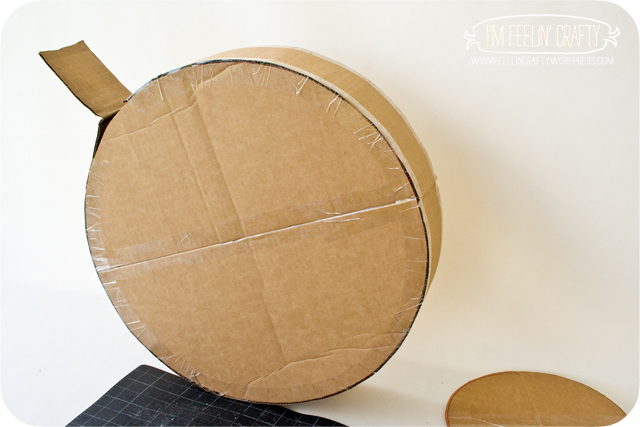
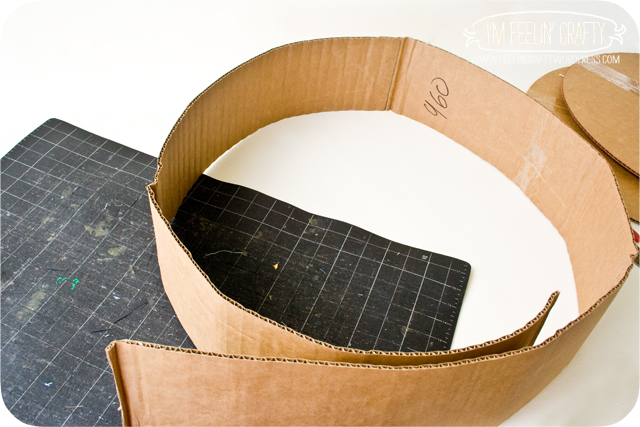
Next, I taped the side to the front and back circle, leaving a hole at the end. Don’t’ tape all the way around! You have to be able to add the candy!
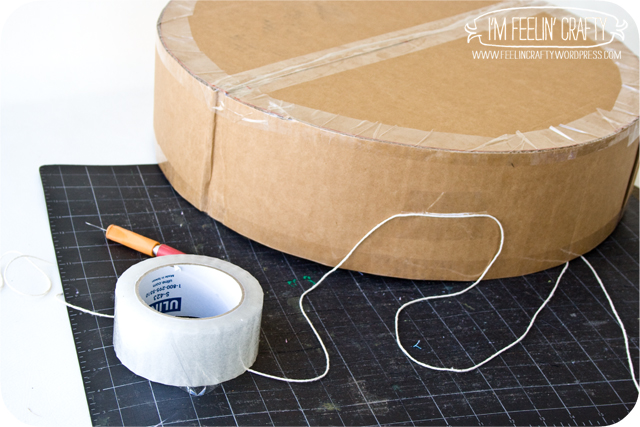
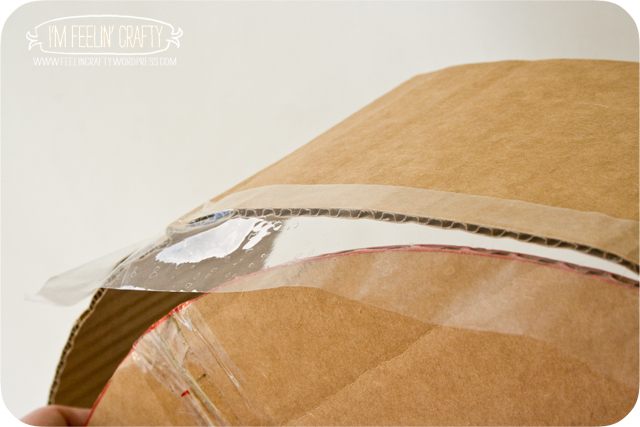
Then tape on some string. I taped it to the bottom and the sides.
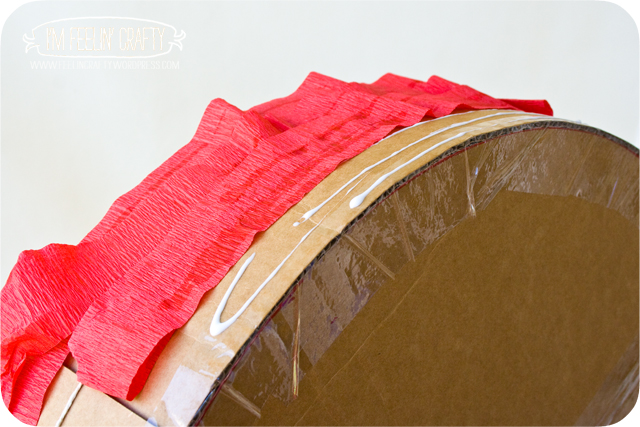
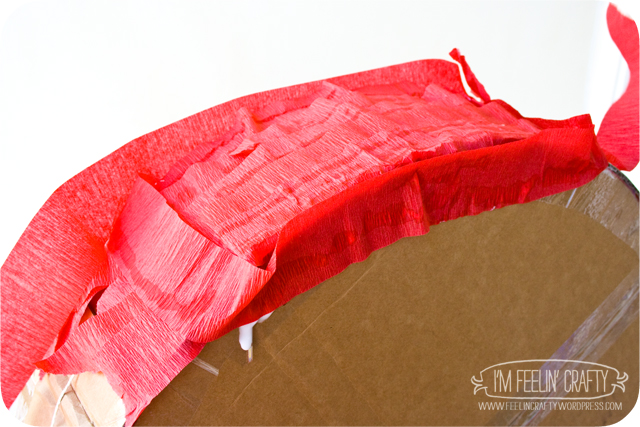
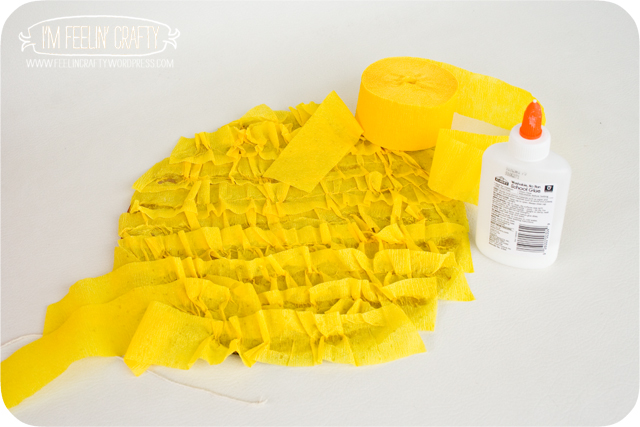
And here comes the color! Glue on the crepe paper in rows at the top and the bottom. Then start gluing it on around all sides. This part will take a while because you kinda have to stop and let the glue dry and then come back to it! In the meantime, you can go ahead and glue on the yellow crepe paper to the smaller circle. Yes, I had the colors backwards a bit here. The Flash symbol has a white circle, but…. It worked!
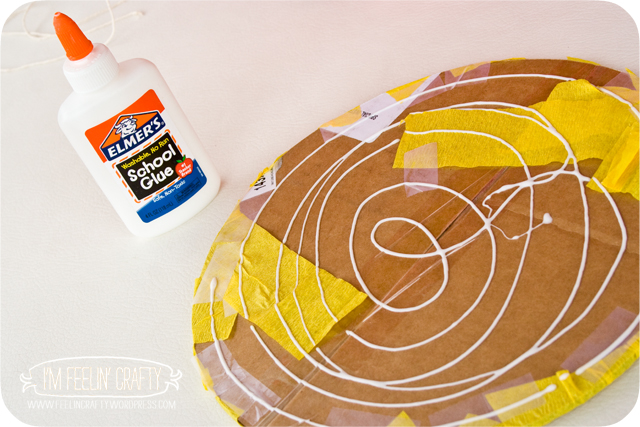
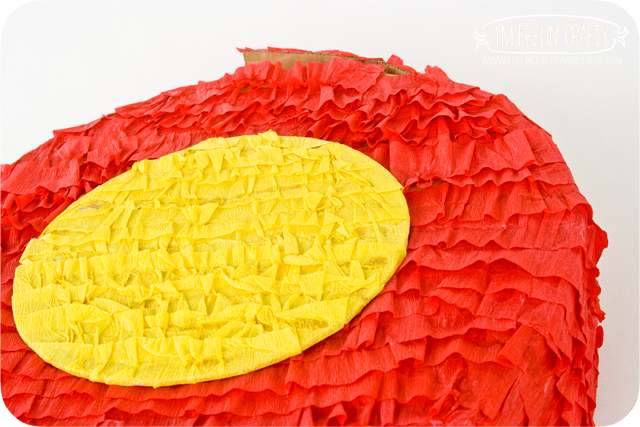
Turn the yellow piece over and tape the loose ends over, add glue and stick it on the main piñata. Stuff it with candy. Tape down the hole.
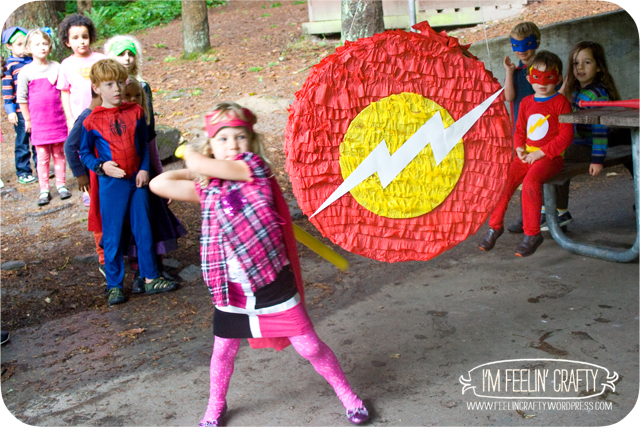
And get ready to party!
So here’s a few things I learned. I thought the cardboard would bust, buuuuutttttt it didn’t! Hence the reason I’d recommend a thin cardboard. Mine was really sturdy. I wanted it to be sturdy enough so that everyone got a chance to hit it before the candy spill. Mine might have been just a little tooooo sturdy. Everyone got a couple of shots at it!
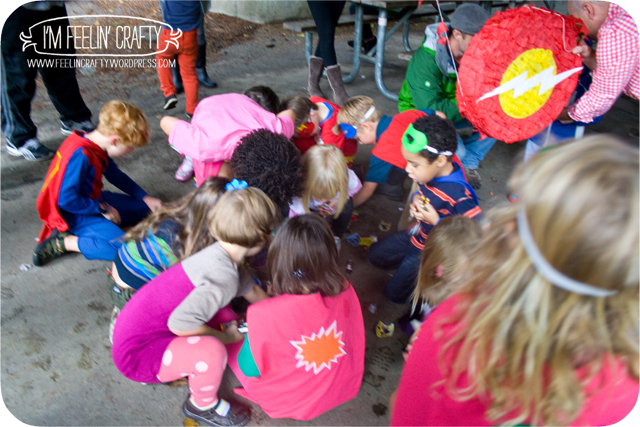
But once a Dad stepped in had their turn, it almost came out… Then our Dad stepped in and did a quick switcher-upsideroo and the candy came out! No one seemed phased that the piñata didn’t’ actually BUST open!

And the birthday boy was happy! He helped make it. It was his favorite super hero. He helped pick out all the stuffings. And he got a ton of candy. And to see that big smile on his face, Momma was happy too!


